The transition between tenants is where property managers either build trust or create problems. Getting a unit ready for new residents requires more than a quick sweep-it demands a systematic approach to rental readiness that covers inspections, deep cleaning, and quality verification.
We at Bumble Bee Cleaning Services understand that first impressions matter. A well-prepared unit sets the tone for a positive tenant experience and reduces turnover costs down the road.
What to Look for During a Pre-Move-In Inspection
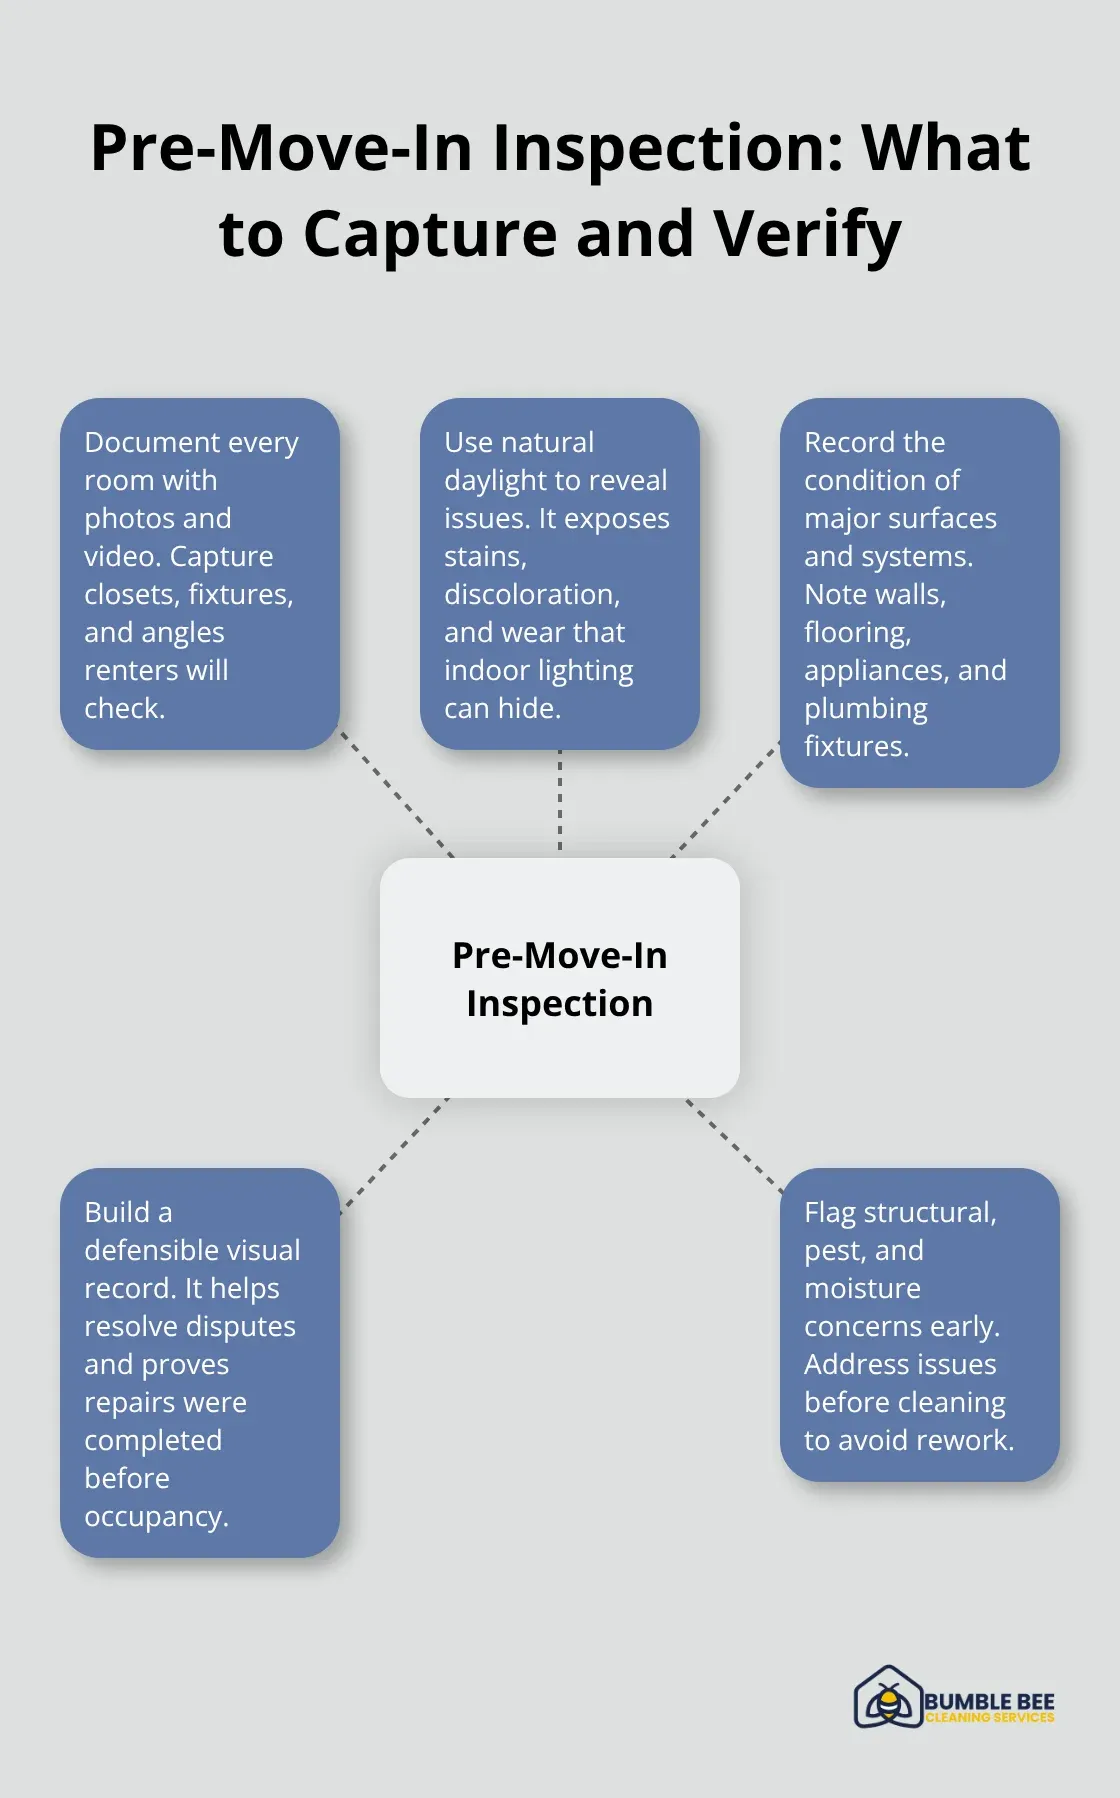
Start every unit turnover with a thorough walk-through before cleaning begins. This inspection sets the baseline for what needs fixing, what needs deep cleaning, and what’s already in acceptable condition. Skip this step and you risk missing structural issues, pest infestations, or damage that will frustrate tenants within days of move-in. Take photos and videos of every room, closet, and fixture. Shoot in natural daylight when possible, as this reveals stains, discoloration, and wear that artificial light might hide. Document the condition of walls, flooring, appliances, plumbing fixtures, and any visible damage. This visual record protects you later if a tenant disputes the move-in condition and serves as proof that repairs were completed before occupancy.
Identifying What Needs Repair Versus Cleaning
Not everything that looks dirty needs professional cleaning-some issues require maintenance or repair first. According to Washington’s Residential Landlord-Tenant Act, landlords must maintain structural components like roofs and floors, provide functioning heating and hot water systems, and keep electrical and plumbing systems in working order. Test every appliance, run water in all sinks and showers, check that heating and cooling systems operate, and verify that smoke and CO detectors function. If the HVAC system hasn’t been serviced recently, schedule maintenance before tenants arrive. A non-functional heating system discovered mid-winter creates liability and emergency expenses. Look for water stains on ceilings or walls, which indicate roof leaks or plumbing problems that cleaning alone won’t fix. These issues compound quickly and lead to mold, which carries serious health implications and legal consequences in Seattle. Document all necessary repairs on a work order list, assigning priority levels based on safety and habitability. Life-safety items like non-functional smoke detectors or exposed electrical hazards rank highest. Cosmetic issues like scuffed baseboards rank lower but still affect tenant perception.
Creating an Actionable Work Order System
Build a work order list that clearly specifies what needs doing, who’s responsible, and when it must be complete. Include the room location, specific issue description, required repair or cleaning action, assigned contractor or staff member, and deadline. Assign completion dates at least three to five days before move-in to allow buffer time for unexpected complications. If a contractor discovers additional damage during repairs (say, mold behind a wall during plumbing work), you’ll have time to address it without delaying the tenant’s arrival. Track completed work with before-and-after photos. This documentation proves compliance with habitability standards and protects against future tenant claims that issues existed at move-in.
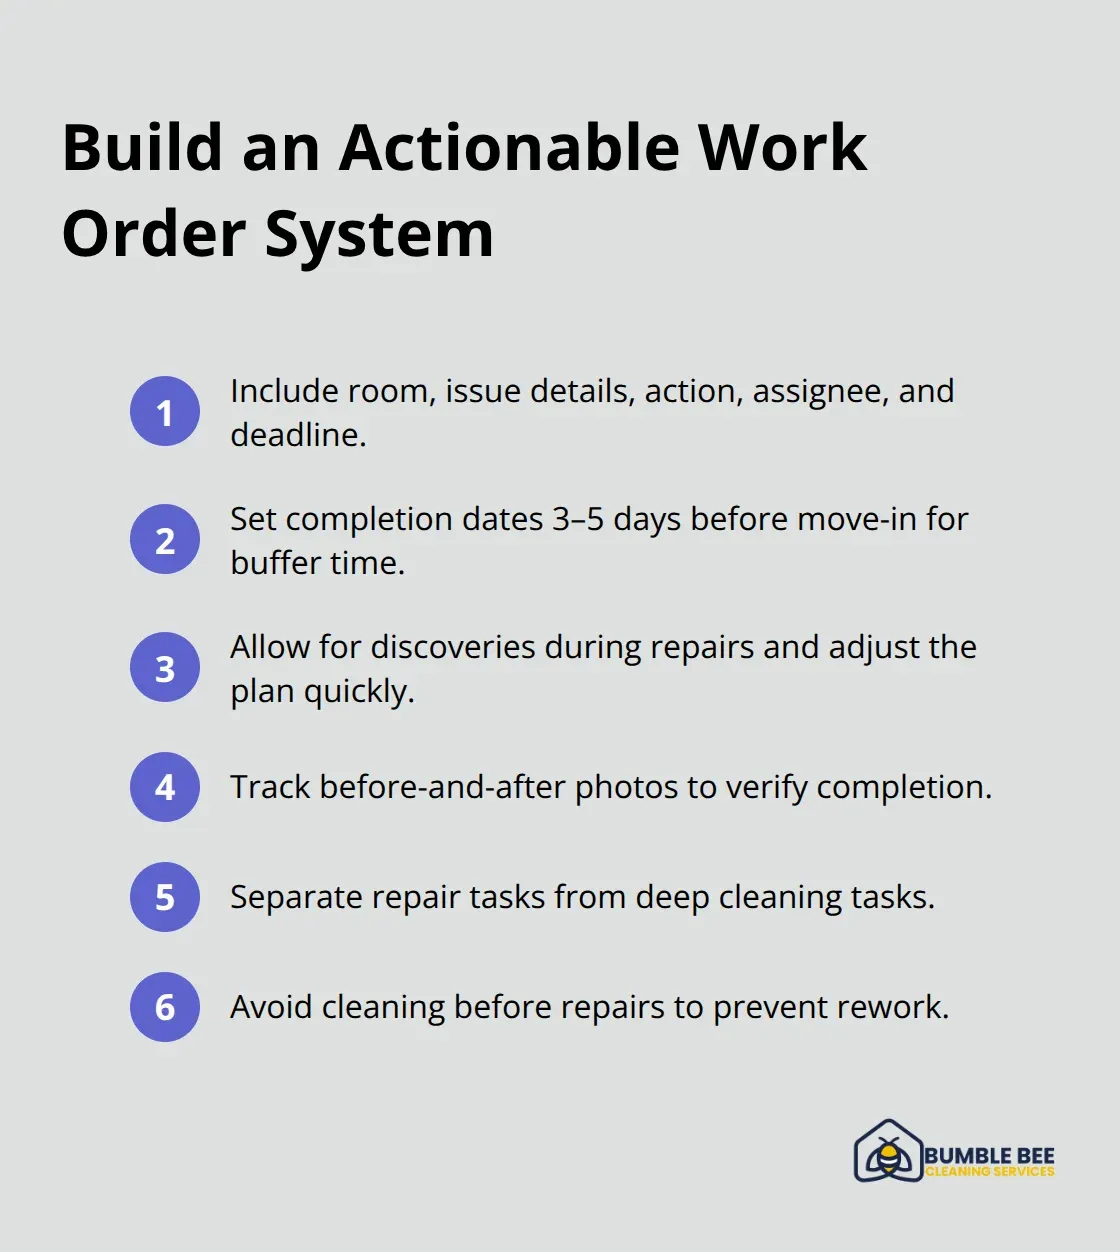
Separate your work order list into two categories: repairs that must happen first, and deep cleaning that follows. Cleaning a unit before repairs are finished wastes time and resources, as repair work creates new dust and debris.
Sequencing Repairs and Cleaning for Efficiency
The order in which you tackle repairs and cleaning determines how quickly you move tenants in. Complete all structural repairs, plumbing fixes, and HVAC maintenance before any cleaning crew arrives. Once repairs finish, professional deep cleaning removes dust, debris, and residue left behind by contractors. This two-phase approach prevents you from cleaning twice and keeps your timeline on track. Coordinate with contractors to confirm completion dates and notify your cleaning team when the unit is ready. A clear handoff between repair and cleaning phases (with photos documenting the transition) eliminates confusion and keeps momentum moving toward move-in day.
Professional Deep Cleaning Transforms Units Into Move-In-Ready Homes
Once repairs finish, deep cleaning becomes the essential phase where your unit transforms from a construction zone into a move-in-ready home. This isn’t routine cleaning-it’s industrial-grade work that removes dust, debris, and residue contractors leave behind, plus stubborn stains and odors from the previous tenant. Start with debris removal and disposal before any surface cleaning begins. Contractors typically scatter drywall dust, paint flecks, and packaging materials throughout the space. A commercial-grade vacuum with HEPA filtration captures fine particles that regular vacuums miss; according to ISSA’s Cleaning Industry Management Standard, HEPA filtration removes 99.97% of particles 0.3 microns and larger, preventing dust from settling on freshly cleaned surfaces. Remove all previous tenant belongings, including items left in closets, cabinets, and storage areas. Many property managers skip this step and discover old furniture or personal items weeks after move-in, creating awkward conversations with new residents. Haul away everything before cleaning crews arrive so they can access every corner of the unit.
Address Odors and Stains Before New Tenants Arrive
Lingering odors from previous tenants-whether pet smells, cooking odors, or smoke-signal poor maintenance to incoming residents and often trigger lease cancellations or rent negotiations. Don’t mask odors with air fresheners; address the source. Pet odors typically embed in carpet padding and subflooring, making carpet replacement necessary in many cases. If you’re keeping existing carpet, enzymatic cleaners specifically designed for pet urine break down odor-causing compounds at the molecular level, not just cover them up. For stubborn stains on hard flooring or baseboards, identify the stain type first: water stains require different treatment than ink or food stains. Grout between tiles traps dirt and discoloration; steam cleaning sanitizes grout lines and removes embedded grime without harsh chemicals. According to ARCSI standards for residential cleaning, steam cleaning at proper temperatures eliminates bacteria and allergens while remaining safe for most surfaces. Smoke residue requires sealing primers on walls before repainting, as standard paint won’t block smoke stains from bleeding through. Skip this step and stains reappear within months. Fresh paint transforms perception instantly, but only after you’ve cleaned walls thoroughly-painting over dust and grime creates adhesion problems and shortens paint life.
Establish Cleaning Standards That Protect Your Lease Terms
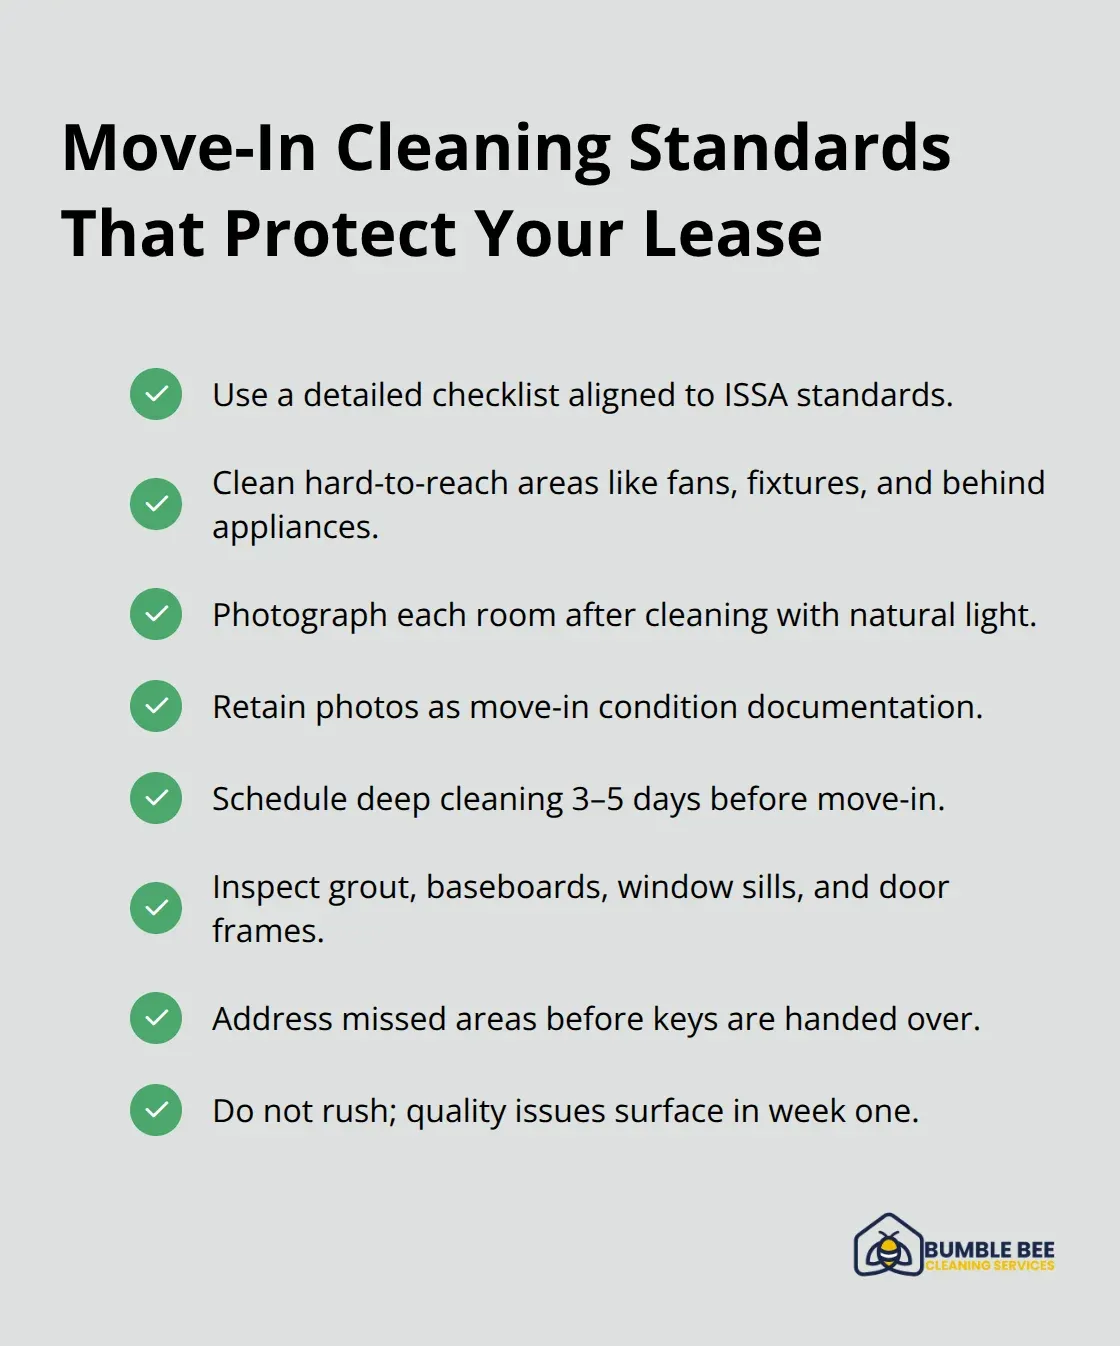
Create a detailed move-in cleaning checklist aligned with ISSA’s Standards for Proper Cleaning to maintain consistency across all your units. The checklist specifies which surfaces get cleaned, what cleaning products work for each material, and acceptable completion times. Include ceiling fans, light fixtures, inside cabinets, behind appliances, window sills, door frames, and closet shelves-areas previous tenants rarely clean and property managers often overlook. Photograph each room after cleaning finishes, with good natural lighting to show actual cleanliness levels. These photos become your move-in condition documentation and protect against tenant claims that units weren’t clean at occupancy. Schedule professional deep cleaning three to five days before move-in so you have time to address any missed areas without delaying the tenant’s arrival date. Rushing this phase creates quality problems that surface during the first week of tenancy, damaging your reputation and your lease relationship before it starts.
With repairs complete and deep cleaning finished, the final step involves verifying that everything functions properly and meets your standards before tenants step through the door.
Final Walkthrough: Verify Every System and Surface Before Move-In
Test All Appliances and Mechanical Systems
The final walkthrough happens after repairs complete and deep cleaning finishes-this is your last chance to catch problems before tenants sign the lease and move in. Don’t skip this step or delegate it to someone else. You need to personally verify that every repair was actually completed, that cleaning met your standards, and that the unit truly functions as promised. Start by reviewing your work order list against the actual unit. Walk through each room with the list in hand and confirm that every item marked complete actually is complete. Contractors sometimes mark jobs finished without fully testing them-a plumbing fix might stop the obvious leak but still have water pressure issues, or an HVAC system might run but not heat properly.
Test every appliance: run the oven, stovetop, refrigerator, dishwasher, and microwave. Check that water runs hot from every faucet and shower. Flush all toilets and listen for running sounds that indicate a leak. Verify that the garbage disposal works and doesn’t jam. Test all appliances and mechanical systems thoroughly to ensure they function properly, as landlords must provide functioning heating and hot water systems. A tenant discovering that hot water only works inconsistently creates immediate complaints and damages trust before day one ends.
Test smoke and CO detectors by pressing the test button-don’t assume they work just because they’re installed. Verify that all light switches control lights and that no bulbs are burned out. Check that doors lock properly and keys work smoothly. These details seem minor, but tenants notice immediately when light switches don’t work or doors won’t lock, and they interpret these oversights as poor maintenance.
Inspect Cleanliness Against Your Standards
Cleanliness verification requires comparing move-in cleaning checklist against the actual condition of every surface. Walk through with good natural lighting-open all blinds and curtains so you see what tenants will see. Inspect behind appliances, inside cabinets, and on top of ceiling fans where dust accumulates and cleaning crews sometimes miss. Look at grout lines between tiles and baseboards where dirt hides. Check window sills and door frames carefully because these areas reveal whether deep cleaning actually happened or whether the crew rushed through.
Take photos of problem areas if you find them, then contact your cleaning team immediately for touch-ups. Don’t accept substandard work and move tenants in anyway-you’ll spend the first weeks of tenancy dealing with complaints instead of building a positive relationship. Your checklist should reflect specific benchmarks for residential move-in cleaning so cleaning teams understand exactly what you expect. If a unit doesn’t meet your standards, request corrections before final approval.
Complete Your Final Documentation
This final walkthrough typically takes 45 minutes to an hour per unit, and it’s the most valuable time you invest in tenant retention and reduced turnover costs. Only after you’ve verified repairs, tested systems, and confirmed cleanliness should you schedule move-in and provide the keys to new tenants.
Final Thoughts
Preparing Seattle rental units for new tenants transforms vacant spaces into homes where residents feel welcomed and valued from day one. The systematic approach of thorough inspections, professional deep cleaning, and comprehensive final walkthroughs creates rental readiness that protects your investment and builds tenant loyalty. Tenants who move into clean, fully functional units file fewer maintenance requests, pay rent consistently, and renew leases at higher rates-outcomes that compound into significant financial returns over time.
Professional deep cleaning separates successful property managers from those who cut corners and face constant tenant friction. We at Bumble Bee Cleaning Services specialize in move-in cleaning that meets the industrial-grade standards property managers need to protect their investments and tenant relationships. Our team transforms units from construction zones into move-in-ready homes, removing contractor debris, addressing stubborn stains and odors, and verifying that every surface meets your expectations before tenants arrive.
The final walkthrough confirms that repairs were completed correctly, that cleaning met your standards, and that the unit truly functions as promised (this verification step separates professional property management from rushed turnovers). Only after this quality checkpoint should you hand over keys and begin the tenancy. This disciplined approach to unit preparation sets the foundation for successful, profitable tenancies and protects your reputation as a property manager who delivers what tenants expect.
For more information about our cleaning services in Seattle and Atlanta, or to request a cleaning quote, call or text us at 425-786-1360 or email us at info@qbclean.com