
Water damage during construction in Seattle creates the perfect conditions for mold to spread fast. Our wet climate means moisture lingers longer, giving mold spores time to colonize walls, insulation, and wood framing.
Mold prevention after water damage isn’t optional-it’s essential to protect your property and avoid costly remediation later. We at Bumble Bee Cleaning Services have seen how quickly Seattle’s humidity turns a minor water incident into a major mold problem.
This guide walks you through identifying mold early, stopping it immediately, and keeping it from returning.
Identifying Mold Growth After Seattle Water Damage
Mold Appears Fast in Water-Damaged Construction
Mold colonizes construction zones within 48 hours of water exposure, according to EPA Mold Basics guidelines. The real problem is that visible mold represents only part of the threat-hidden growth inside walls, under flooring, and within insulation often goes undetected until structural damage becomes severe. In Seattle construction, you need to know where to look and act immediately.
High-Risk Materials in Construction Projects
Drywall absorbs moisture rapidly and becomes a breeding ground for mold colonies. Wood framing, especially in wall cavities and rim joists, supports aggressive mold growth when damp. Concrete subfloors and crawl spaces trap moisture because they lack natural drainage, creating persistent wet conditions that fuel mold for weeks. Insulation materials like fiberglass and cellulose hold water like sponges and become useless once saturated.
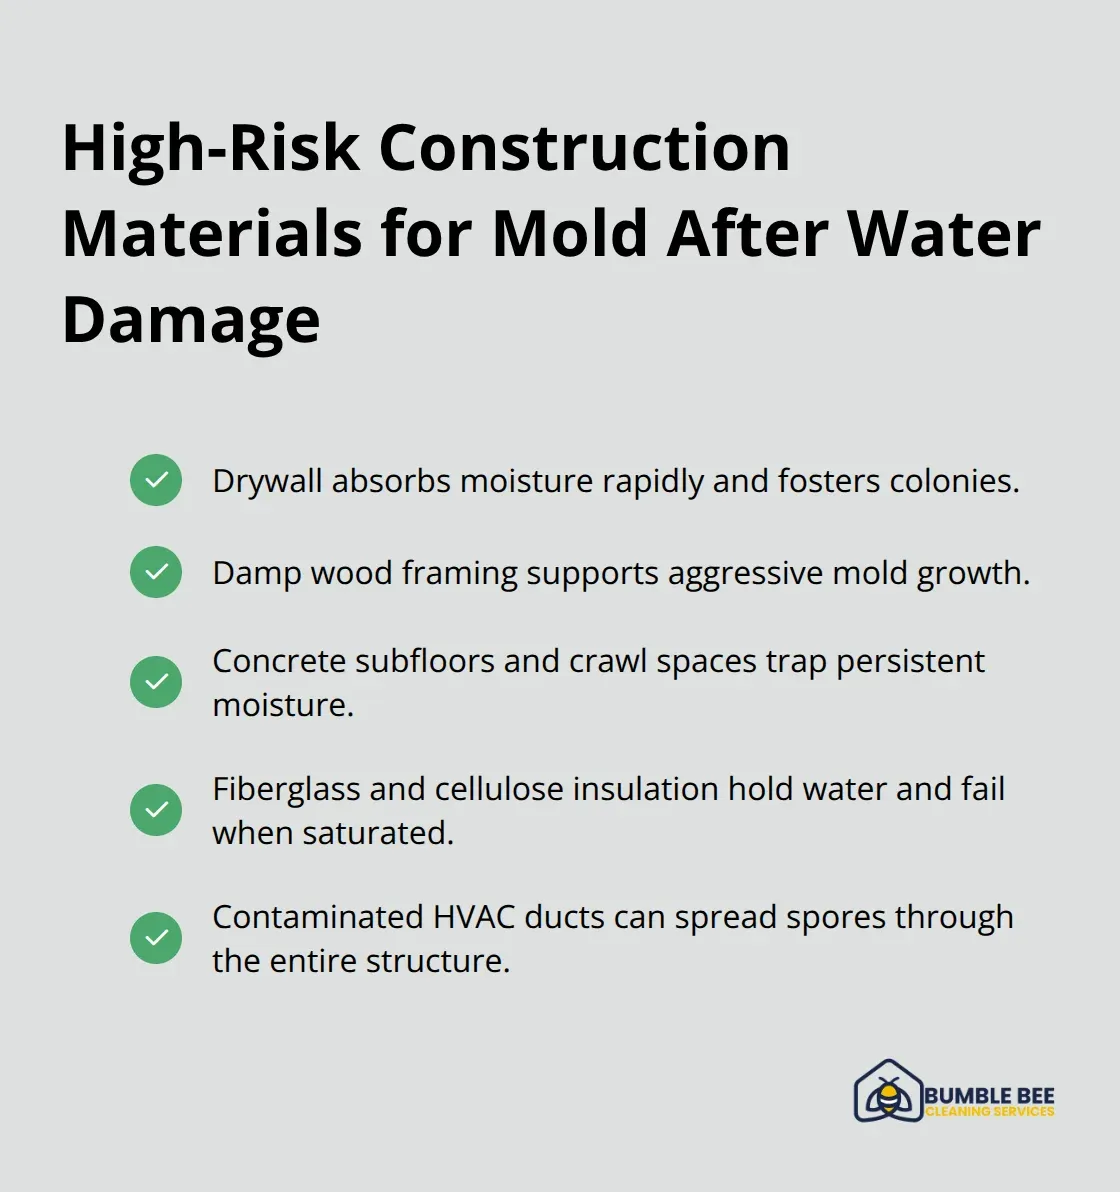
HVAC ducts and plenums spread mold spores throughout the entire structure if contaminated, which is why the EPA warns against running HVAC systems in moldy buildings. The ANSI/IICRC S230 Standard for Professional Inspection of Flooring Subfloors and Substrates specifically addresses hidden moisture detection under flooring-a step most construction crews overlook. Look for soft spots, discoloration, or musty odors in these areas. Condensation on windows and pipes indicates excessive humidity that accelerates mold colonization.
Seattle’s Climate Speeds Mold Growth
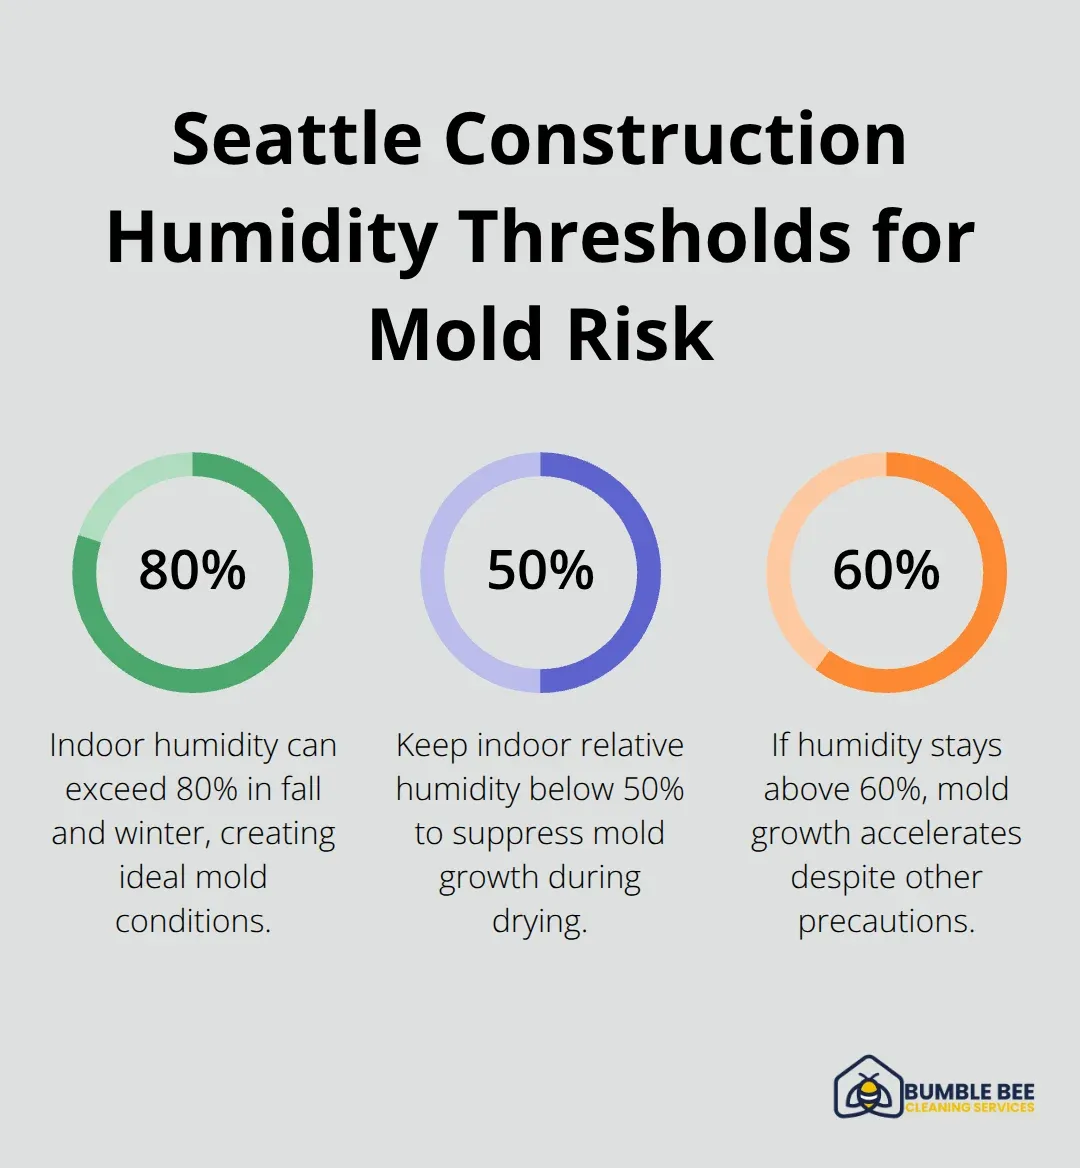
Seattle’s climate accelerates mold colonization faster than drier regions. Our average annual rainfall of 37 inches, combined with indoor humidity that regularly exceeds 80 percent during fall and winter months, creates ideal conditions for mold. Cool temperatures slow evaporation, so wet drywall or wood framing dries much slower here than in warmer climates.
Construction sites left open to the elements during Seattle’s rainy season become water collection zones. Even with tarps, moisture seeps into wall cavities and under subflooring. Once temperatures drop below 70 degrees (common from September through May), evaporation rates plummet, and mold begins spreading within two to three days instead of the week it might take elsewhere. Construction materials stored outdoors absorb moisture from our humid air, then introduce spores into the structure when installed.
This is why rapid water removal and aggressive drying are non-negotiable steps. If you delay drying or allow materials to sit damp, you’re essentially inviting mold to colonize your project. The next section covers the immediate actions you must take to stop mold before it takes hold.
Stop Water and Control Moisture Before Mold Spreads
Act Within 24 to 48 Hours to Prevent Mold Colonization
The first 24 to 48 hours after water damage determine whether your construction project stays mold-free or becomes a remediation disaster. Standing water must go immediately. If you wait, water soaks deeper into framing, insulation, and subflooring, creating hidden moisture pockets that mold colonizes within days. Extract all standing water using pumps or wet vacuums, then focus on drying every affected surface aggressively. Materials wet for over 48 hours require professional assessment under EPA remediation protocols to prevent mold colonization at its source.
Remove Saturated Materials and Expose Hidden Water
Open walls and cavities if necessary to expose hidden water trapped behind drywall or under flooring. Wet materials like drywall, insulation, and wood that cannot dry within 24 to 48 hours require removal and replacement after the structure dries. Do not attempt to salvage saturated insulation or cellulose-these materials hold moisture for weeks and become permanent mold farms. Removing compromised materials costs less than addressing mold damage that spreads through your entire project.
Deploy Industrial Dehumidifiers and Monitor Humidity Levels
Position industrial-grade dehumidifiers in every affected zone and run them continuously. Standard household dehumidifiers are inadequate for construction-scale water damage; you need commercial units that extract 100 to 150 pints of water per day. Monitor humidity levels with a moisture meter and try to keep indoor relative humidity below 50 percent. If humidity stays above 60 percent, mold growth accelerates regardless of other precautions.
ANSI/IICRC S590 Standard provides professional assessment protocols for HVAC systems following water damage events.
Maximize Air Circulation to Prevent Moisture Pooling
Air circulation prevents moisture from pooling in corners and dead zones where mold thrives. Open windows when Seattle’s weather permits and run high-velocity air movers across wet surfaces. HVAC systems contaminated with mold must remain off until the system receives professional inspection and cleaning under remediation protocols. Do not run your HVAC system until you confirm no mold colonization has occurred inside ducts or plenums.
Hire Professional Water Damage Restoration Immediately
Professional water damage restoration companies respond immediately after water intrusion occurs. These specialists have moisture detection equipment like thermal imaging and moisture meters that identify hidden water you cannot see. They also possess the industrial dehumidification and air movement capacity to dry large construction areas in days rather than weeks, which directly prevents mold establishment. Professional intervention sets the stage for the long-term prevention strategies that follow.
Rebuild Right to Keep Mold Out for Good
Replace Water-Damaged Materials with Mold-Resistant Alternatives
After water removal and drying, your reconstruction decisions determine whether mold returns. Construction materials exposed to water damage require replacement with mold-resistant alternatives. Standard drywall absorbs moisture and becomes a mold incubator; use moisture-resistant drywall (MR drywall) instead, which has a moisture-resistant gypsum core and fiberglass mat facing that resists mold colonization far better than paper-faced drywall. The ANSI/IICRC S520 Standard for Professional Mold Remediation specifies that materials salvaged from water-damaged areas must pass moisture testing before reinstallation.
Fiberglass insulation saturated by water requires complete removal and replacement with closed-cell spray foam or rigid foam board, both of which dry faster and resist moisture absorption. Concrete subfloors in crawl spaces and basements need a vapor barrier installed during reconstruction to prevent groundwater moisture from wicking upward into framing and flooring materials above. Seal all cracks and gaps in foundation walls, rim joists, and band boards with polyurethane caulk or spray foam, as these pathways allow exterior moisture to penetrate during Seattle’s rainy months.
Install Proper Flashing and Ventilation Systems
Windows and doors installed after water damage should include proper flashing and sealant to prevent water intrusion around frames, which commonly leads to hidden mold in wall cavities. Ventilation during reconstruction prevents moisture from becoming trapped inside walls and cavities. Install bathroom exhaust fans that vent moisture directly outdoors rather than into attic spaces, where moisture condenses and fuels mold growth.
Ensure your HVAC system includes a return-air filter rated MERV 13 or higher to capture mold spores before they circulate through the building. ANSI/IICRC S590 assessment protocols recommend inspecting HVAC systems after water damage to confirm no mold colonization exists inside ducts or plenums before normal operation resumes.
Document Moisture Levels and Material Replacements
Post-construction inspections should verify that relative humidity below 50 percent during fall and winter months using calibrated moisture meters, not visual estimates. Schedule moisture testing of subfloors, wall cavities, and insulation before drywall installation to confirm materials have dried to acceptable levels under remediation standards. Document all moisture readings, material replacements, and inspection results in writing, as this record protects your property investment and supports insurance claims if mold issues emerge later.
Professional post-construction cleaning removes dust and debris that can trap moisture and provide organic material for mold spores to colonize once the building is occupied.
Final Thoughts
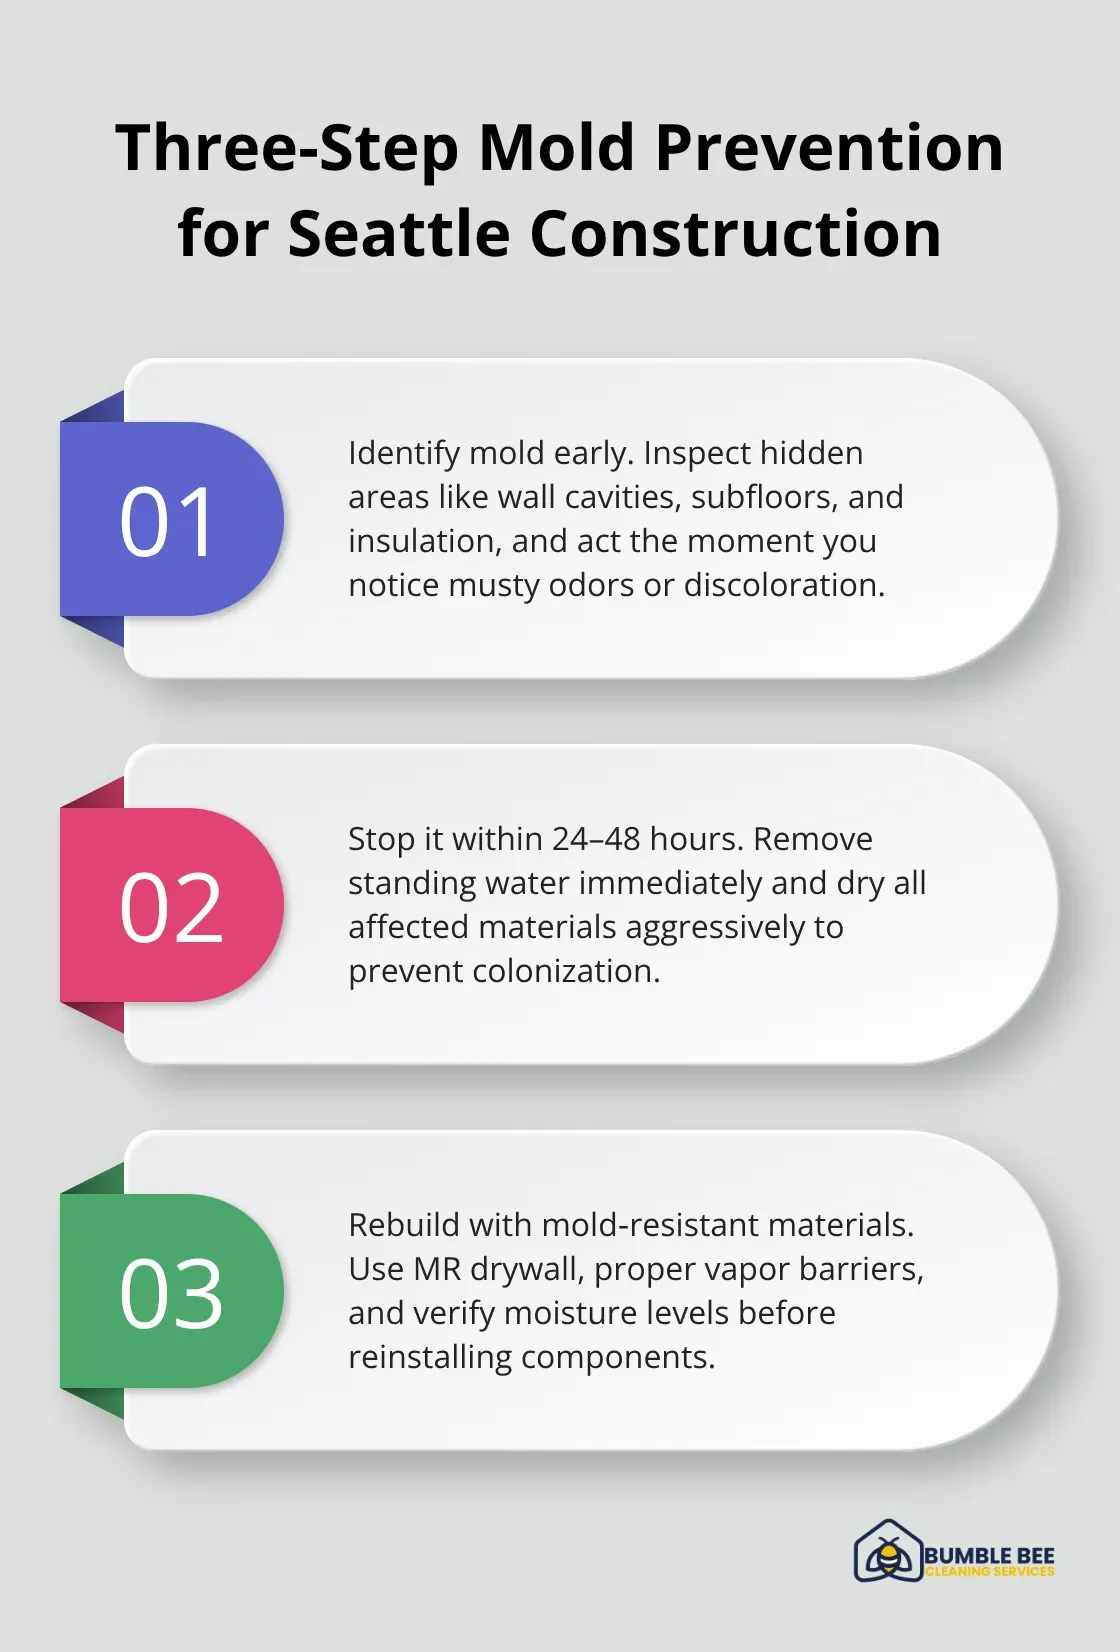
Water damage during Seattle construction demands immediate action and sustained attention to prevent mold colonization. The three-step approach outlined in this guide-identifying mold early, stopping it within 24 to 48 hours, and rebuilding with mold-resistant materials-forms the foundation of effective mold prevention. Delaying any of these steps compounds your risk and multiplies remediation costs later.
Your property investment in Seattle’s wet climate requires professional expertise that goes beyond standard construction practices. Industrial dehumidifiers, moisture detection equipment, and professional drying protocols exist for a reason: they work. When water damage occurs, hire a professional water damage restoration company immediately, as these specialists possess the tools and experience to dry your project completely and prevent hidden moisture from becoming a mold colony.
After reconstruction, maintain humidity below 50 percent during fall and winter months, keep gutters clear, and repair any leaks the moment they appear. Document all moisture readings and material replacements so you have proof of proper remediation if questions arise later. If your Seattle construction project has experienced water damage or you need professional post-construction cleaning to protect against mold, contact Bumble Bee Cleaning Services to schedule an assessment.
For more information about our cleaning services in Seattle and Atlanta, or to request a cleaning quote, call or text us at 425-786-1360 or email us at info@qbclean.com
