
Construction work leaves behind stubborn dust, debris, and grout discoloration that standard cleaning won’t fix. Your tile grout takes a beating during renovations, and the damage only gets worse if you ignore it.
We at Bumble Bee Cleaning Services know exactly what post-construction grout damage looks like and how to restore it properly. This guide walks you through the damage, your repair options, and when to call in professionals.
What Happens to Grout During Construction
How Construction Dust Embeds Into Grout
Construction dust doesn’t just sit on your tile surface-it embeds itself into grout lines where it bonds with moisture and creates stubborn discoloration. Grout is porous, meaning it absorbs everything it touches, from fine construction dust to adhesive residue and paint splatters. Once dust settles into these joints, standard vacuuming and mopping won’t remove it. The IICRC Standards identify embedded construction debris as a primary concern during post-renovation assessment because it compromises both the appearance and structural integrity of grout lines.
Moisture Accelerates Grout Deterioration
Construction work often involves moisture-from concrete cutting, primer application, or humidity control-which activates the porous grout and allows contaminants to penetrate deeper. This combination of dust, moisture, and time creates a deterioration timeline that accelerates quickly if left untreated.
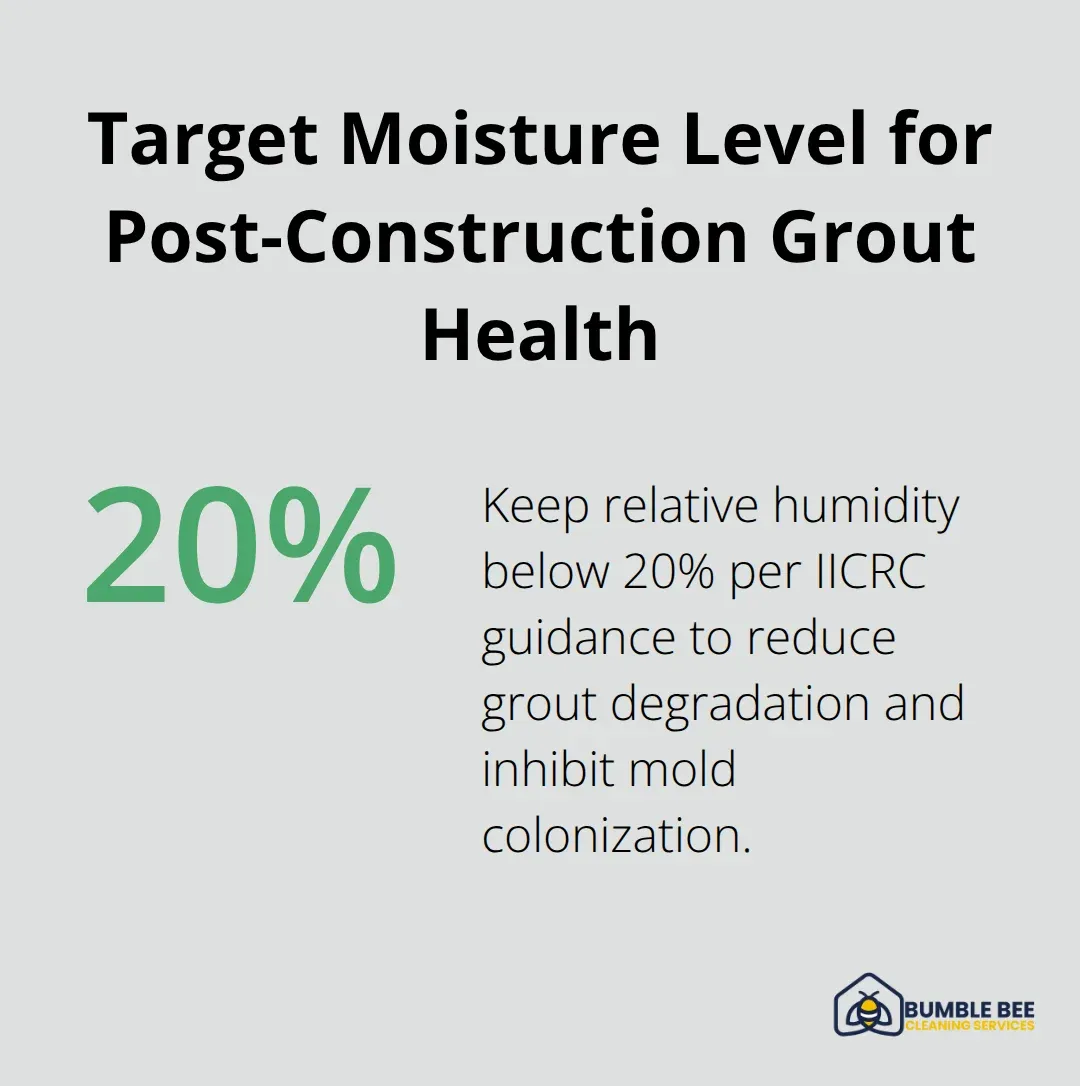
The IICRC Standards recommend moisture control targets below 20% relative humidity to prevent grout degradation and mold colonization.
Three Types of Grout Damage After Construction
Discoloration appears first, typically within days, as dust settles and oxidizes in the grout’s porous surface. Adhesive residue and paint splatters bond chemically to grout, making them impossible to remove with basic cleaning methods. Mold and mildew growth follows within one to three weeks if moisture isn’t properly managed, especially in bathrooms or kitchens where humidity levels remain elevated.
The Cost of Waiting Too Long
If you wait longer than three weeks before addressing construction dust and moisture, the grout loses structural integrity, and resealing alone won’t restore it-you’ll need professional cleaning with industrial-grade equipment, recoloring, or in severe cases, grout replacement. Acting within the first two weeks after construction completion gives you the best chance of avoiding these replacement costs and restoring your grout to its original condition.
How to Properly Restore Grout After Construction
Industrial Steam Cleaning Removes Embedded Construction Debris
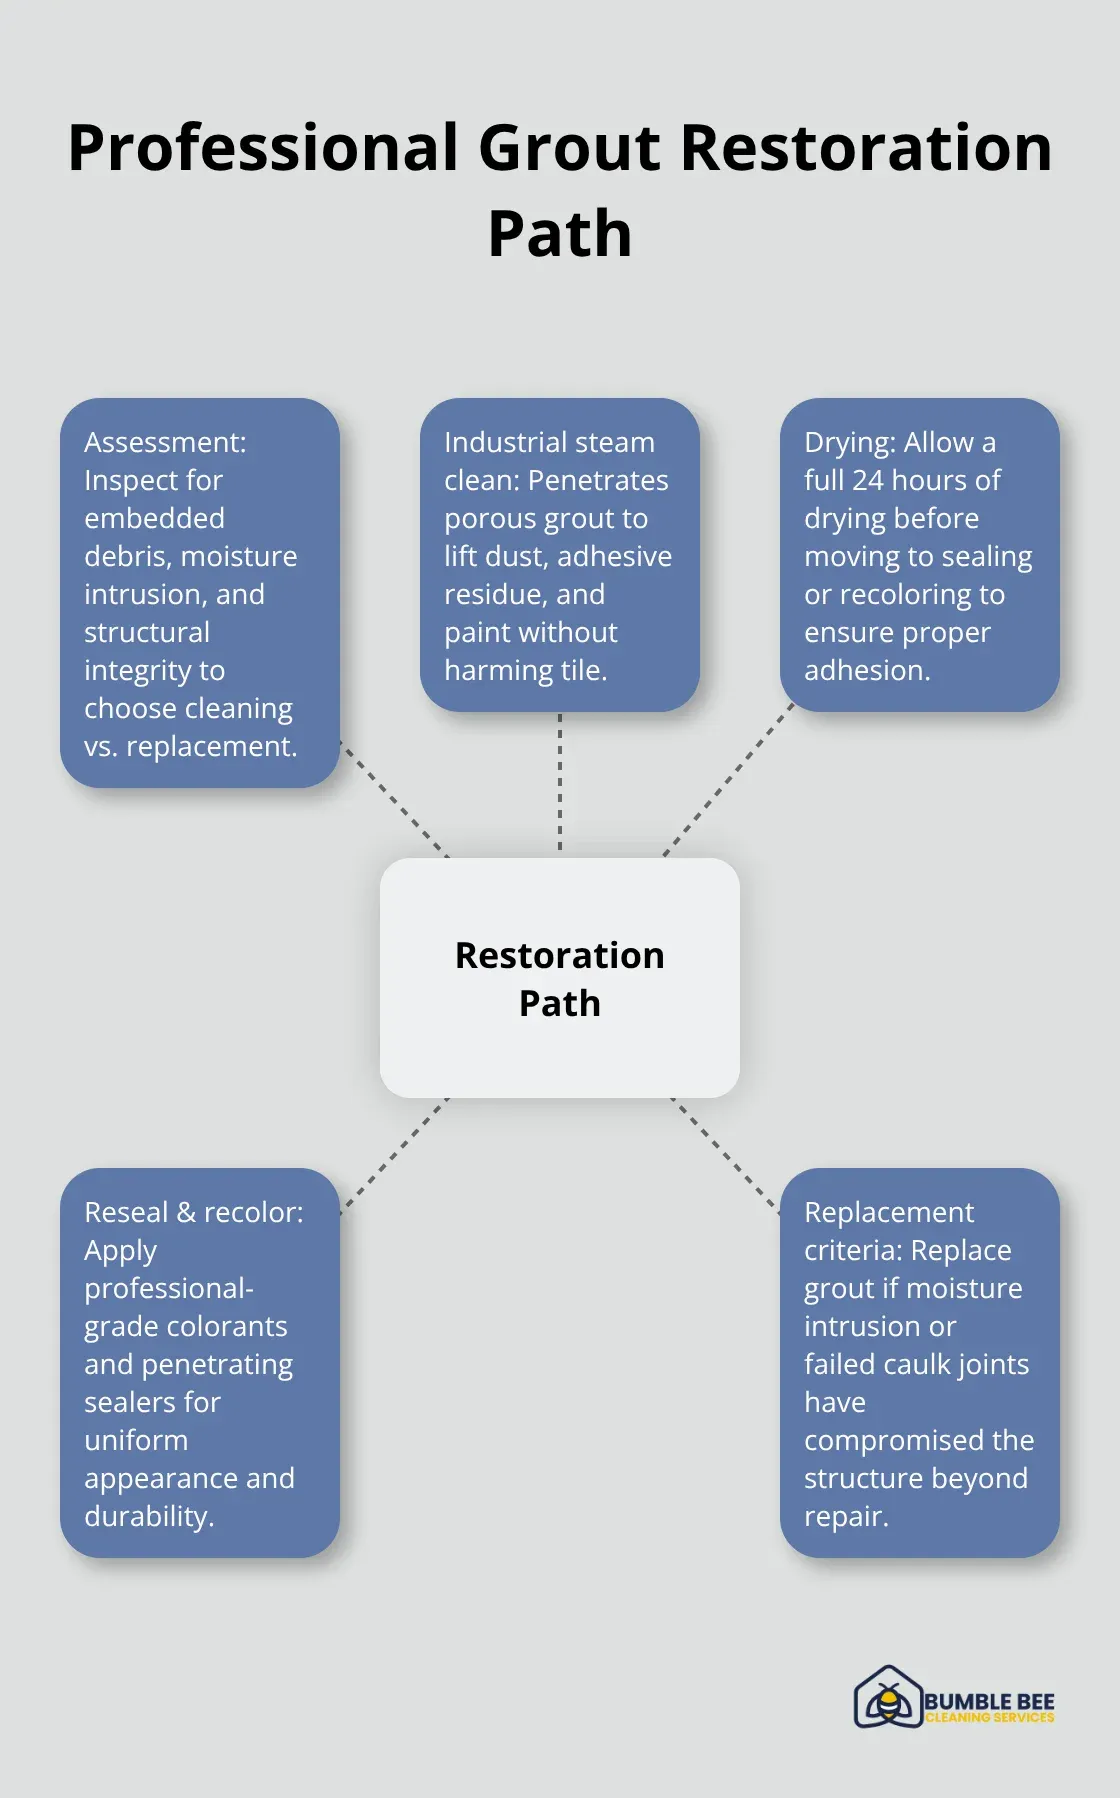
Industrial steam cleaning stands as the gold standard for removing embedded construction dust from grout lines. Steam penetrates the porous surface where standard scrubbing fails, loosening dust, adhesive residue, and paint splatters without damaging the tile or grout structure. Sir Grout’s tile restoration experts confirm this method delivers dramatic improvements even on heavily discolored grout.
The timeline matters here: if you start professional cleaning within two weeks of construction completion, you avoid the structural degradation that makes grout replacement necessary. After cleaning, the grout must dry completely, which typically takes a full 24 hours in Seattle’s moisture-prone climate before you proceed to the next restoration step.
Resealing and Recoloring Restore Grout Appearance
Grout resealing and recoloring work best after thorough cleaning, and the choice between these two approaches depends on your grout’s current condition. Test whether existing sealant remains by dropping water on the grout; if it beads, the sealant is still active and you’ll need a commercial grout stripper before applying new colorant.
Grout colorant pens offer the quickest DIY solution, costing significantly less than professional restoration, but they work only on smaller areas and typically last shorter than professional-grade colorants. Professional colorants, applied by trained technicians who follow proper curing protocols, deliver uniform coverage and durability that DIY methods cannot match, especially across large kitchen or bathroom projects.
When Grout Replacement Becomes Necessary
Grout replacement becomes necessary when water enters the assembly through grout joint absorption or failed caulk joints, allowing moisture to compromise the grout structure. This typically occurs when construction moisture remained uncontrolled, allowing mold colonization and grout degradation beyond repair.
Professional assessment identifies whether cleaning alone restores the appearance or if professional resealing and recoloring follows as the next phase of restoration. Understanding your grout’s condition now determines which restoration path you’ll take and how quickly you can move forward with the final steps.
DIY Grout Cleaning Works for Minor Discoloration Only
Surface-level construction dust and light discoloration respond well to vinegar and baking soda, but this approach fails on adhesive residue and embedded debris that industrial steam cleaning handles. Mix 7 cups water, 1/2 cup baking soda, 1/3 cup lemon juice and 1/4 cup vinegar, spray the concoction onto grout lines, and allow to sit 30 minutes before scrubbing with a nylon-bristled brush, then rinse thoroughly with clean water. This method costs under $10 and works best within the first week after construction when contaminants haven’t bonded deeply into the grout’s porous structure.
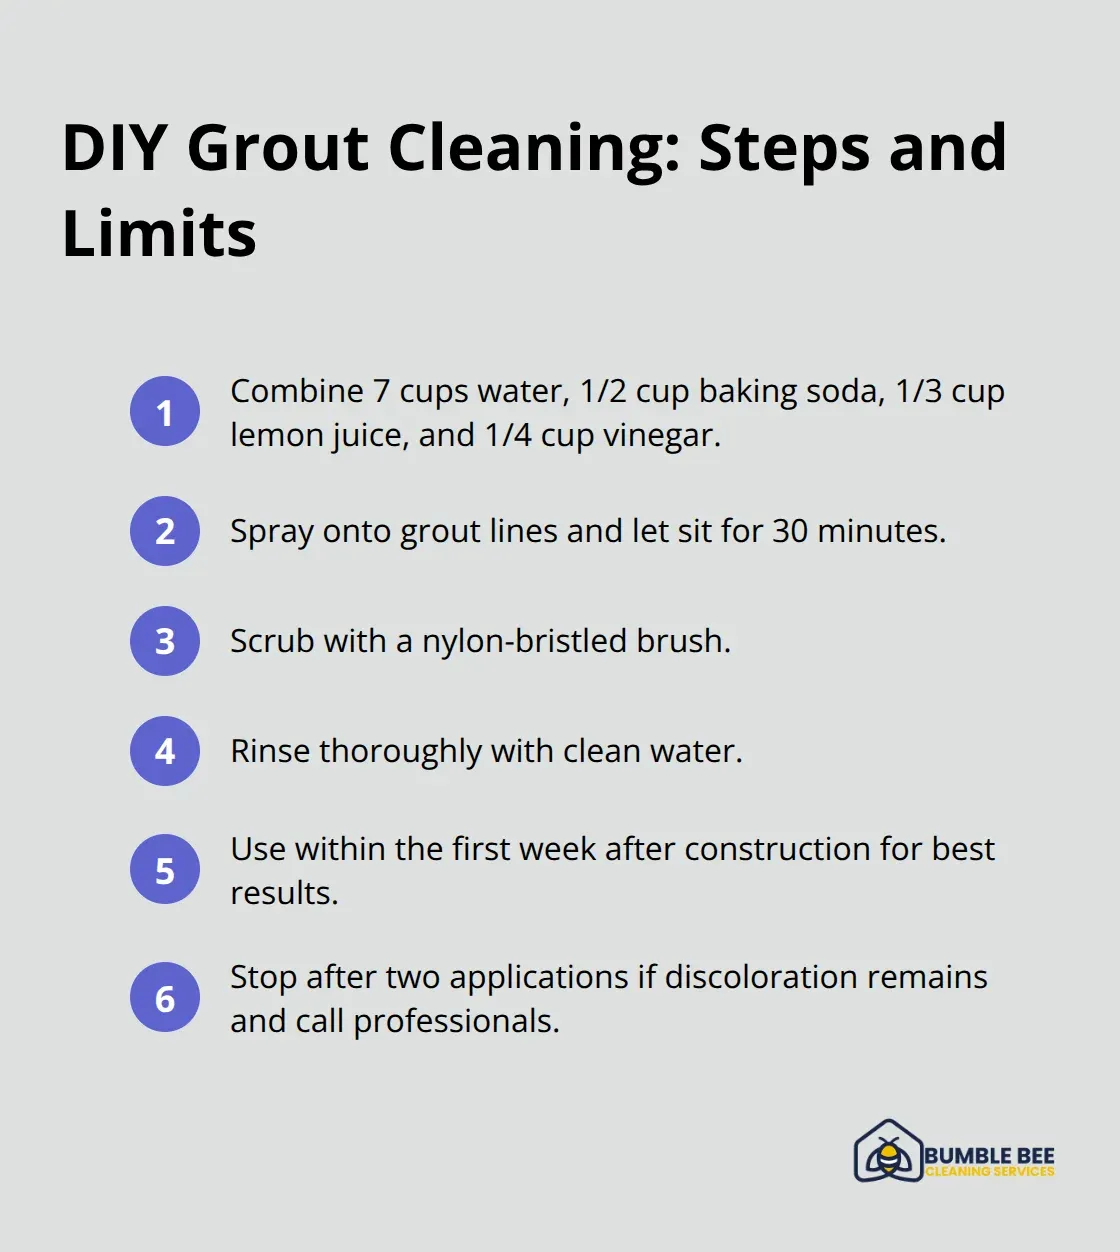
The paste creates a mild abrasive action without scratching tile surfaces, making it safe for most residential installations. However, vinegar’s strong odor lingers for hours, and the method requires significant elbow grease on larger areas like full bathroom floors or kitchen backsplashes. If discoloration remains after two applications, stop here-continuing to scrub risks loosening the grout itself, and you’ll need professional intervention anyway.
Pressure Washing Carries Real Risks for Grout
Pressure washing grout joints at high PSI settings damages grout (forcing water into the substrate and blowing out the grout material itself), creating gaps that allow moisture penetration and mold growth. If you decide to use a pressure washer, stay below 1500 PSI, maintain a 12-inch distance from the grout lines, and keep the nozzle at a 45-degree angle to avoid direct impact. Most homeowners lack the equipment calibration and technique to execute this safely, which is why we at Bumble Bee Cleaning Services recommend skipping pressure washing for grout restoration and moving directly to professional steam cleaning if DIY methods fail. The risk of structural damage costs far more to repair than hiring professionals from the start.
Sealing Grout Prevents Future Construction Damage
After cleaning completes and grout dries fully for 24 hours, apply a penetrating grout sealant to create a protective barrier against dust and moisture. Quality sealants prevent moisture from entering the grout, reducing the risk of mold and mildew in humid areas. Allow sealant to cure for 72 hours before exposing the grout to moisture or foot traffic. Reapply sealant every 1–3 years depending on foot traffic and bathroom humidity levels to maintain protection. This single step prevents the expensive restoration work you’re doing now from repeating after your next renovation.
Final Thoughts
DIY methods handle light surface dust within the first week, but adhesive residue and embedded construction debris require industrial-grade equipment that homeowners lack. Vinegar and baking soda fail to penetrate deep enough, and pressure washing risks blowing out grout material entirely. Once contaminants bond into the porous grout structure, only professional steam cleaning removes them without causing structural damage-and the cost difference between hiring professionals immediately and attempting failed DIY fixes that necessitate full grout replacement proves substantial.
After cleaning completes, a penetrating sealant applied within 24 hours of drying blocks moisture and dust from entering the grout and prevents grout discoloration from repeating after your next renovation. Reapply sealant every 1–3 years depending on foot traffic and humidity levels to maintain protection. This single step protects your investment and avoids expensive restoration work down the road.
We at Bumble Bee Cleaning Services handle post-construction tile restoration with industrial steam cleaning, professional resealing, and recoloring tailored to your grout’s specific condition. Our team follows industry standards for moisture control, debris removal, and restoration techniques that protect both your tile and grout structure. Contact us today for a professional assessment and flat-rate quote on your tile restoration project.
For more information about our cleaning services in Seattle and Atlanta, or to request a cleaning quote, call or text us at 425-786-1360 or email us at info@qbclean.com
