Moving into a new Seattle apartment means starting fresh, but only if the space is truly clean. Most new renters don’t realize that previous occupants leave behind dust, allergens, and odors that affect your health and comfort from day one.
We at Bumble Bee Cleaning Services know that move-in readiness requires more than just unpacking boxes. This guide walks you through the essential cleaning tasks and inspections that transform a vacant unit into a healthy home you can settle into immediately.
What Needs Deep Cleaning Before You Move In
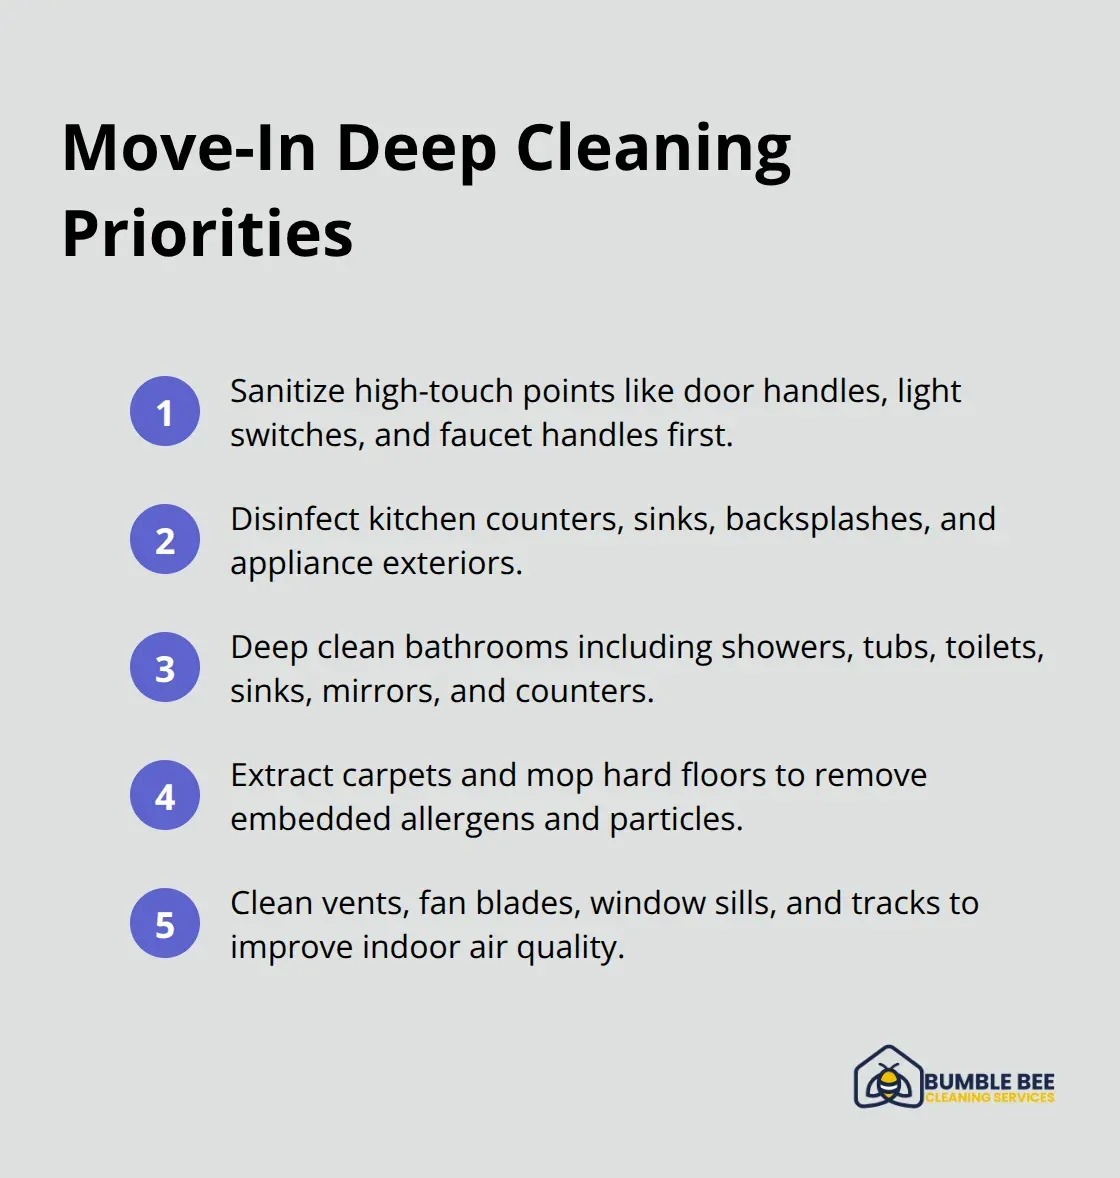
The spaces landlords overlook become your problem on day one. Baseboards collect months of dust and pet dander, vents circulate stale air filled with allergens, and kitchen surfaces harbor bacteria from previous tenants. High-touch surfaces pose the greatest health risk, so sanitize them first. Door handles, light switches, faucet handles, and kitchen counters require immediate attention, as ATP testing-a quantitative measure of cleanliness-reveals surface contamination that visual inspection alone misses, according to research from the Journal of Occupational and Environmental Hygiene.
Sanitize the Kitchen and Bathrooms First
The kitchen demands thorough sanitization of sinks, countertops, backsplashes, and all appliance exteriors (stove, oven, refrigerator, and microwave). Bathrooms require equal attention: shower walls, tubs, toilets, sinks, mirrors, and countertops need complete sanitization with special focus on removing hard water stains and soap residue. This isn’t optional cleaning-it’s health protection.
Address Floors and Baseboards Properly
Carpet and hard floors trap allergens and odors that persist until removed properly. Vacuuming alone leaves embedded debris; carpets need deep extraction to reduce dust mite populations and allergens. Hard floors require mopping with appropriate solutions, and baseboards must receive complete attention since they accumulate months of grime and dust.
Clear Vents and Windows to Improve Air Quality
Ceiling fans, air vents, and return air grilles circulate whatever particles sit on their surfaces into your breathing space. Wipe these thoroughly and clean all vent covers completely. Window sills and tracks collect debris and mold spores that affect air quality, so address these before opening windows regularly.
Tackle Lingering Odors with Ventilation
Previous occupants leave behind cooking smells, pet odors, and mustiness that cleaning products only mask temporarily. Open windows after sanitizing surfaces to allow fresh air circulation, and run your HVAC system for several hours to push stale air out. If odors persist after two days of ventilation, the issue likely involves carpet or subflooring that requires professional remediation beyond standard cleaning-a situation where professional deep cleaning services can identify and address the root cause.
Creating a Fresh and Healthy Living Environment
Extract Carpet and Clean Hard Floors Thoroughly
Carpet and upholstery trap allergens, dust mites, and odors that standard vacuuming cannot remove. Deep carpet extraction reduces dust mite populations, and according to the IICRC (Institute of Inspection, Cleaning and Restoration Certification), professional-grade extraction removes embedded debris that regular household vacuums leave behind. Schedule extraction cleaning before moving furniture in, since an empty space allows technicians to access edges and under-pad areas where allergens accumulate. Upholstered items that came with the unit, like built-in window seats or attached cushions, require the same attention. For apartments with hard flooring, damp mopping with appropriate solutions removes dust and particles that sweeping misses.
Clean Windows, Sills, and Treatments
Window sills and tracks collect mold spores, dead insects, and debris that affect both air quality and the appearance of your space. Clean these thoroughly with a damp cloth and a small brush to reach corners, then dry completely to prevent mold growth. Window treatments like blinds and shades harbor dust that circulates into your breathing space every time air passes through them, so wipe or vacuum these before your move-in date. If treatments are heavily soiled, replacement may cost less than professional cleaning.
Eliminate Odors Through Ventilation and Assessment
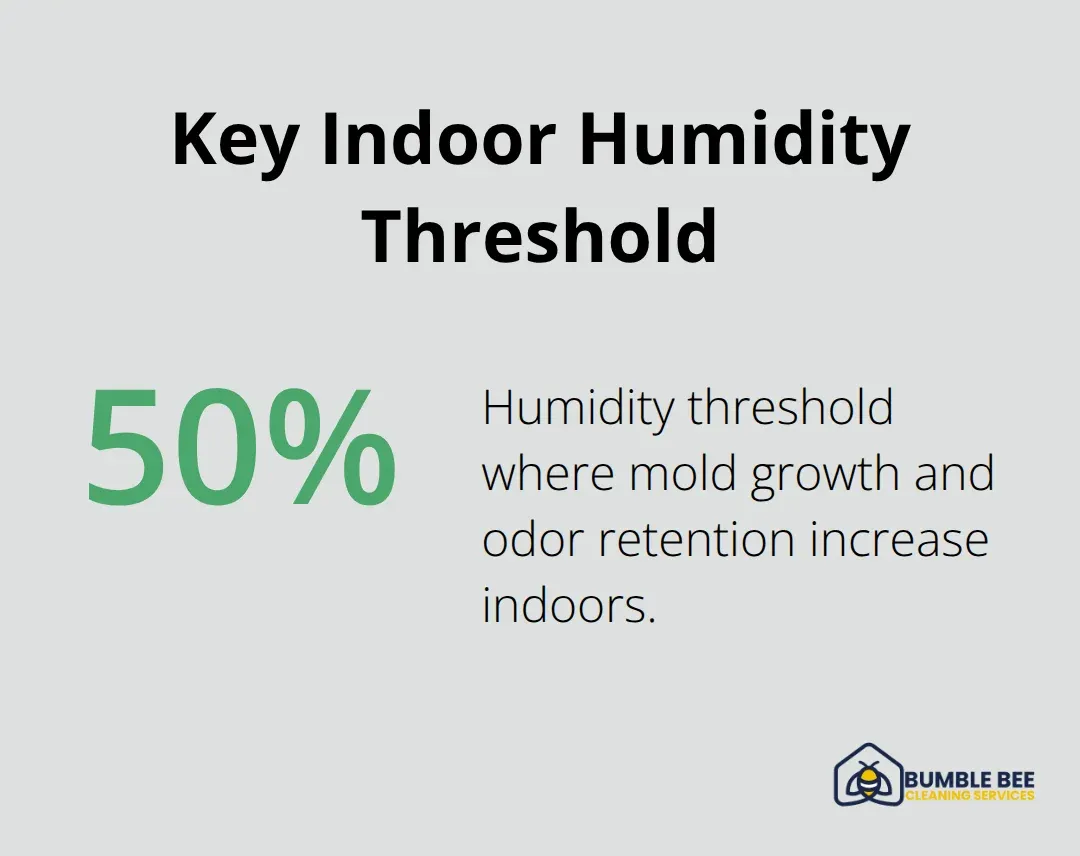
Odor elimination requires more than air fresheners or scented candles masking underlying problems. After sanitizing surfaces, run your HVAC system continuously for 24 to 48 hours while windows remain open to exchange stale indoor air with fresh outdoor air. Pet odors embedded in carpet or subfloors often persist despite surface cleaning, and in these cases, professional deep cleaning can identify whether odors originate from carpet, padding, or subflooring and recommend targeted treatment. Cooking odors fade faster than pet odors but still require ventilation time. If your apartment smells musty after two days of ventilation, moisture or mold may be present behind walls or in HVAC ducts-a situation requiring landlord involvement rather than additional cleaning. Humidity levels above 50 percent encourage mold growth and odor retention, so if your apartment feels damp, request that your landlord check the HVAC system and address any moisture issues before you move in your belongings.
Once your apartment’s air quality and surfaces feel fresh, shift your attention to verifying that utilities and appliances function properly before settling in.
Verify Utilities and Document Everything Before Moving In
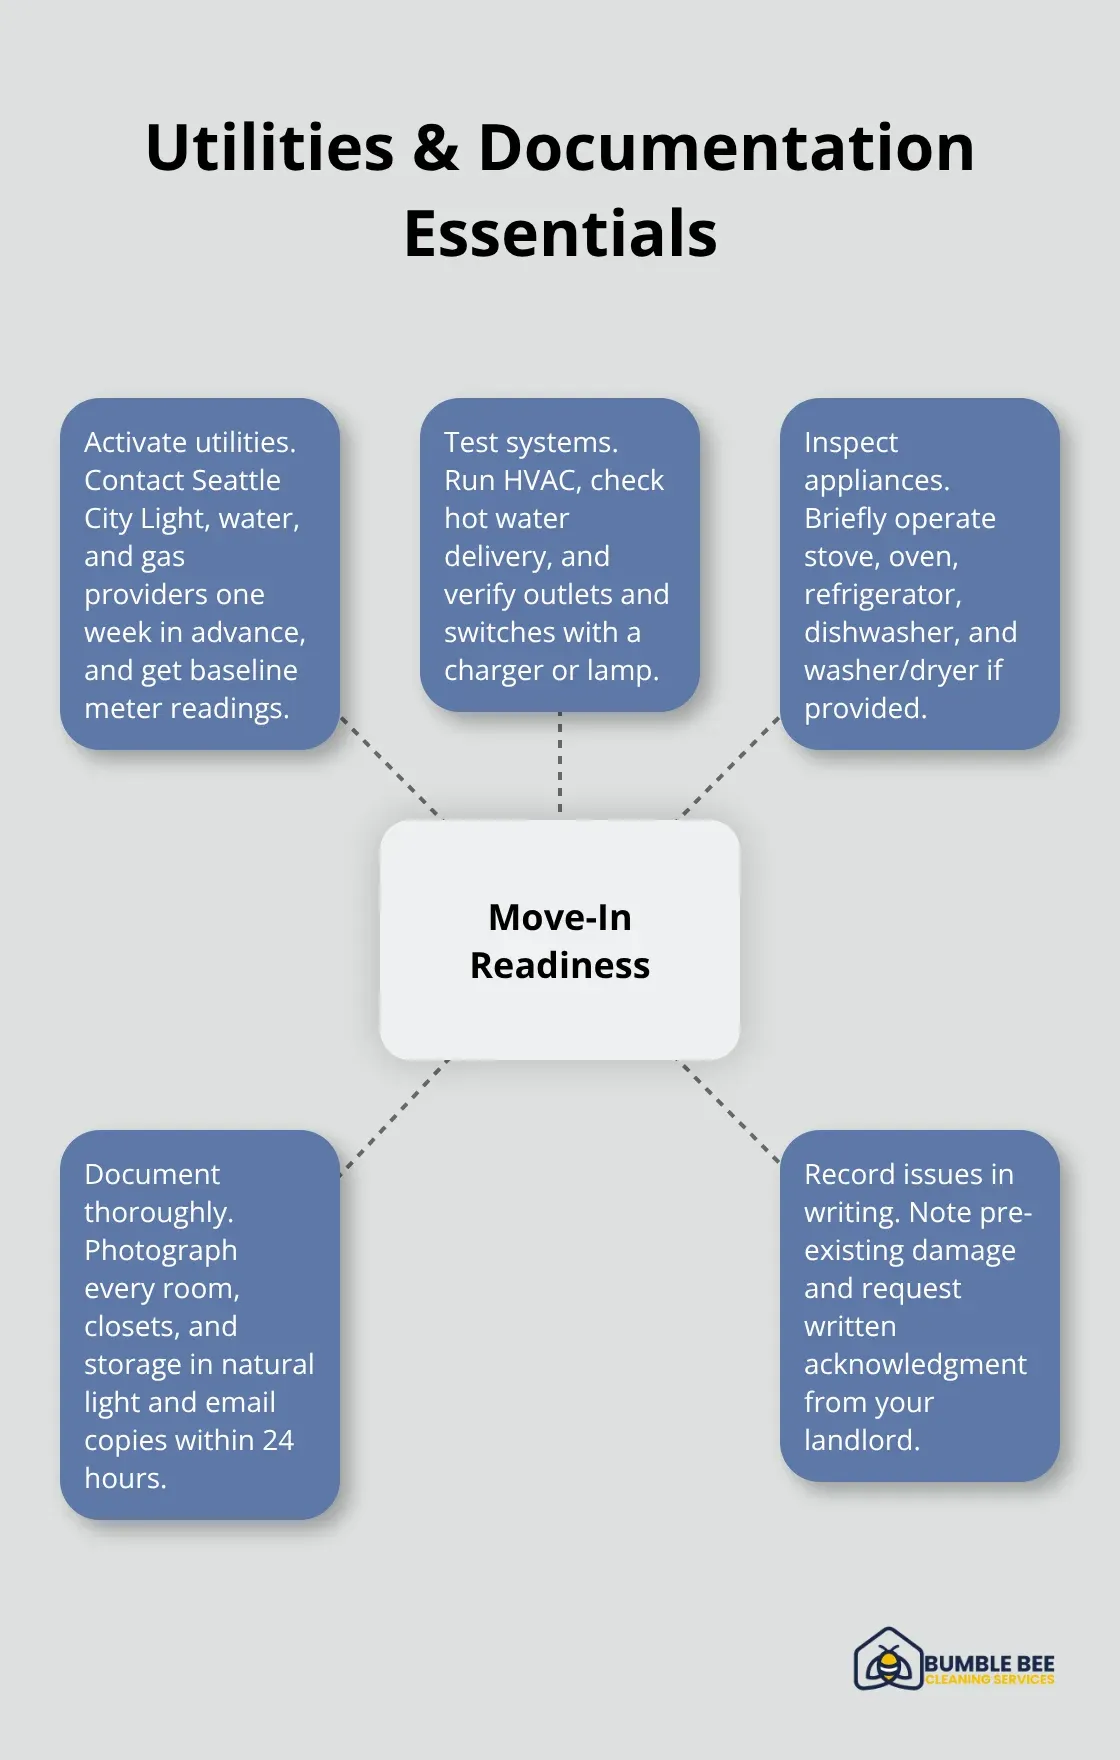
After sanitizing surfaces and improving air quality, shift focus to confirming that utilities function properly and documenting the apartment’s condition. Contact Seattle City Light, your water provider, and gas utility at least one week before move-in to verify service activation and request baseline meter readings. Ask for written confirmation that all services are active, and photograph or video-record your meter readings on move-in day to establish a baseline for your utility usage.
Washington State law requires landlords to maintain safe plumbing and sewer systems, adequate heating, and functional electrical wiring, but verification falls on you to protect your security deposit and avoid disputes later.
Test Water, Heat, and Electrical Systems
Test every faucet, including kitchen and bathroom sinks, showers, and toilets, to confirm water pressure and drainage work properly. Check that hot water reaches all fixtures within a reasonable time of running the tap; if it takes longer, air may be trapped in lines or the water heater needs adjustment. Run your HVAC system for 15 minutes to confirm heating and cooling function, and test all light switches and outlets with a phone charger or lamp to verify electrical safety.
Inspect All Appliances and Document Damage
Inspect appliances provided by your landlord, including the stove, oven, refrigerator, dishwasher, and washer/dryer if included, by operating each one briefly. Document any damage, stains, or malfunction with photos timestamped on your phone before you unpack anything. Capture ceiling corners, baseboards, cabinet interiors, and appliance exteriors where damage appears most obvious.
Photograph Every Room in Natural Light
Photography becomes your strongest defense against deposit disputes, so take detailed images of every room, closet, and storage space in natural light with your phone camera or a basic digital camera. Create a separate folder dated with your move-in date, and email these photos to yourself and your landlord within 24 hours as proof of the apartment’s condition at occupancy. Landlords must maintain rental units in good repair at move-in and throughout tenancy, but photographic evidence protects you if disputes arise about pre-existing damage.
Record Pre-Existing Issues in Writing
Note any cracks in walls or ceilings, water stains, carpet damage, or paint chips in a written document alongside your photos. If your landlord fails to address significant defects before you move in, document the issues and request written acknowledgment that you are not responsible for pre-existing damage. This proactive approach, combined with the deep cleaning and utility verification you have completed, positions you to move into a genuinely ready apartment rather than one that creates problems during your tenancy.
Final Thoughts
Move-in readiness depends on three elements working together: deep cleaning surfaces, verifying utilities, and documenting the apartment’s condition. Professional cleaning services accelerate this process significantly, allowing you to focus on utility verification and documentation rather than spending your first week scrubbing surfaces. We at Bumble Bee Cleaning Services specialize in move-in cleaning that addresses the spaces landlords overlook, including baseboards, vents, appliance exteriors, and hard-to-reach areas where allergens accumulate.
Our team uses IICRC-certified methods for carpet extraction and deep cleaning that remove embedded debris and odors standard vacuuming cannot reach. With flat-rate pricing, we provide transparency about costs, and our 100% quality service guarantee means you move into a genuinely clean apartment. Schedule your move-in cleaning with Bumble Bee Cleaning Services to transform your new Seattle apartment into a healthy home ready for day one.
For more information about our cleaning services in Seattle and Atlanta, or to request a cleaning quote, call or text us at 425-786-1360 or email us at info@qbclean.com