
Moving out of your Seattle rental? A post-move inspection can make or break your deposit return. Landlords and property managers conduct thorough checks, and missing even small issues during your final walk-through costs you money.
We at Bumble Bee Cleaning Services help renters protect their deposits by preparing properties for these critical inspections. This guide walks you through what to look for, what landlords prioritize, and how to document everything properly.
What to Inspect During Your Final Walk-Through
Kitchen: Where Inspectors Focus Most
Your final walk-through happens after cleaning but before you hand over keys. This is your chance to catch what the cleaning crew missed or what damage exists beyond cleaning’s scope. Seattle landlords expect move-out inspections to reveal a rent-ready unit, which means spotless surfaces, working fixtures, and zero damage. Start in the kitchen because that’s where inspectors spend the most time. Open every cabinet and drawer to check the interior walls, shelves, and corners for dust or debris. Wipe down the refrigerator coils at the back if it has wheels, clean the oven interior including the racks, and inspect the dishwasher tub and filter. Look behind and under appliances for spills or crumbs.
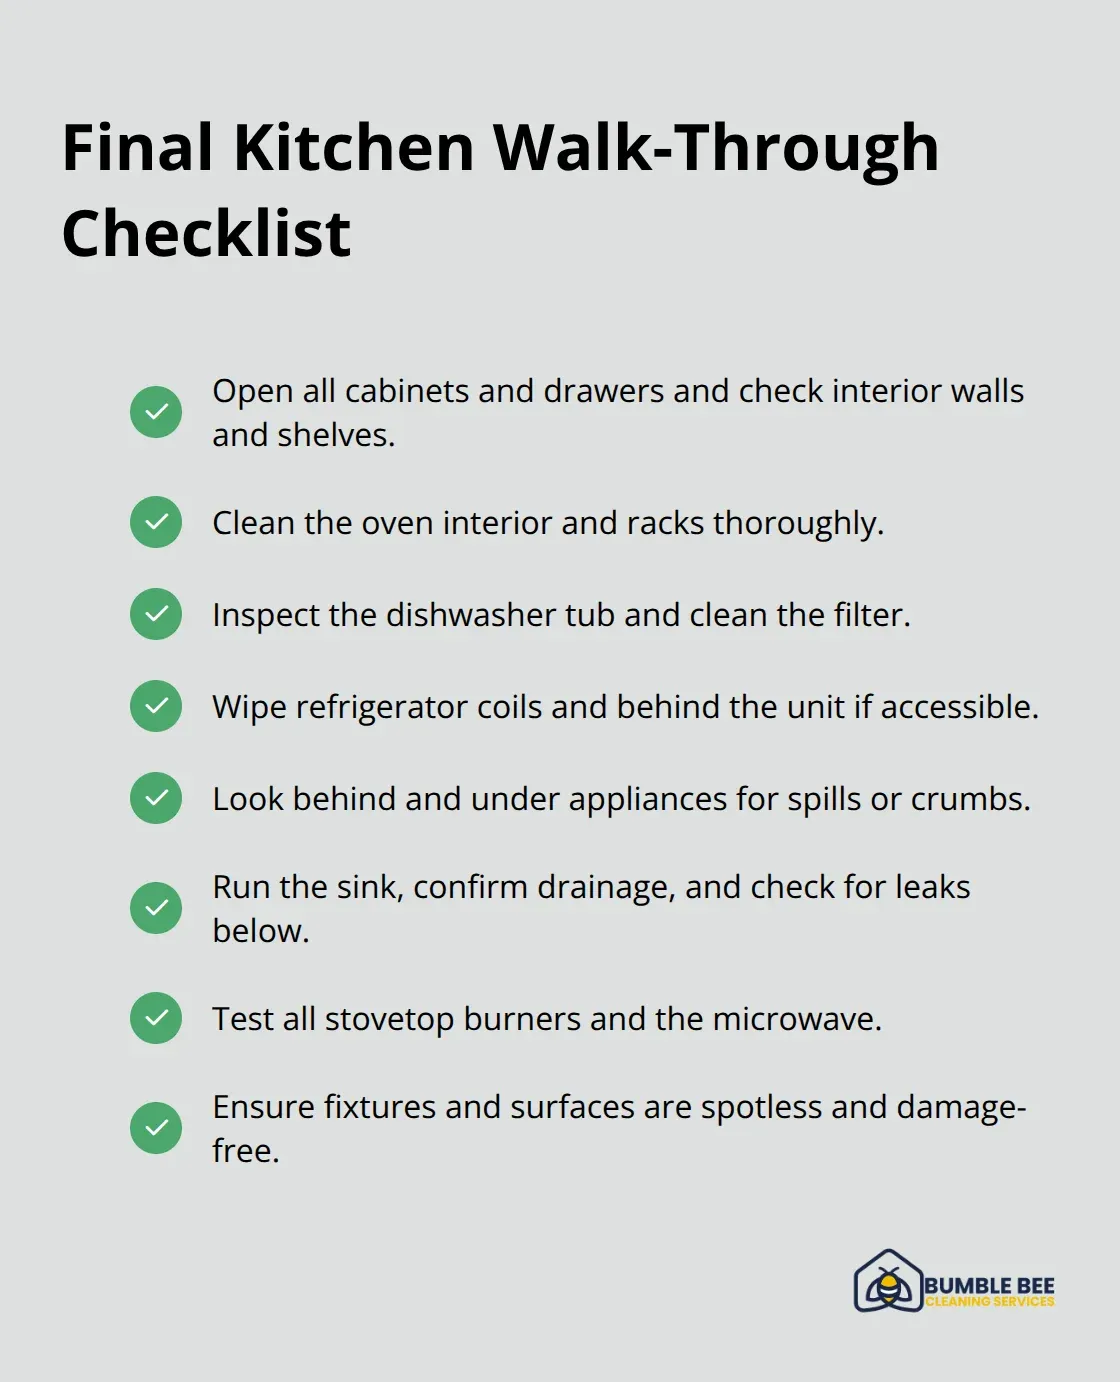
Move to the sink and faucet; turn on the water to confirm drainage works and check for leaks underneath. Test all burners on the stovetop and the microwave.
Bathrooms and High-Touch Areas
In bathrooms, run the shower and toilet to verify water pressure and drainage. Scrub the grout between tiles-this is where mold and soap scum hide, and inspectors notice it immediately. Check the exhaust fan for dust buildup, wipe down light fixtures and exhaust vents, and inspect the toilet bowl and base for stains. Baseboards in bathrooms absorb moisture; wipe them thoroughly. Bedrooms and living areas require attention to floor edges where vacuums miss dirt, window sills and tracks that collect dust, light switches and door handles (which are high-touch points), and closet shelves and rods. Take a photo of each empty closet to prove you removed all items.
Floors, Walls, and Overall Condition
Floors determine whether an inspector thinks you cared about the property. Carpet should be professionally cleaned with pet stains and odors treated-this is mandatory in most Seattle leases. Hardwood and tile floors need deep mopping, not surface cleaning. Look for scuff marks on walls and doors; these count as damage beyond normal wear and tear. Small nail holes from pictures are typically acceptable, but larger holes or gouges require patching. Test all light switches to confirm they work, replace any burned-out bulbs, and check that ceiling fans operate smoothly. Inspect paint for chips or peeling, particularly around door frames and high-traffic areas.
What Happens When You Find Problems
The final walk-through is not the time to discover problems-it’s the time to confirm your cleaning addressed everything. If you find issues after the crew leaves, you either fix them yourself or contact your cleaning service immediately. Most professional cleaners offer a satisfaction guarantee and will return within 24 hours if work doesn’t meet standards. This is why scheduling your move-out cleaning with a reputable company matters; they know exactly what Seattle inspectors prioritize and what causes deposit deductions. Once you’ve confirmed the unit meets inspection standards, you’re ready to document your findings and protect your deposit.
What Seattle Landlords Actually Penalize During Move-Out Inspections
Carpet Stains and Pet Odors Cost the Most
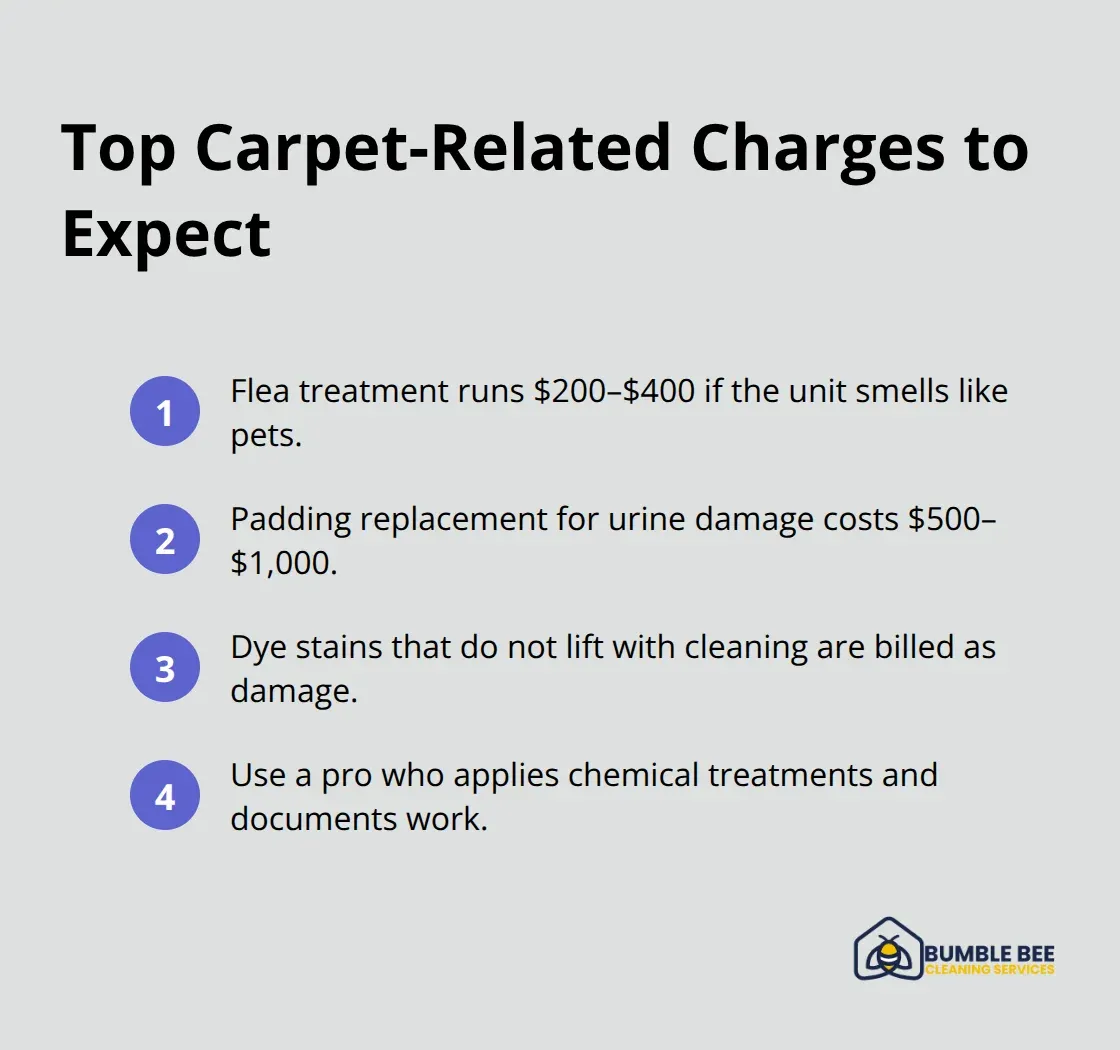
Carpet stains and odors top the list of deposit deductions in Seattle rentals. Washington State law allows landlords to charge for damage beyond normal wear and tear, and carpet damage is the easiest to document and defend. Professional carpet cleaning is mandatory in most Seattle leases, yet many renters skip treating pet stains or odors before the final walk-through. Inspectors use their nose before they use their eyes-if a unit smells like pets, that triggers flea treatment charges, which run $200 to $400 in the Seattle area. Pet urine that soaks into the padding requires padding replacement, costing $500 to $1,000 depending on square footage. Carpet dye stains from spills or accidents that don’t respond to cleaning count as damage, not wear. Hire a professional carpet cleaner who treats stains chemically and documents the work in writing.
If you own pets, request enzyme treatment specifically for pet odors-this neutralizes the source rather than masking it.
Kitchen and Bathroom Grime Buildup Triggers Deductions
Kitchen and bathroom grime buildup can trigger deductions. Inspectors look inside cabinets, under appliances, and behind faucets because these areas reveal whether you actually cleaned or just tidied. Grout between bathroom tiles, soap scum on shower doors, and mineral deposits on faucets get noticed immediately and treated as damage if excessive. Hard water stains in Seattle are common, and landlords expect these cleaned, not left for the next tenant. The oven interior, refrigerator coils, and dishwasher filter get checked during inspections-visible buildup here leads to deductions for inadequate cleaning.
Paint Scuffs and Wall Damage Require Attention
Paint scuffs and wall damage form the third major category of deductions. Small nail holes from hanging pictures fall under normal wear, but scuff marks from furniture, gouges from doors, or crayon marks from children count as damage charges. Touch-up paint from the landlord’s paint color won’t match your walls perfectly, so inspectors document these carefully. The difference between wear and damage matters legally in Seattle under rental standards and tenant protections. Your final walk-through must catch these issues before the official inspection happens, giving you time to address them or dispute charges if they’re unfair.
What Inspectors Notice First
Inspectors prioritize visible surfaces and high-touch areas during their walkthrough. They check light switches, door handles, and cabinet fronts for dust and marks. They test faucets for water pressure and drainage, run toilets to confirm they flush properly, and inspect exhaust fans for dust accumulation. They open every cabinet and drawer to assess interior cleanliness. They look at baseboards, particularly in bathrooms where moisture causes staining. They examine closet shelves and rods to confirm you removed all personal items. They photograph scuff marks, wall damage, and carpet stains as evidence for deposit deductions. These observations happen quickly-inspectors spend minutes per room, not hours-which means obvious problems get flagged immediately. Your job during the final walk-through is to spot these issues before the inspector does, giving you the chance to fix them or prepare a defense if charges seem unfair.
Protect Your Deposit with Documentation
Photograph and Video Everything After Cleaning
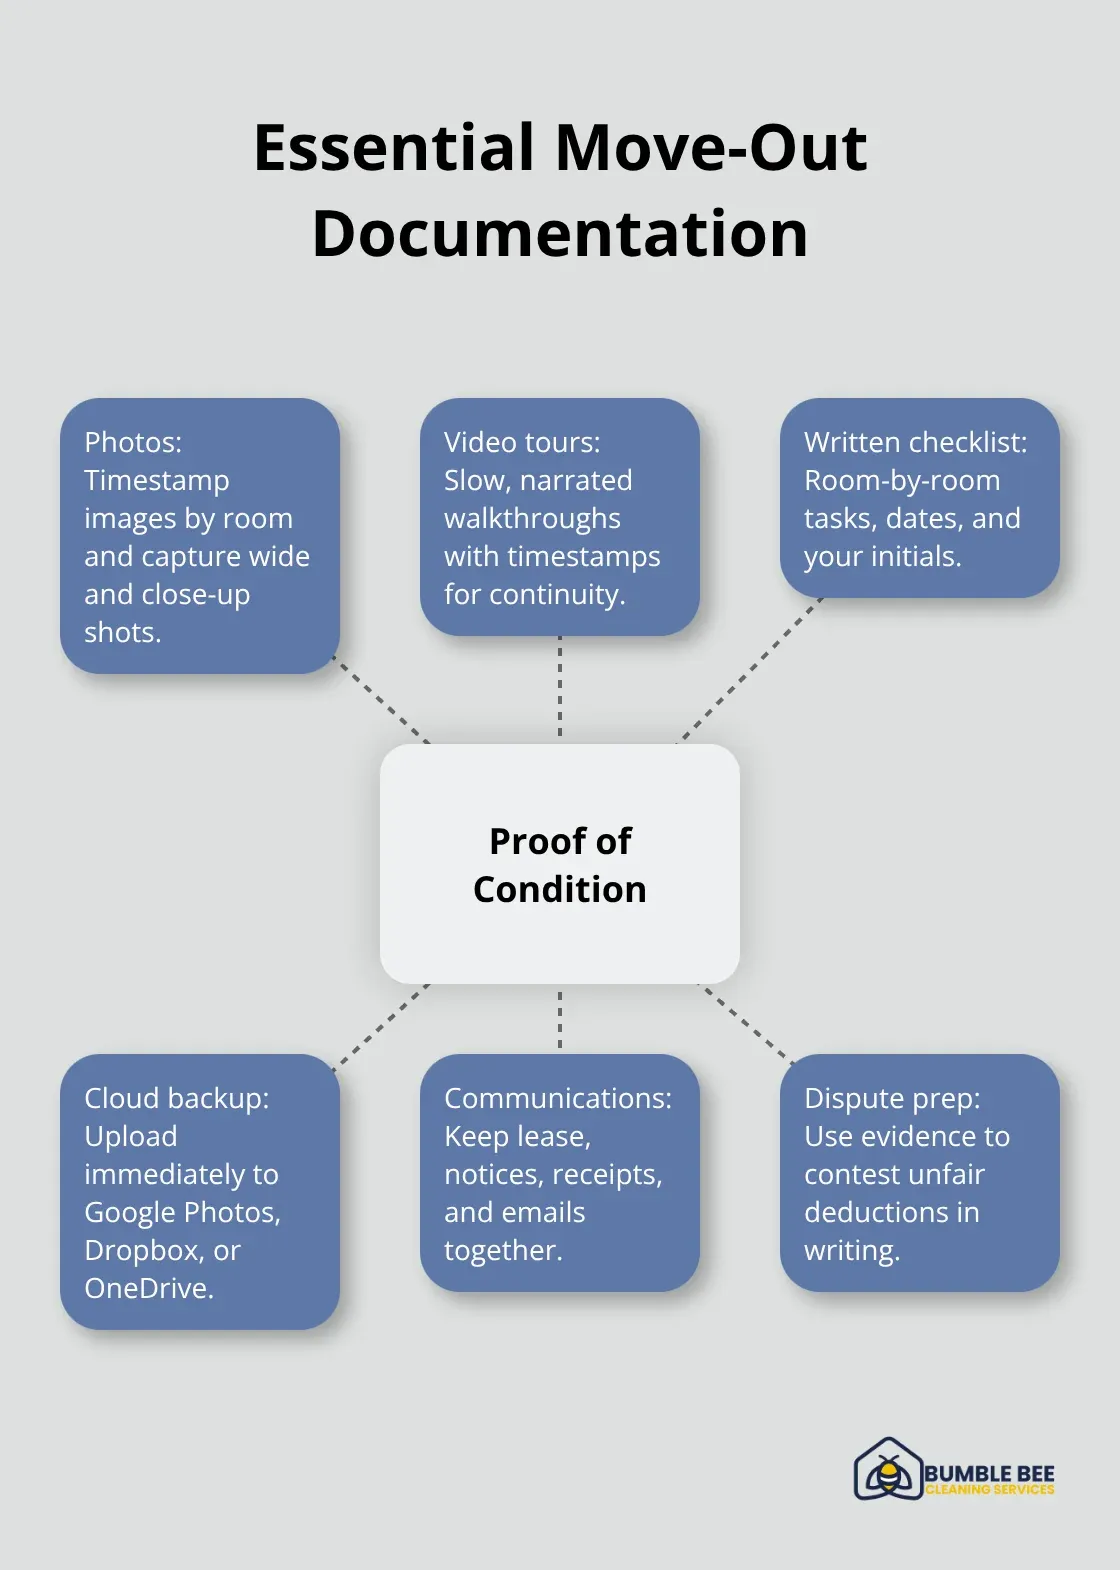
Your final walk-through proves nothing without evidence. Landlords in Seattle conduct move-out inspections and mail deposit disposition statements to your forwarding address within 30 days of your departure, according to Washington State law. If you disagree with deductions, you need documentation showing the unit’s condition at handoff. Start photographing and videoing immediately after cleaning finishes but before you remove the last items. Use your phone camera and timestamp each photo or video with the date and room name spoken aloud in the recording. Photograph every surface inspectors prioritize: cabinet interiors with shelves visible, appliance exteriors, bathroom grout and tile, baseboards, light switches, door handles, floor edges, and closet rods. Take wide shots of empty rooms to show overall cleanliness, then close-up shots of specific areas. Video walkthrough tours are more powerful than still photos because they show continuous space and condition. Film slowly, narrate what you see, and include timestamps. Store these files on cloud backup (Google Photos, Dropbox, OneDrive) immediately so they exist independently of your phone.
Create a Written Checklist with Specific Details
Create a written checklist that documents exactly what you addressed and what condition you found. List each room, then note specific tasks completed: Kitchen cabinet interiors cleaned, refrigerator coils wiped, oven interior scrubbed, sink tested for drainage, appliance exteriors wiped. Bathrooms: grout cleaned, shower/tub scrubbed, toilet sanitized, exhaust fan dusted, baseboards wiped. Bedrooms: floors vacuumed to edges, light switches wiped, closets confirmed empty. Include the date completed and your initials. Email this checklist to your landlord or property manager the same day, requesting written confirmation they received it.
Maintain Records of All Communications
Keep copies of all lease communications, move-out notices, rent payment receipts, and any maintenance requests you submitted during tenancy. Washington State tenant protections require landlords to act in good faith during deposit deductions, and your documentation proves you upheld your lease obligations. If your landlord deducts charges you believe are unfair, this evidence lets you dispute deductions in writing or small claims court. Photos, videos, and written checklists work together to establish what condition the unit was in when you handed over keys (and what the inspector found afterward). This combination protects you far more effectively than any single form of documentation alone.
Final Thoughts
Your final walk-through represents your last opportunity to catch problems before the post-move inspection happens. Once you hand over keys, you cannot fix issues the inspector documents, which makes these steps essential: inspect every surface thoroughly, photograph and video everything, and maintain written records that protect your deposit. Carpet stains, kitchen grime, bathroom buildup, and wall damage cause the most deductions in Seattle rentals, so spotting these problems first gives you time to address them or prepare documentation proving they existed before you moved in.
Professional move-out cleaning protects your interests by addressing the exact areas inspectors prioritize. We at Bumble Bee Cleaning Services focus on cabinet interiors, appliance exteriors, bathroom grout, baseboards, and high-touch surfaces that renters typically miss during standard cleaning. Our team knows what Seattle landlords expect because we prepare units for final inspections regularly, and we stand behind our work with a quality guarantee that covers any areas needing attention.
Store your photos, videos, and written checklist in cloud backup after your final walk-through, then email your checklist to your landlord as proof of the condition you left the unit in. Keep all lease documents and communication records until you receive your deposit disposition statement within 30 days, and contact Bumble Bee Cleaning Services to schedule your move-out cleaning and ensure your Seattle rental is inspection-ready.
For more information about our cleaning services in Seattle and Atlanta, or to request a cleaning quote, call or text us at 425-786-1360 or email us at info@qbclean.com
