Renovation aftermath can be overwhelming, but it doesn’t have to be. At Bumble Bee Cleaning Services, we understand the challenges of post-renovation cleanup in Seattle.
Our guide will help you tackle the mess efficiently, ensuring your newly renovated space shines. From essential tasks to time-saving techniques, we’ve got you covered for a spotless finish in 2025 and beyond.
How to Tackle Post-Renovation Mess Like a Pro
Banish Construction Dust and Debris
After a renovation, your space might resemble a construction site more than a home. The cleanup process can intimidate, but with the right approach, you can restore your newly renovated space to its full glory. The first step is to remove layers of dust and debris. Open all windows to improve ventilation. Use a shop vacuum to remove larger particles and debris. For finer particles, use a HEPA vacuum to capture dust (these vacuums trap over 99.97% of fine airborne particles down to 0.3 microns like construction dust). Don’t overlook areas like light fixtures, ceiling fans, and window tracks.
Restore Shine to Glass and Mirrors
Windows, mirrors, and glass surfaces often bear the brunt of renovation dust. For streak-free results, mix equal parts white vinegar and water in a spray bottle. This natural solution cuts through grime effectively. Use microfiber cloths instead of paper towels to avoid leaving lint behind. For stubborn marks, a mixture of baking soda and water can work wonders without scratching delicate surfaces.
Deep Clean Bathrooms and Kitchens
Bathrooms and kitchens require special attention post-renovation. Start by disinfecting all surfaces, including inside cabinets and drawers. Use a disinfectant approved by the EPA for killing 99.9% of germs. For tile grout, make a paste of baking soda and water, apply it to the grout lines, let it sit for 10 minutes, then scrub with a brush. This method can restore grout to its original color without harsh chemicals.
Clean and sanitize all fixtures, paying extra attention to often-forgotten areas like faucet aerators and showerheads. These can accumulate debris during renovation, affecting water flow and quality.
Vacuum and Mop All Floors
Once you’ve tackled the dust and surfaces, focus on the floors. Start by vacuuming all carpeted areas (use the HEPA vacuum for best results). For hard floors, sweep or vacuum first, then mop with an appropriate cleaner for your floor type. Pay special attention to corners and baseboards, where dust tends to accumulate.
Consider Professional Help
If the task seems overwhelming, don’t hesitate to call in the professionals. Many cleaning services (including Bumble Bee Cleaning Services) specialize in post-renovation cleanups, ensuring every nook and cranny of your newly renovated space sparkles. These experts have the tools, products, and experience to handle even the toughest post-renovation messes efficiently.
Now that you know how to tackle the post-renovation mess, let’s explore the professional cleaning equipment and products that can make your job easier and more effective.
Professional Cleaning Equipment for Effortless Post-Renovation Cleanup
After a renovation, the right tools can transform a dusty space into a pristine home. Let’s explore the game-changing equipment that can elevate your cleanup process.
HEPA Vacuums: The Powerhouse of Dust Removal
High-Efficiency Particulate Air (HEPA) vacuums are essential for effective post-renovation cleaning. These machines capture 99.97% of particles as small as 0.3 microns, which is vital for removing fine construction dust. The Environmental Protection Agency recommends HEPA filters to improve indoor air quality significantly. When selecting a HEPA vacuum, you should prioritize models with strong suction power and various attachments to access every corner.
Microfiber Tools: The Secret Weapon Against Dust
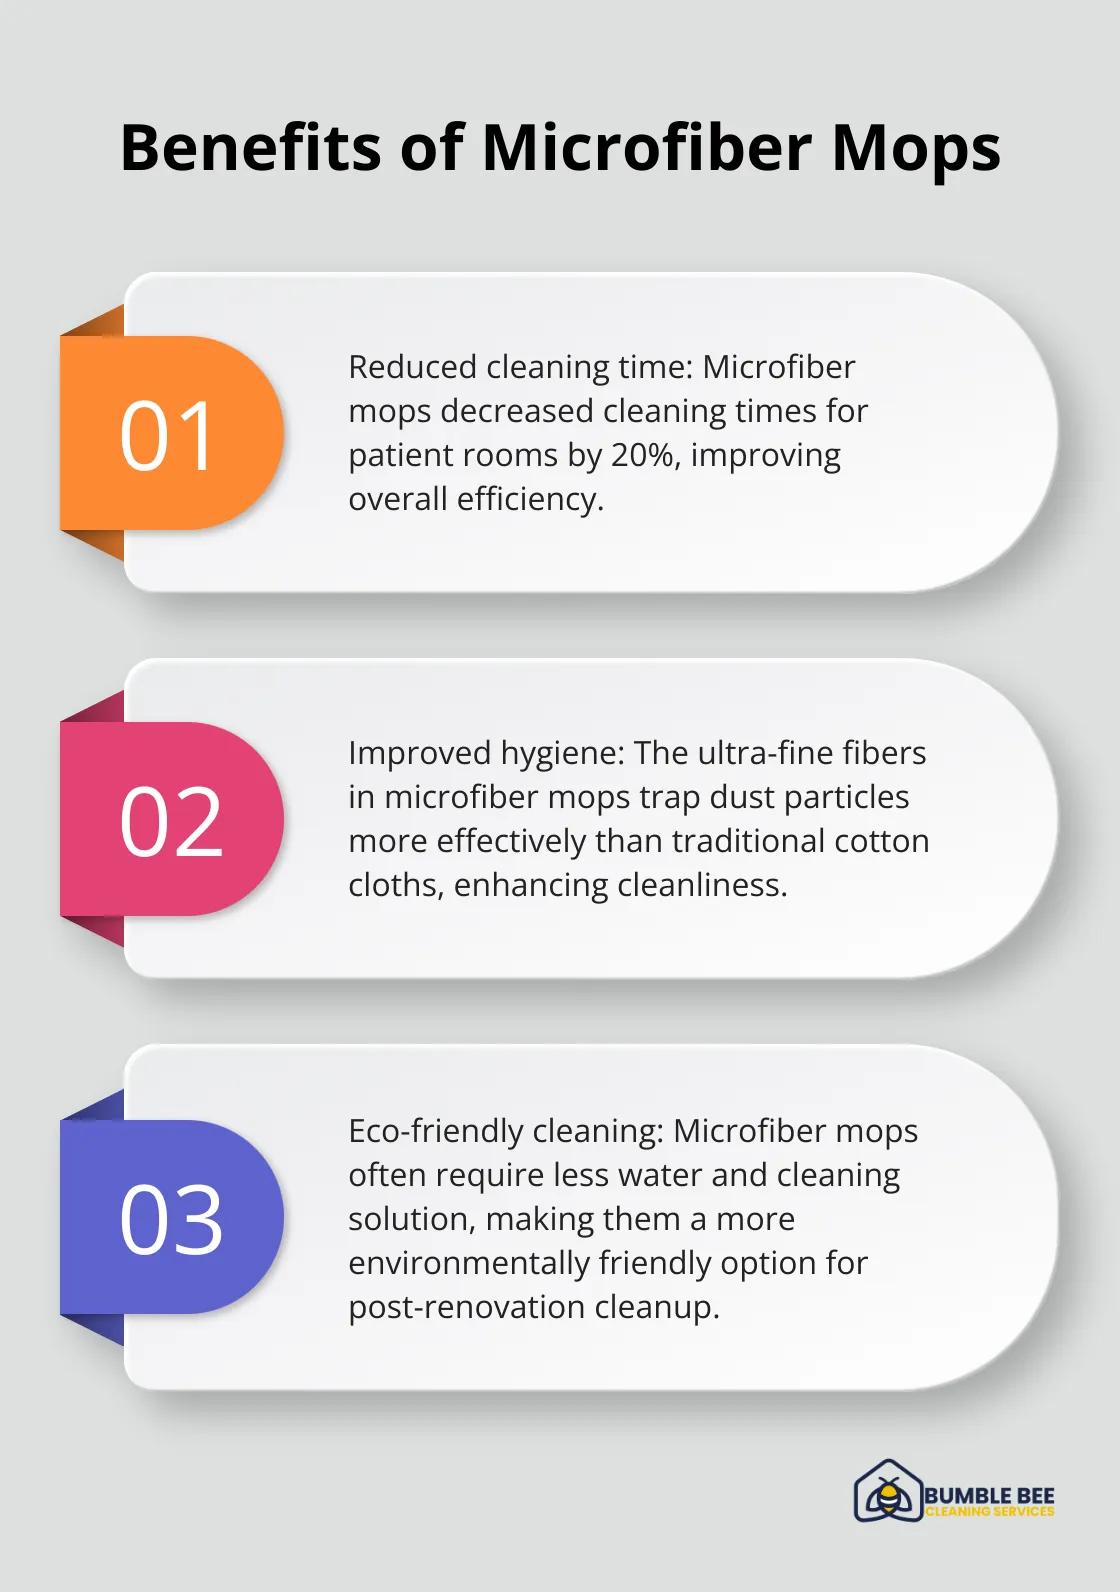
Microfiber cleaning cloths and mops are invaluable for post-renovation cleanup. These ultra-fine fibers trap dust particles more effectively than traditional cotton cloths. UC Davis Medical Center found that microfiber mops reduced cleaning times for patient rooms by 20% and minimized the risk of cross-contamination. You should use different colored microfiber cloths for various surfaces to prevent cross-contamination.
Eco-Friendly Cleaning Solutions: Safe and Effective
The renovation process often involves harsh chemicals, so it’s important to use eco-friendly cleaning solutions during the cleanup. These products are better for the environment and safer for your family and pets. You should look for cleaners certified by Green Seal or EcoLogo, which meet rigorous standards for environmental protection. A simple solution of white vinegar and water can effectively clean most surfaces without leaving harmful residues.
Specialized Tools for Hard-to-Reach Areas
Post-renovation cleanup often requires accessing difficult spots. Extendable dusters, angled brushes, and telescoping poles can help you clean ceiling fans, light fixtures, and high corners without ladders. For tight spaces, you can use compressed air cans to blow out dust before vacuuming. You should wear protective gear (like goggles and a mask) when cleaning overhead or in confined spaces.
Investing in or renting these professional-grade tools can significantly reduce your cleaning time and improve the results. However, if the cleanup process seems overwhelming, professional cleaning services have all these tools and more, along with the expertise to use them effectively. They can tackle even the toughest post-renovation messes, ensuring your newly renovated space is immaculate.
Now that we’ve covered the essential equipment, let’s move on to time-saving techniques that will make your post-renovation cleanup even more efficient.
Time-Saving Techniques for Efficient Post-Renovation Cleanup
Efficient post-renovation cleanup requires strategy and execution. We’ll explore techniques to make the process faster and more effective without compromising on quality.
Create a Room-by-Room Cleaning Plan
Map out your space and prioritize areas. Clean the most used rooms first, such as kitchens and bathrooms. This approach ensures functional living spaces even if the cleanup takes multiple days. Use a checklist for each room to track progress and avoid missing spots. A room-by-room cleaning plan enhances efficiency. Start with the rooms farthest from the exit and work your way towards the door. This prevents re-contamination of already cleaned areas.
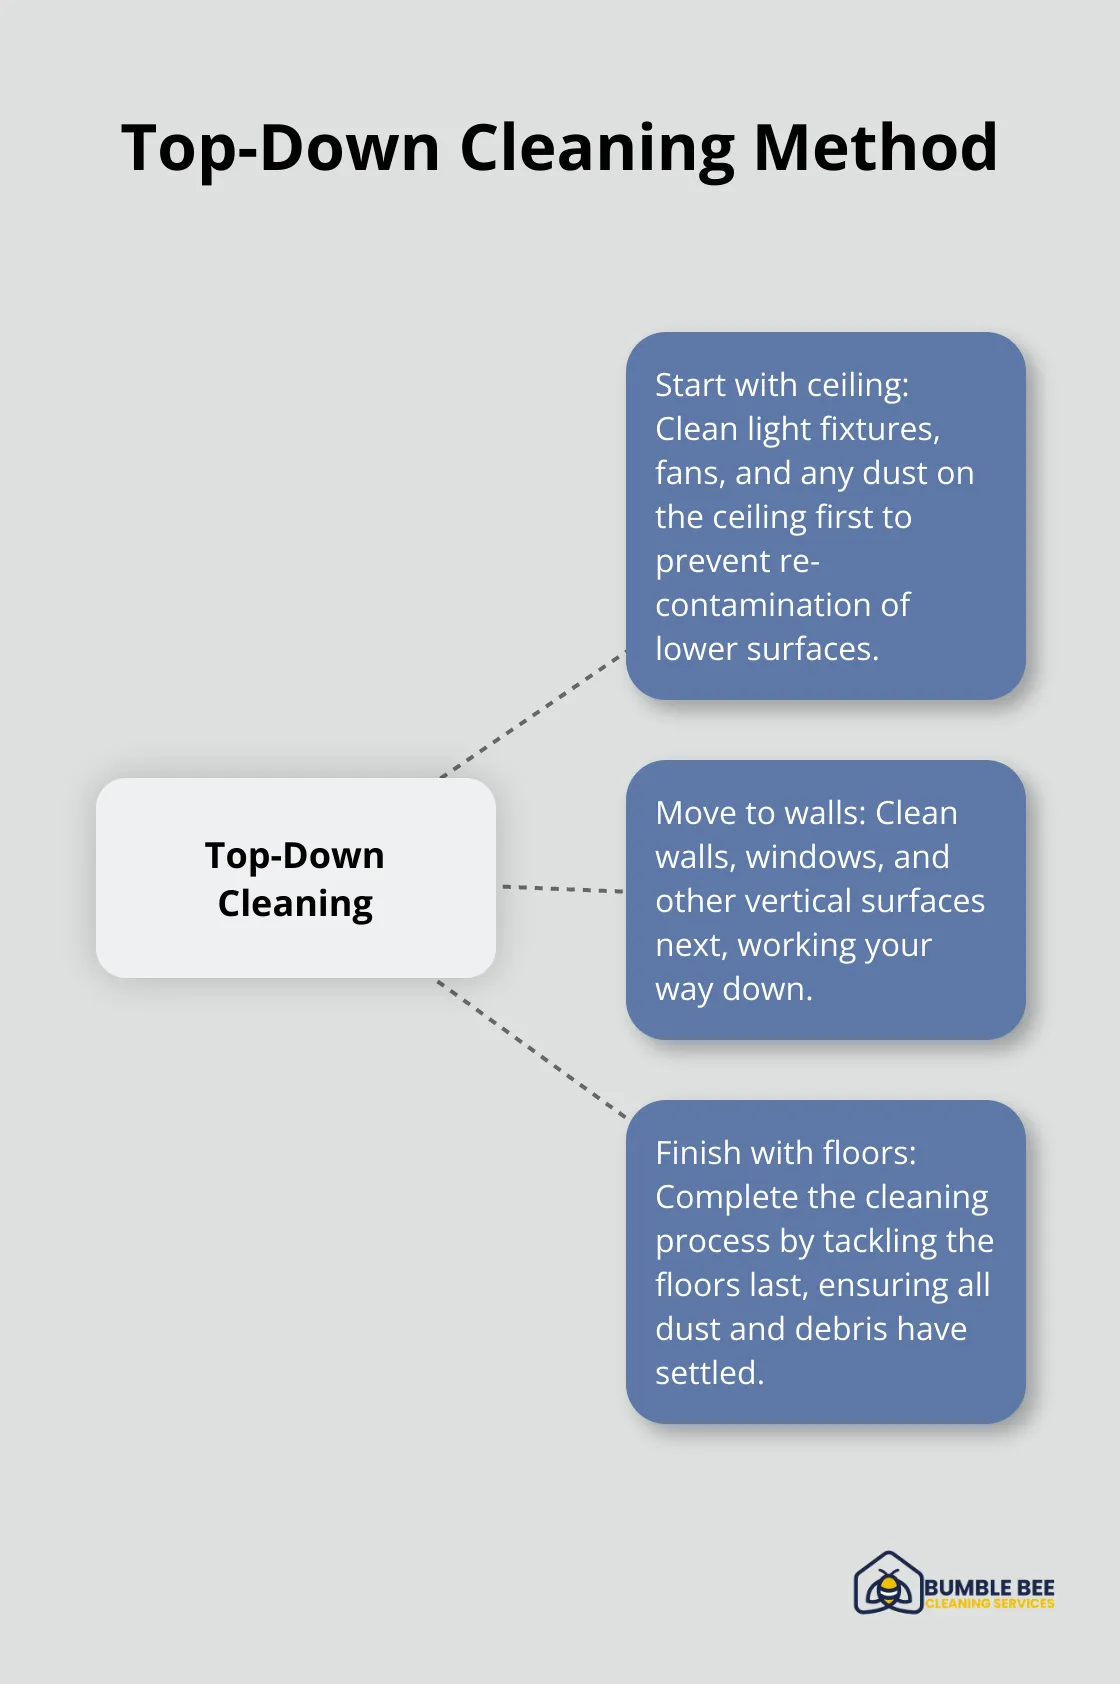
Apply the Top-Down Cleaning Method
Clean from ceiling to floor. This gravity-friendly approach prevents re-contamination of already cleaned areas. Start with light fixtures and ceiling fans, then move to walls, windows, and finally floors. The International Sanitary Supply Association (ISSA) is the world’s leading trade association for the cleaning, hygiene, and facility management industry.
Use Multi-Purpose Cleaning Solutions
Versatile cleaning products can significantly cut down on time spent switching between different solutions. Try all-purpose cleaners that work on multiple surfaces. A mixture of white vinegar, water, and a few drops of dish soap (a DIY solution) can clean most surfaces effectively. This approach is not only time-saving but also eco-friendly and cost-effective.
Delegate Tasks to a Professional Team
For large-scale renovations or when time is of the essence, hiring professionals can be a game-changer. Professional teams have the expertise, equipment, and manpower to tackle post-renovation cleanup swiftly and thoroughly. They can often complete in hours what might take days for an individual. Plus, their experience means they know exactly how to handle different materials and surfaces without causing damage.
Invest in Time-Saving Tools
The right tools can significantly speed up the cleaning process. Consider renting or purchasing a high-powered vacuum with HEPA filters for efficient dust removal. Wet cleaning methods prove effective at trapping and removing dust particles. For larger areas, mop systems with disposable pads prove effective. These pads attract and hold dust, preventing it from spreading during the cleaning process. Microfiber mops and cloths can trap more dust and dirt than traditional cleaning tools. Steam cleaners can sanitize surfaces quickly without the need for harsh chemicals. These investments (or rentals) can pay off in time saved and superior results.
Wrapping Up
Mastering post-renovation cleanup in Seattle requires a strategic approach, the right tools, and effective techniques. You can transform your space from a construction zone to a pristine home by following the steps we’ve outlined. Professional-grade equipment like HEPA vacuums and microfiber tools will help you create a healthier living environment.
Renovation aftermath often leaves behind microscopic particles that can cause respiratory issues or allergies. Tackling post-renovation cleanup yourself can be rewarding, but it’s also time-consuming and physically demanding. This is where professional cleaning services in Seattle can make a significant difference.
Bumble Bee Cleaning Services offers expert post-construction cleaning (with a decade of experience and certification from ARCSI, IICRC & OMWBE). Our team brings the expertise, equipment, and eco-friendly products needed to handle even the toughest post-renovation messes efficiently. You’ll save time and effort while ensuring your newly renovated space sparkles.