Rental inspections in Seattle can be nerve-wracking, but with the right approach, you can breeze through them. At Bumble Bee Cleaning Services, we’ve helped countless tenants ace their inspections with our expert cleaning techniques.
This guide will walk you through essential cleaning hacks, including often-overlooked tasks and lease-end cleaning tips, to ensure your rental property shines. Get ready to impress your landlord and secure your deposit with our proven strategies.
How to Prepare for Your Seattle Rental Inspection
Understanding Seattle’s Rental Inspection Requirements
The Seattle Department of Construction and Inspections (SDCI) oversees rental housing inspections to ensure properties meet health and safety standards. Landlords are required to self-certify that their rental unit meets the basic habitability standards described on the registration checklist. Priority is given to certain inspections. Familiarize yourself with the SDCI’s rental inspection checklist, which outlines specific areas inspectors will examine. This knowledge will help you focus your cleaning efforts on the most critical aspects of your rental property.
Creating Your Inspection-Ready Cleaning Plan
Develop a comprehensive cleaning checklist tailored to your rental property. Focus on high-traffic areas and spaces that tend to accumulate dirt and grime. Include often-overlooked spots like baseboards, light switches, and window tracks. Prioritize tasks based on their importance and the time required to complete them.
Essential Cleaning Supplies for Inspection Success
Stock up on all necessary cleaning supplies well in advance. Your arsenal should include multi-purpose cleaners, disinfectants, glass cleaner, and floor cleaning solutions. Don’t forget microfiber cloths, scrub brushes, and a reliable vacuum cleaner. For eco-conscious tenants, consider using natural cleaning alternatives like vinegar and baking soda (which are effective and safe according to the Environmental Protection Agency).
Tackling Problem Areas
Pay special attention to areas that inspectors often scrutinize. The kitchen and bathroom typically require the most effort. Focus on removing soap scum, mold, and mildew from tiles and grout. In the kitchen, deep clean appliances and degrease surfaces.
Start your cleaning process at least a week before the inspection date. This allows ample time to address any unexpected issues and ensures a thorough job without last-minute stress.
Documenting Your Efforts
Take before and after photos of your cleaning efforts. This visual evidence can prove invaluable if any disputes arise regarding the property’s condition. Additionally, keep receipts for any cleaning supplies or services you’ve invested in, as these can demonstrate your commitment to maintaining the property.
These preparation strategies will equip you to face your rental inspection with confidence. A clean and well-maintained property not only satisfies inspection requirements but also fosters a positive relationship with your landlord. This can potentially lead to lease renewals and favorable references in the future. Now, let’s explore deep cleaning strategies for key areas of your rental property to ensure you leave no stone unturned in your inspection preparation.
How to Deep Clean Key Areas for Inspection Success
Kitchen Cleaning: From Appliances to Cabinets
The kitchen requires thorough attention. Start with appliances. Remove oven racks and soak them in hot, soapy water. Clean the interior with a specialized oven cleaner for tough, baked-on residue. Don’t forget to clean under the stovetop and around the burners. Pull out the refrigerator and stove to clean underneath and behind them.
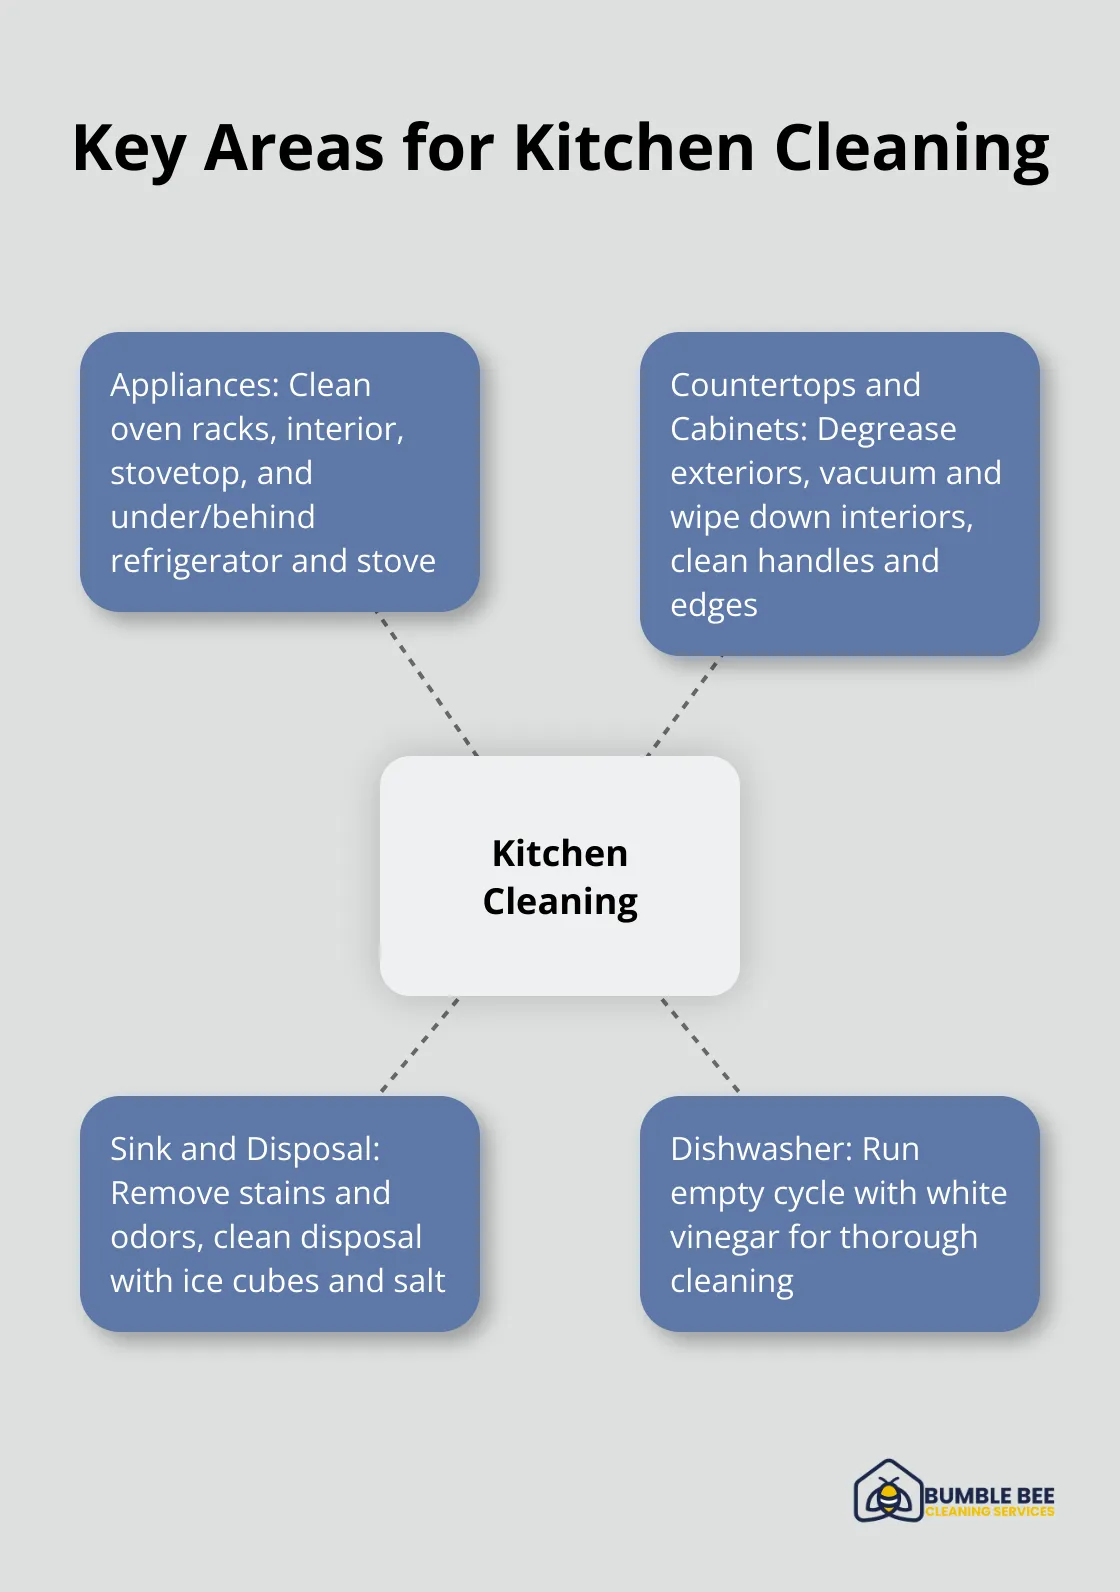
Address countertops and cabinets next. Use a degreaser for built-up grime on cabinet exteriors. For interiors, remove all items, vacuum out crumbs, and wipe down surfaces with a mild cleaner. Pay attention to handles and edges where dirt accumulates.
For sinks, mix baking soda and vinegar to remove stains and odors. Scrub the disposal with ice cubes and salt. Clean the dishwasher by running an empty cycle with a cup of white vinegar.
Bathroom Sanitization: Beyond Surface Clean
Bathrooms often become breeding grounds for bacteria and mold. Start with the shower and bathtub. Mix equal parts vinegar and water to remove soap scum and hard water stains. For stubborn grout, apply a paste of baking soda and water, let it sit for 15 minutes, then scrub.
The toilet needs special attention. Use a disinfectant cleaner on all areas, including the base and behind the seat. Clean sinks and countertops with an all-purpose cleaner, reaching into all nooks and crannies around faucets.
For streak-free mirrors and glass surfaces, mix one part vinegar with four parts water and apply with a microfiber cloth. Finish by mopping the floors, with extra attention to corners and around the toilet base.
Living Areas and Bedrooms: Floors to Ceilings
Start from the top and work your way down in living areas and bedrooms. Dust ceiling fans, light fixtures, and corners where cobwebs gather. Clean windows inside and out, including tracks and sills.
Spot clean any marks or scuffs on walls. (If permitted, touch up paint where necessary.) Vacuum all carpets thoroughly, and consider renting a steam cleaner for a deep clean. For hard floors, sweep and mop, using appropriate cleaners for wood, tile, or laminate surfaces.
Don’t overlook baseboards and door frames. These areas collect dust and often face scrutiny during inspections. A damp cloth with a mild cleaner works well here.
Clean all furniture, including under cushions and in crevices. For upholstered furniture, vacuum and spot clean to improve appearance significantly.
Professional Cleaning Services: A Stress-Free Option
While DIY cleaning can be effective, professional cleaning services offer a stress-free alternative. These services have the expertise and equipment to tackle even the toughest cleaning challenges. They often use eco-friendly products and provide a thorough clean that meets inspection standards.
Professional cleaners can save time and ensure no area is overlooked. They’re particularly useful for deep cleaning tasks that require specialized knowledge or equipment, such as carpet steam cleaning or grout restoration.
Now that we’ve covered the main living areas, let’s move on to those often-overlooked cleaning tasks that can make a significant difference in your inspection results.
Hidden Spots That Can Make or Break Your Inspection
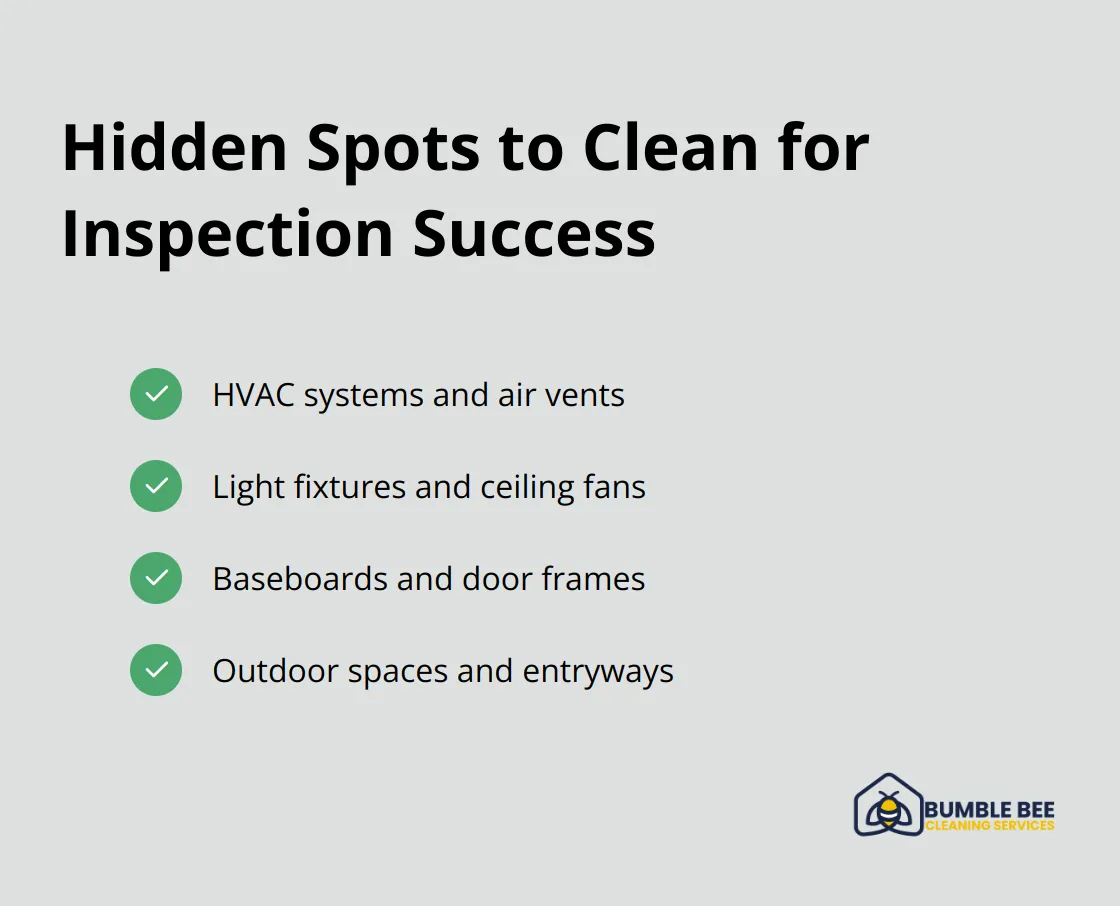
HVAC Systems and Air Vents
An energy-efficient HVAC system improves air quality and energy efficiency. Replace or clean the air filter first. This task can improve air conditioner’s energy consumption by 5 to 15 percent. Vacuum the air vents and returns to remove dust buildup. Remove the vent covers and wash them with warm, soapy water for a thorough clean. Vacuum inside the ducts as far as you can reach.

Light Fixtures and Ceiling Fans
Dusty light fixtures and ceiling fans reduce the effectiveness of your lighting. To clean ceiling fans, use an extendable duster or a pillowcase to trap dust as you wipe each blade. For light fixtures, turn off the power, remove the covers, and wash them in warm, soapy water. Wipe down bulbs with a microfiber cloth to maximize brightness.
Baseboards and Door Frames
These areas accumulate dust and scuff marks over time. Use a vacuum attachment to remove loose dust from baseboards and door frames. Follow up with a damp microfiber cloth to remove any remaining dirt or marks. For stubborn scuffs, a magic eraser can work wonders without damaging the paint.
Outdoor Spaces and Entryways
The exterior of your rental creates the first impression an inspector will see. Sweep porches and balconies, and remove any cobwebs from corners. Clean outdoor light fixtures and ensure house numbers are visible. For entryways, place a fresh doormat and ensure the area is free of clutter. These small touches can set a positive tone for the entire inspection.
Professional Cleaning Services
If you’re short on time or want to ensure every nook and cranny is spotless, consider enlisting the help of professional cleaners. Bumble Bee Cleaning Services specializes in comprehensive cleaning that covers all these areas and more (helping you ace your rental inspection with confidence).
Final Thoughts
This guide equips you with essential strategies to ace your Seattle rental inspection. We explored deep cleaning techniques for key areas and highlighted often-overlooked spots that impact inspection outcomes. Professional cleaning services offer numerous benefits for rental inspections, saving you time and stress.
Bumble Bee Cleaning Services specializes in thorough, eco-friendly cleaning that meets inspection standards. Our expert team handles everything from deep cleaning to easily missed spots. We recommend starting your cleaning process early and documenting your efforts with before and after photos.
Lease end cleaning services can be a worthwhile investment, potentially helping secure your full security deposit. These strategies set you up for inspection success and create a more pleasant living environment. A clean, well-maintained rental passes inspections with flying colors (and fosters a positive relationship with your landlord).