Moving out of your Seattle home? A comprehensive move-out cleaning checklist is your key to a smooth transition and a full security deposit return.
At Bumble Bee Cleaning Services, we’ve seen firsthand how a thorough clean can make all the difference in leaving your rental property spotless.
Our ultimate Seattle move-out cleaning checklist for 2025 covers every nook and cranny, ensuring you don’t miss a single dust bunny or smudge.
Kitchen Cleaning Mastery: Your Guide to a Spotless Space
The kitchen often requires the most attention during a move-out clean. Let’s explore the essential steps for a kitchen that will impress any landlord.
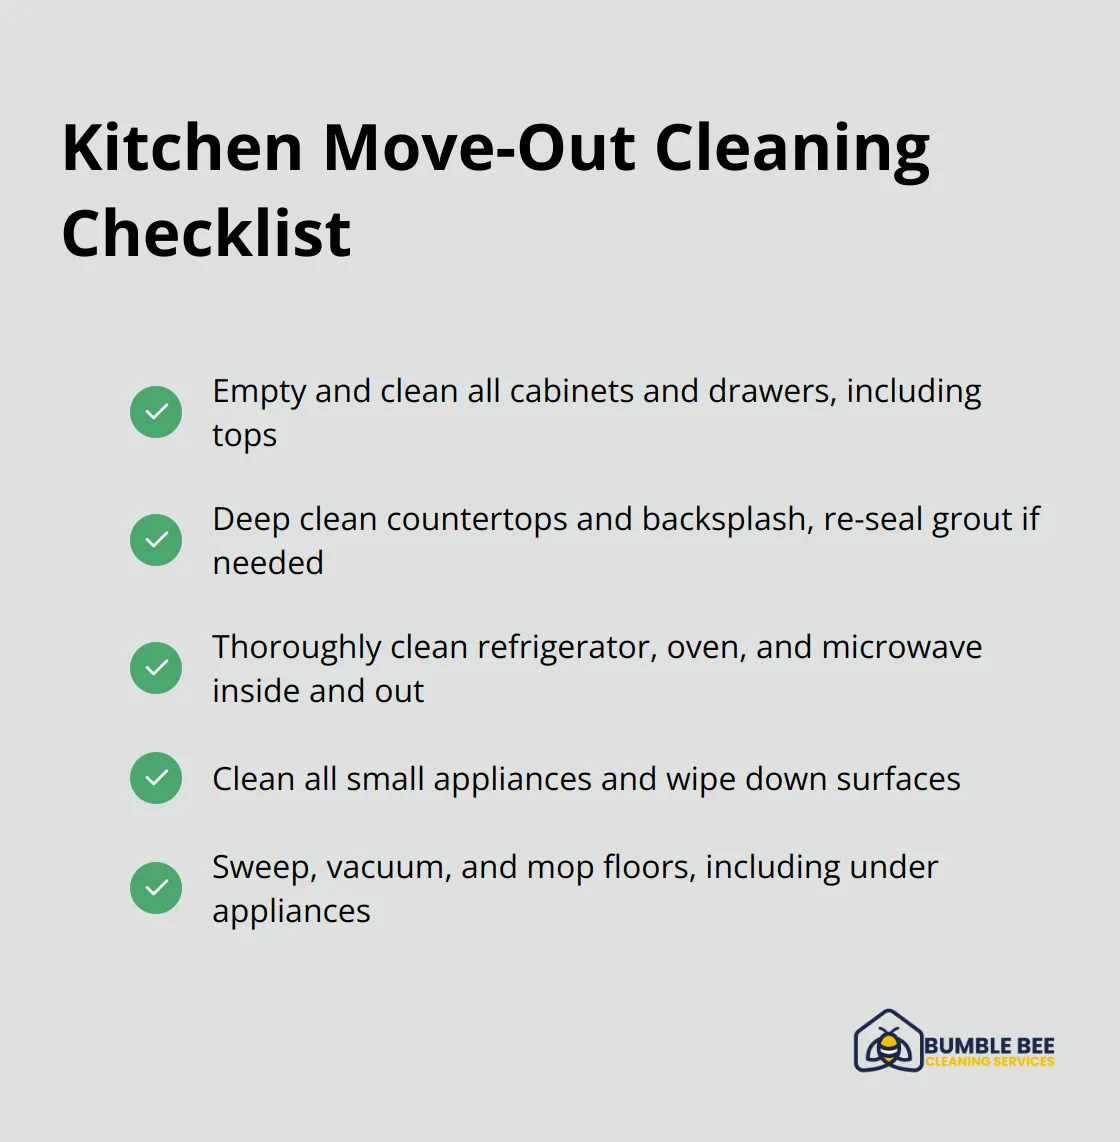
Cabinets and Drawers: The First Frontier
Empty all cabinets and drawers. Remove shelf liners and wipe down every surface, inside and out. Don’t overlook the tops of cabinets – they collect a surprising amount of grease and dust. Use a degreaser for stubborn spots, especially near the stove area.
Countertops and Backsplash: Shine and Sparkle
Focus on the countertops and backsplash next. These areas are prone to stains and buildup. Use a pH-neutral cleaner for natural stone countertops to avoid damage. For tile backsplashes, a mixture of warm water and dish soap works well, followed by a vinegar solution to disinfect. Re-seal grout if necessary – it can dramatically improve appearance.
Appliance Deep Clean: The Devil’s in the Details
Appliances need special attention. Remove all shelves and drawers from the refrigerator, washing them separately. Combine equal parts vinegar and warm water in a spray bottle. Spray down all surfaces of the interior and allow it to sit for a few minutes before wiping. The oven often needs the most work – run the self-clean cycle if available, then attack any remaining grime with a paste of baking soda and water (let it sit overnight for best results).
For microwaves, heat a bowl of water with lemon juice for a few minutes. The steam will loosen food particles, making them easy to wipe away. Clean the exterior and underneath these appliances as well.
Floor Finale: The Last Step
Start with the floors. Sweep or vacuum to remove loose debris. Then, use an appropriate cleaner for your floor type. A steam mop can be incredibly effective for tile. Use a wood-specific cleaner for hardwood to avoid damage. Move appliances and clean underneath – this often makes or breaks a landlord’s impression.
As we move from the kitchen to the bathroom, prepare for another intensive cleaning session. The bathroom, like the kitchen, requires special attention to detail and specific cleaning techniques.
Bathroom Brilliance: Transforming Your Space
Porcelain and Tile Perfection
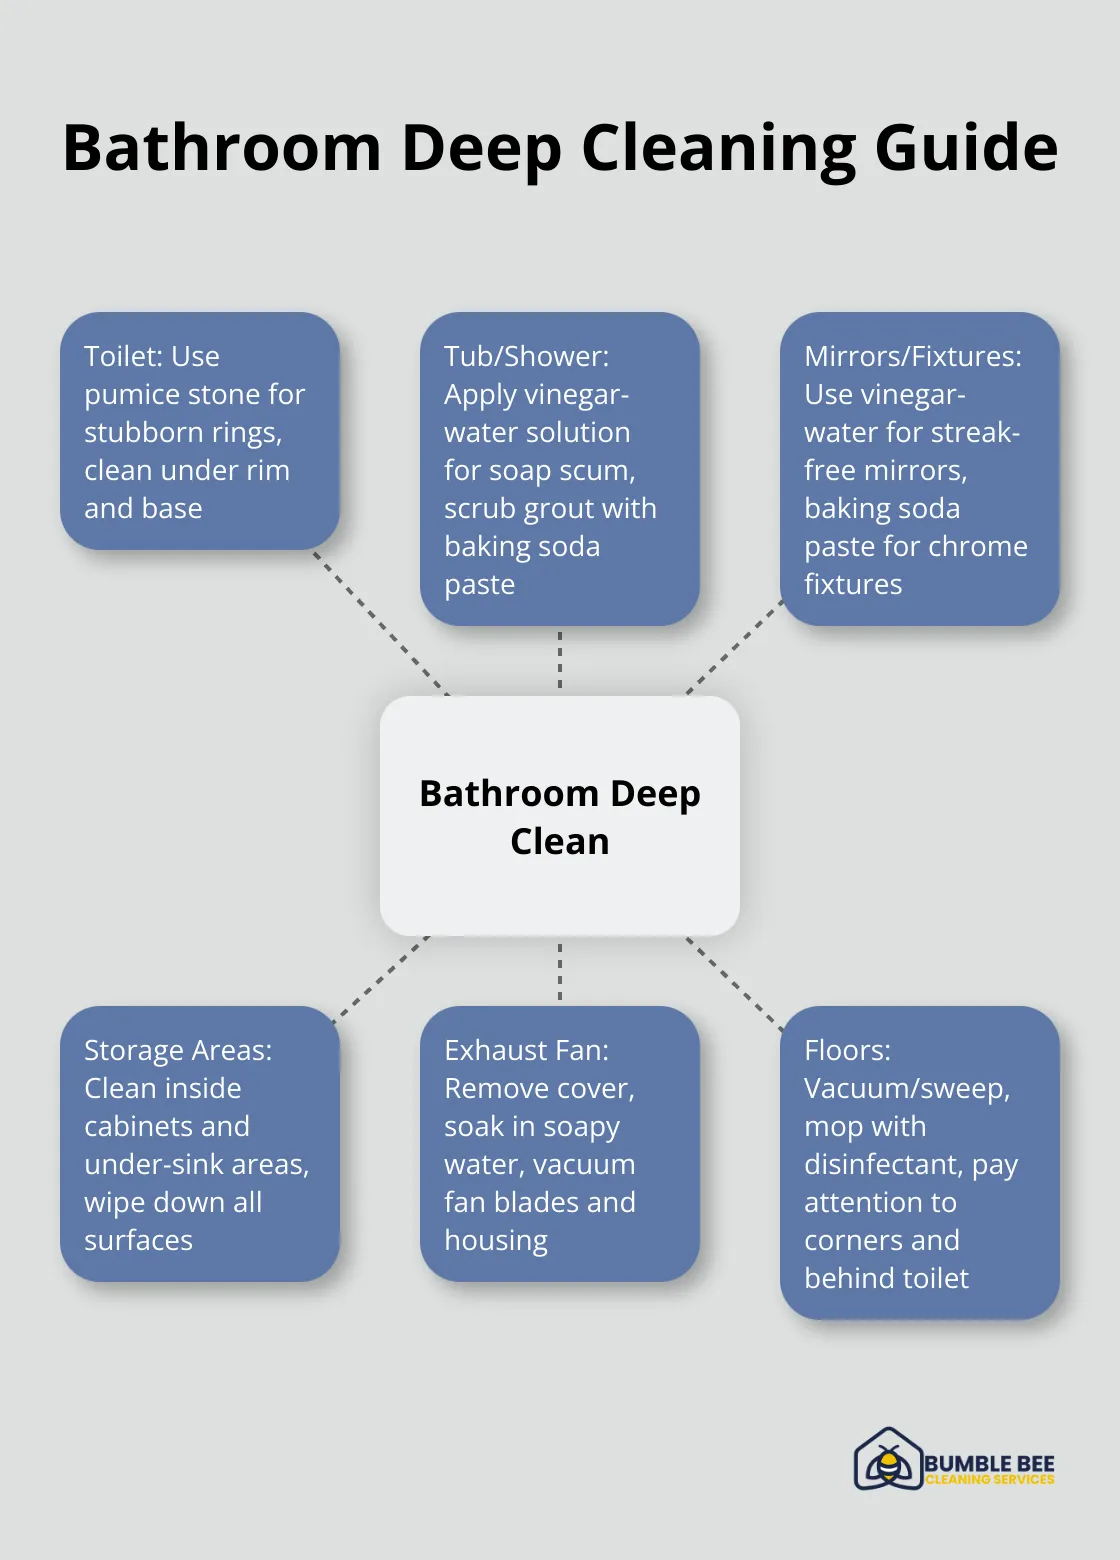
The bathroom cleaning process starts with the toilet, tub, and shower. Use a pumice stone to remove stubborn rings from the toilet (it’s gentle on porcelain but tough on stains). Clean under the rim and around the base. For tubs and showers, mix equal parts water and distilled white vinegar in a spray bottle to cut through soap scum. Apply this mixture and wait 15 minutes before scrubbing.
Create a paste with baking soda and water for grout cleaning. Apply it to the grout lines, let it sit for a few hours, then scrub with an old toothbrush. This method removes mold and mildew effectively (common issues in Seattle’s damp climate).
Mirror Magic and Fixture Finesse
Skip the glass cleaner for streak-free mirrors. Mix one part white vinegar with four parts water and apply with a microfiber cloth. This method leaves mirrors spotless without harmful chemicals.
Bring chrome fixtures to a high shine with a paste of baking soda and water. Apply it with a soft cloth, rinse thoroughly, and buff dry. This natural method protects fixtures better than harsh chemical cleaners.
Hidden Spots and Overlooked Areas
Clean inside medicine cabinets and under-sink storage. Remove all items, wipe down surfaces with an all-purpose cleaner, and dry thoroughly to prevent mold growth.
Don’t forget the exhaust fan. Remove the cover and soak it in warm, soapy water. While it soaks, vacuum the fan blades and housing. This improves appearance and ensures proper ventilation (crucial for preventing future mold issues).
Floor Finale
Vacuum or sweep to remove loose debris, then mop with a disinfecting solution. Pay special attention to corners and behind the toilet. For tile floors, use a grout brush between tiles for a thorough clean.
As you complete your bathroom transformation, it’s time to turn your attention to the living areas and bedrooms. These spaces require a different approach, focusing on dust removal and surface cleaning to create a fresh, inviting atmosphere throughout the home.
Living Areas and Bedrooms: The Final Frontier
Dust Busting Techniques
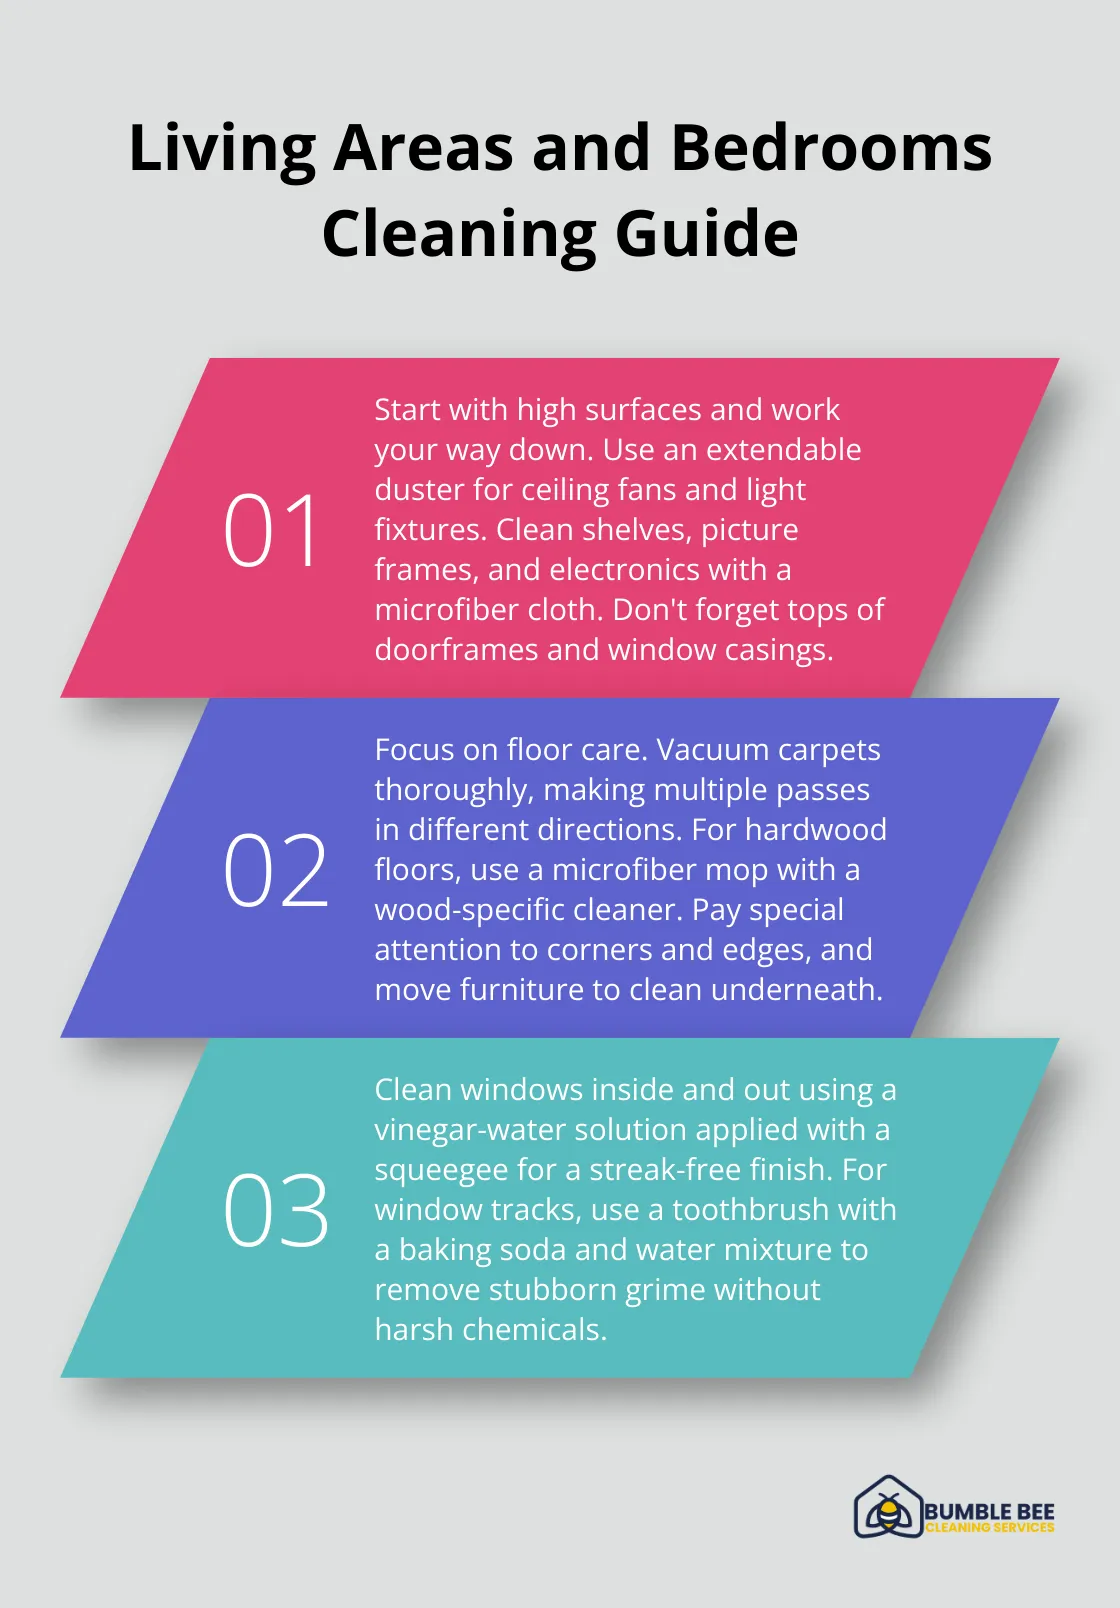
Start with high surfaces and work your way down. Use an extendable duster for ceiling fans and light fixtures. A microfiber cloth effectively traps dust on shelves, picture frames, and electronics. Don’t overlook spots like the tops of doorframes and window casings.
For baseboards, a vacuum with a brush attachment works wonders. Follow up with a damp microfiber cloth to remove any lingering dust or marks. Regular household cleaning is a simple, inexpensive but effective regimen that helps reduce overall exposure to allergens, dust, and dander.
Floor Care Essentials
Vacuum carpets thoroughly, making multiple passes in different directions. For hardwood floors, use a microfiber mop with a wood-specific cleaner. Avoid excess water, which can damage wood.
Pay special attention to corners and edges where dust tends to accumulate. Move furniture to clean underneath – this often-neglected area can make a significant difference in the overall cleanliness of the space.
Window and Track Cleaning
Clean windows inside and out for a sparkling finish. A solution of one part white vinegar to two parts water, applied with a squeegee, leaves windows streak-free. For stubborn grime in window tracks, use a toothbrush dipped in a mixture of baking soda and water. This natural abrasive cuts through dirt without harsh chemicals.
Closet and Storage Area Attention
Remove all items from closets and storage areas. Vacuum or sweep, and wipe down shelves. This step is important – landlords often check these areas closely during final inspections.
Systematic Approach
A systematic approach to living areas and bedrooms can reduce cleaning time significantly. Try a top-to-bottom, left-to-right method to ensure no spot is missed. This approach, combined with eco-friendly products, leaves spaces not just clean, but healthier too. Some companies use water with a pH value that encapsulates and removes dirt without chemicals or soapy residue.
Final Thoughts
A thorough move-out cleaning checklist ensures you leave your Seattle rental in pristine condition and secure your full security deposit. Professional cleaners like Bumble Bee Cleaning Services can save you time and stress during this hectic period. Our expert team uses eco-friendly products to deliver exceptional results that meet and exceed landlord expectations.
A meticulously clean home increases your chances of a full security deposit return and leaves a positive lasting impression. This can prove invaluable for future rental references in Seattle’s competitive housing market. Professional cleaners address common issues like mold and mildew, which are prevalent in Seattle’s damp climate.
We recommend you start cleaning well in advance of your move date. Declutter and dispose of unnecessary items before deep cleaning begins (this allows you to focus on thorough cleaning without distractions). Document the condition of your home with photos to provide evidence of your cleaning efforts if needed.