Construction projects leave behind more than just dust and debris. Your fixtures often bear the brunt of heavy work, accumulating layers of grime that standard cleaning can’t handle.
We at Bumble Bee Cleaning Services see this challenge daily. Proper fixture restoration requires specific techniques and timing to bring your lighting, plumbing, and electrical components back to their original condition.
The right approach saves both money and time while protecting your investment.
How Do You Assess Fixture Damage After Construction
Begin your assessment within 24 hours after construction completion. Construction dust contains particles that can become more difficult to remove over time, which makes removal significantly more difficult after 48 hours. Document every fixture with photos before you start the cleaning process. This creates a baseline for insurance claims and helps you track restoration progress.
Damage Categories That Determine Your Approach
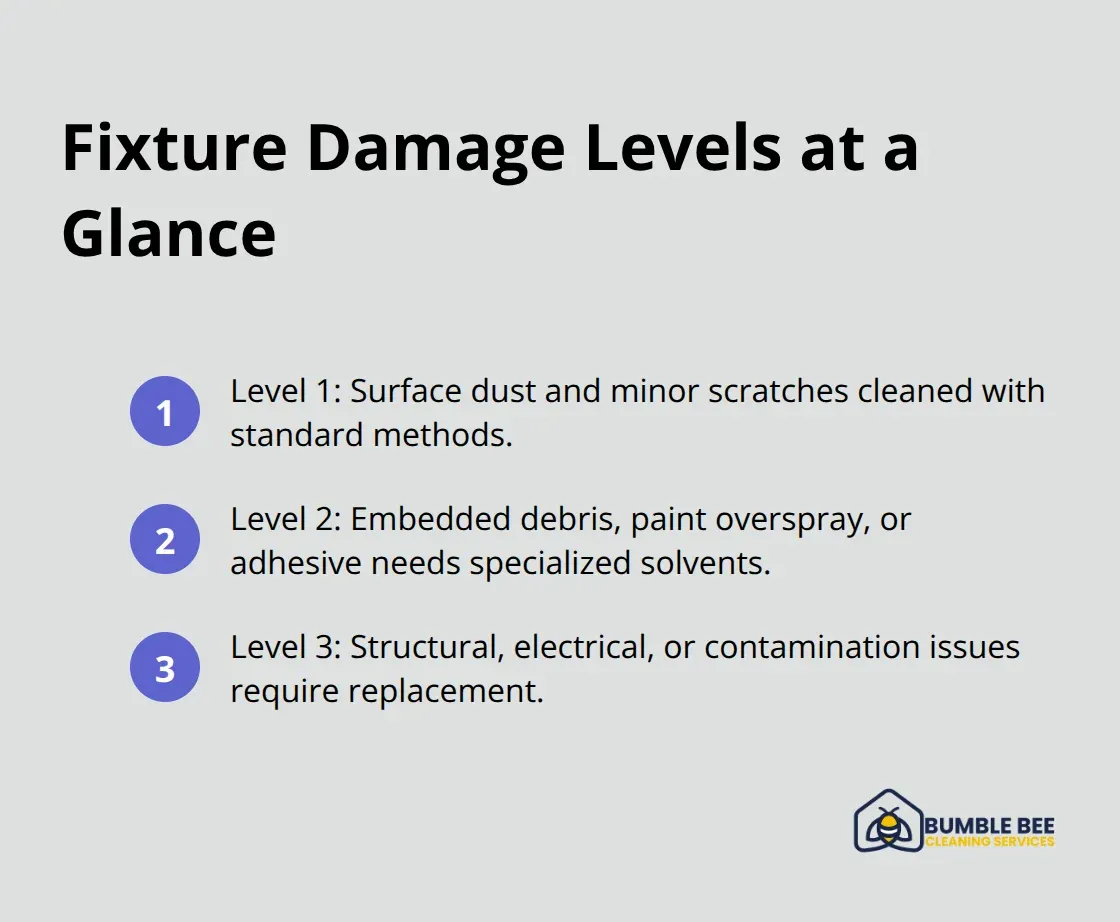
Sort fixtures into three damage levels. Level one includes surface dust and minor scratches that respond to standard cleaning methods. Level two involves embedded debris, paint overspray, or adhesive residue that requires specialized solvents. Level three means structural damage, electrical issues, or contamination that demands replacement.
Construction and extraction occupations are projected to grow faster than average, with employment opportunities expanding significantly. Metal fixtures with paint damage cost $150-300 to restore professionally, while replacement runs $400-800 per unit. Glass fixtures with etching from concrete dust cannot be restored and need immediate replacement to avoid safety risks.
Timeline Planning That Prevents Delays
Schedule fixture restoration before final inspections and occupancy permits. Most municipalities require all fixtures to function properly and appear clean for approval. Plan electrical fixture cleaning during daylight hours when you can safely shut off power. Plumbing fixture restoration should happen after final pressure tests but before landscaping work begins.
Allow 2-3 days for level one fixtures, 5-7 days for level two, and immediate ordering for level three replacements. Professional restoration teams complete most residential projects in 3-5 days, while DIY approaches typically take 2-3 weeks (due to learning curves and equipment limitations).
Tools and Materials You Need for Assessment
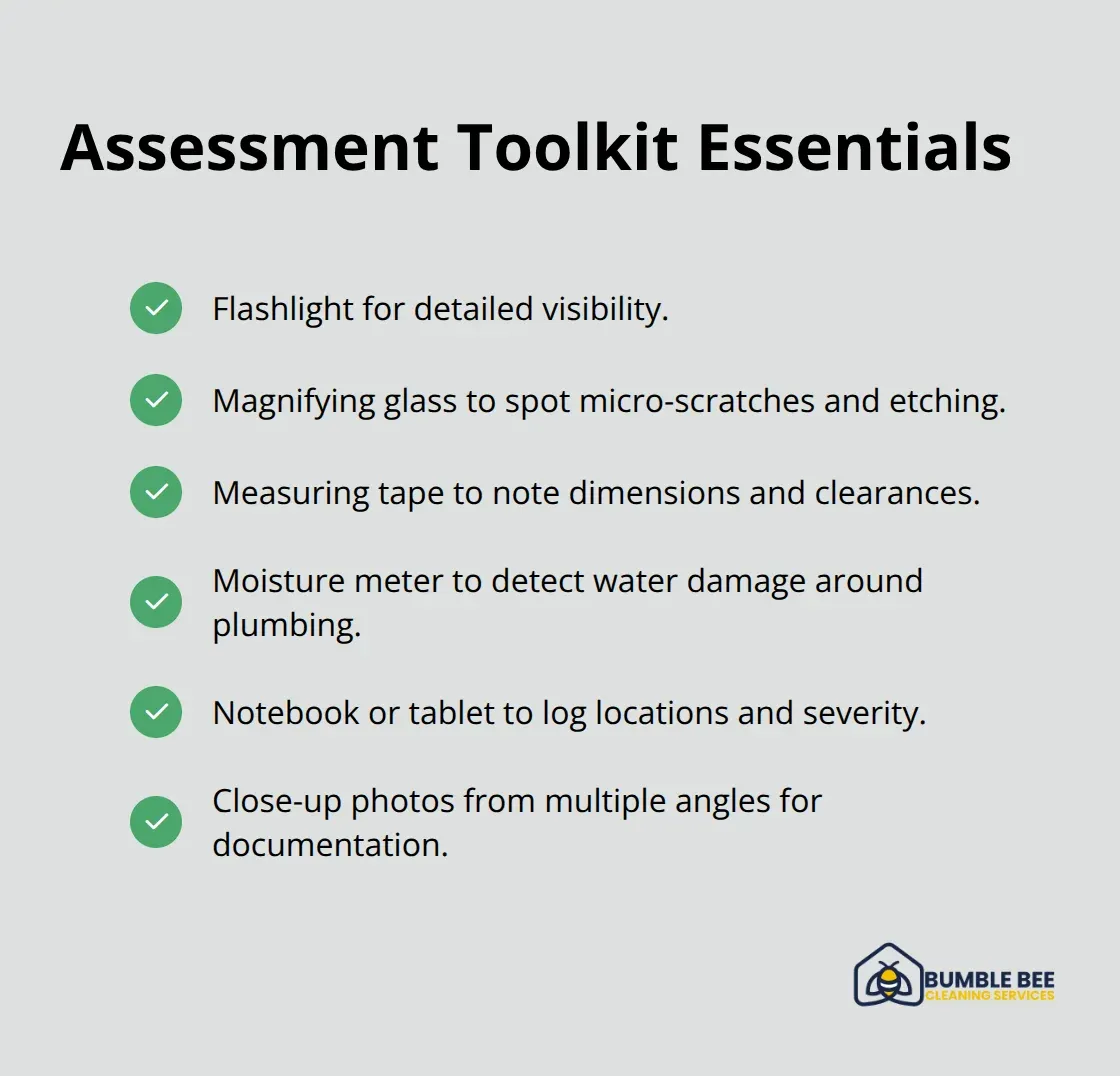
Gather a flashlight, magnifying glass, and measuring tape for thorough inspection. Use a moisture meter to check for water damage around plumbing fixtures. Keep a notebook or tablet to record damage locations and severity levels. Take close-up photos of problem areas from multiple angles.
Stock basic cleaning supplies like microfiber cloths and pH-neutral cleaners for immediate testing on small areas. This helps you determine which fixtures respond to simple cleaning versus those that need professional intervention. Once you complete your assessment and categorize all fixtures, you can move forward with the specific cleaning and restoration techniques each type requires.
How Do You Clean Different Types of Fixtures
Cut power at the breaker box before you tackle lighting fixtures. Glass globes and shades trap fine construction dust that standard dusting cannot remove. Fill a basin with warm water and one tablespoon of white vinegar per quart to cut through grime without streaks. Disassemble pendant lights and chandeliers completely, and photograph wire connections before removal.
Soak glass components for 15 minutes, then scrub with soft-bristled brushes to reach etched patterns and crevices. Metal fixtures respond well to specialized metal polish applied with microfiber cloths. Work in circular motions to restore original luster. LED fixtures need gentler treatment since moisture damages electronic components – use barely damp cloths and avoid water contact with electrical parts.
Plumbing Fixture Deep Restoration Methods
Plumbing fixtures accumulate construction adhesive, paint overspray, and mineral deposits that demand aggressive treatment. Mix equal parts white vinegar and hot water for faucets and showerheads. Let the solution sit for 30 minutes before you scrub. Construction adhesive responds to commercial adhesive removers that contain citrus-based solvents – apply with plastic scrapers to avoid scratches on chrome or brushed finishes.
Toilet fixtures need complete disassembly for thorough restoration, which includes removal of the tank lid and mineral buildup from flush mechanisms. Professional restoration services can effectively restore fixtures with moderate damage, while severely damaged units require replacement to meet health codes.
HVAC and Electrical Component Restoration
HVAC vents collect the heaviest dust loads during construction and can impact indoor air quality. Remove vent covers completely and wash with metal surface degreasers. Use HEPA vacuums with brush attachments to clean ductwork openings and reach 12-18 inches into ducts where most debris accumulates.
Electrical outlets and switch plates require careful treatment with isopropyl alcohol on cotton swabs (never use water-based cleaners near electrical components). Replace outlet covers and switch plates that show paint contamination since solvents can damage plastic components and create safety hazards.
Some restoration tasks exceed DIY capabilities and require professional expertise to handle safely and effectively.
When Should You Call Professional Restoration Experts
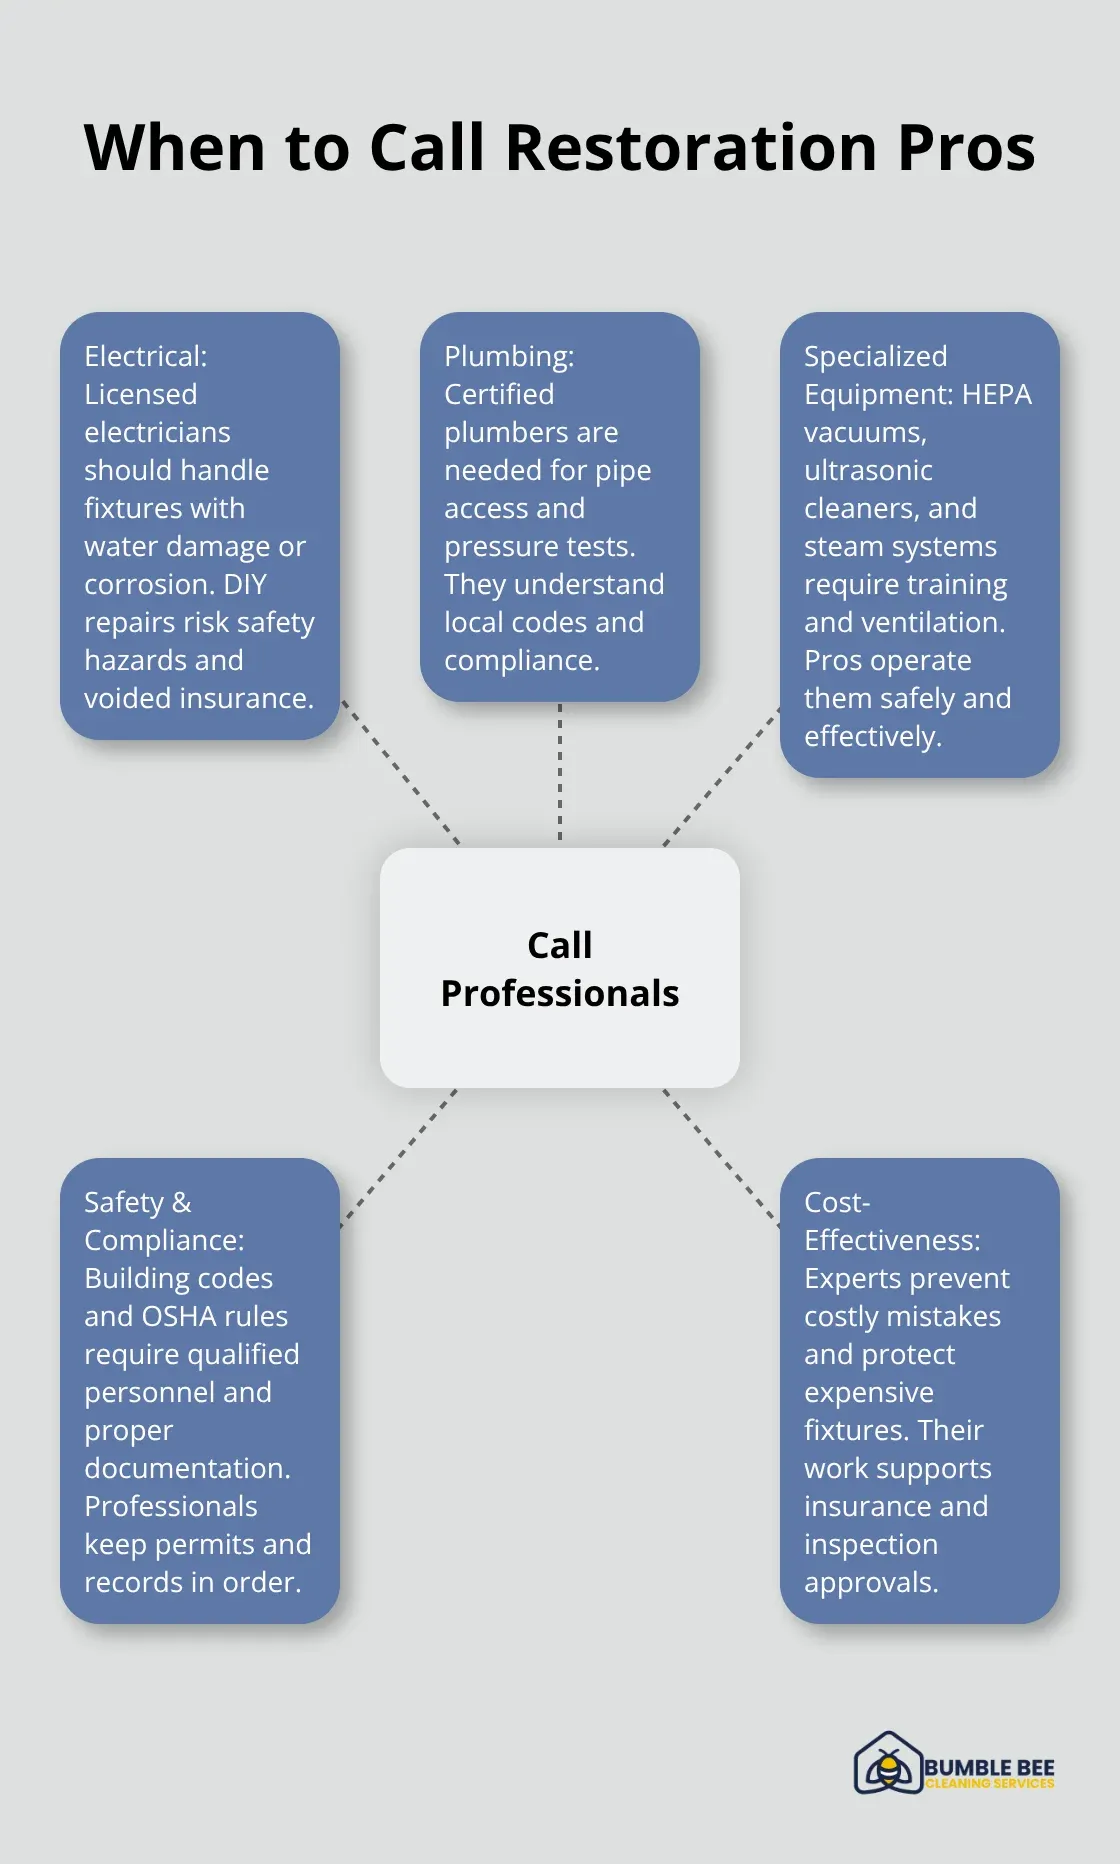
Electrical fixture restoration beyond basic cleaning requires licensed electricians, especially when fixtures show signs of water damage or corrosion. OSHA regulations mandate that only qualified personnel handle electrical work in commercial settings, and most residential insurance policies void coverage for DIY electrical repairs. Professional electricians charge $75-150 per hour but prevent costly mistakes that can damage expensive fixtures or create fire hazards.
Complex plumbing restoration that involves pipe access or pressure tests demands certified plumbers who understand local codes. The EPA requires proper disposal of certain construction materials, and professionals maintain the necessary permits and documentation for compliance.
Specialized Equipment That Makes the Difference
Professional restoration teams use industrial HEPA vacuums with 99.97% filtration efficiency that remove particles as small as 0.3 microns. These systems far exceed consumer models that miss fine construction dust. Ultrasonic cleaners restore intricate fixtures like crystal chandeliers and ornate metalwork without disassembly.
Steam systems at 200+ degrees sanitize and restore surfaces without harsh chemicals. Commercial-grade adhesive removers and specialized solvents require proper ventilation systems and trained operators. These tools typically cost $2,000-8,000 and require expertise to operate safely (making professional services cost-effective for most homeowners).
Safety Standards and Code Requirements
Building codes require all fixtures to meet current safety standards after major construction work. Inspectors can fail projects for improperly restored components. Licensed professionals carry liability insurance that covers up to $2 million in damages, while DIY mistakes can void homeowner’s insurance and create legal liability.
Professional restoration confirms fixtures meet current electrical codes, especially important for older buildings where original installations may not comply with modern safety standards. Certified teams maintain industry credentials that demonstrate their commitment to safe restoration practices (such as ARCSI and IICRC certifications).
When DIY Approaches Fall Short
Water-damaged electrical fixtures pose immediate safety risks that require professional assessment. Corroded connections can cause fires or electrocution hazards that untrained individuals cannot properly evaluate. Plumbing fixtures with internal damage need pressure tests and code compliance checks that only licensed professionals can perform.
Complex lighting systems with multiple circuits or smart home integration require specialized knowledge to restore without damaging expensive control systems. Professional upholstery restoration techniques can save valuable pieces from permanent harm when construction dust has penetrated deep into fabric fibers.
Final Thoughts
Fixture restoration after heavy construction work demands systematic assessment, proper techniques, and realistic expectations about what you can accomplish yourself. You must start your evaluation within 24 hours to prevent dust from becoming permanently embedded. Document everything with photos and categorize damage levels to determine your restoration approach.
Professional services bring specialized equipment and expertise that DIY methods cannot match. HEPA filtration systems, ultrasonic cleaners, and commercial-grade solvents restore fixtures safely while meeting building codes (licensed professionals carry insurance protection and maintain certifications that guarantee proper restoration techniques). Monthly maintenance prevents dust accumulation, while annual professional inspections catch problems early.
We at Bumble Bee Cleaning Services understand the complexities of post-construction restoration. Our certified team uses eco-friendly products and provides comprehensive cleaning services that protect your investment. Professional fixture restoration creates safe, functional spaces that meet all regulatory requirements.