Pet odors can tank your security deposit and kill a sale faster than almost anything else. We at Bumble Bee Cleaning Services know that standard cleaning won’t cut it-you need real odor neutralization strategies.
This guide walks you through identifying where pet smells hide, what professional techniques actually work, and which DIY methods are worth your time before your move-out inspection.
Where Pet Odors Hide in Your Home
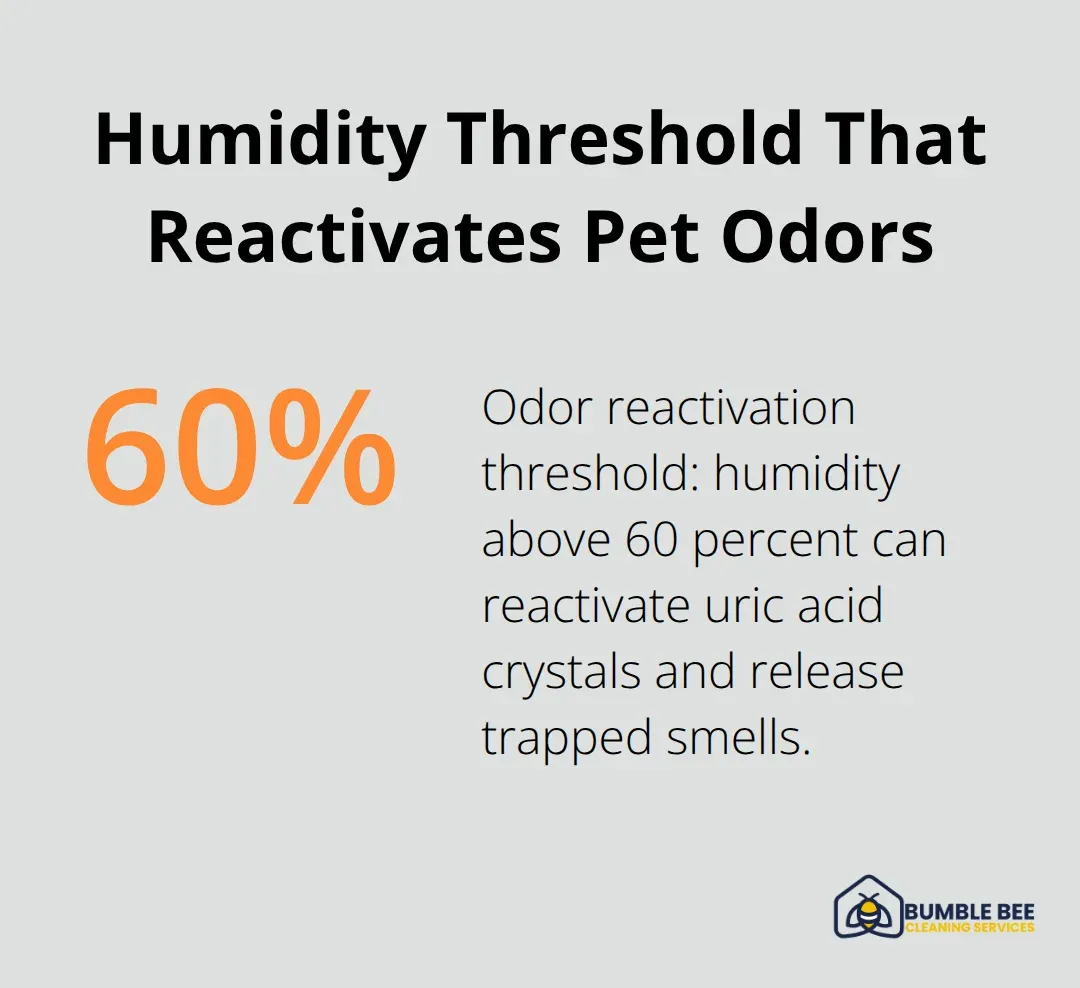
Pet urine doesn’t just sit on the surface-it soaks deep into materials where standard vacuuming and surface wiping can’t reach. Uric acid crystals, the primary culprit behind pet odors, are insoluble and hygroscopic, meaning they reactivate and release smell whenever humidity rises above 60 percent. In Seattle’s climate, where humidity regularly exceeds this threshold, pet odors trapped in carpet backing, padding, and subfloor become a persistent problem. A blacklight inspection reveals the true extent of contamination; what looks like a small spot often extends far beyond visible staining.
Carpet Padding Absorbs Urine Faster Than Surface Fibers
Carpet padding absorbs urine faster than the carpet fibers themselves, which is why odors linger even after you’ve cleaned the surface. If padding has been saturated for months or years, replacement is often the only solution-enzyme cleaners and sealers alone won’t eliminate odors from degraded padding. The Carpet and Rug Institute and the IICRC both recognize that effective odor removal requires sustained enzymatic contact for 24 to 48 hours, not a quick spray treatment.
Walls, Baseboards, and Subflooring Hold the Worst Odors
Pet urine wicks upward into drywall, especially behind baseboards where puddles accumulate over time. This vertical spread means odor travels several inches up the wall, contaminating materials you can’t see. Removing and replacing baseboards to expose affected drywall is often necessary; sealing alone won’t block uric acid odors that have penetrated the material itself.
Concrete subfloors and wood joists absorb urine deeply, and standard enzyme treatments applied to the surface won’t reach contamination embedded below. Oil-based sealers like Zinsser BIN or oil-based Kilz can suppress odors temporarily, but they work best only after enzymatic treatment has broken down the source. If subfloor replacement isn’t possible, multiple coats of an oil-based sealer applied after thorough enzymatic cleaning provide the most reliable odor blockage before new flooring installation. Water-based primers fail against uric acid odors and waste both time and money.
The distinction matters: sealing works only after the odor source itself has been neutralized with enzymes, not as a standalone fix. This two-step approach-enzymatic breakdown followed by sealing-forms the foundation of any effective remediation strategy before your move-out inspection.
What Professional Methods Actually Eliminate Pet Odors
Enzyme Treatments Break Down Uric Acid at the Source
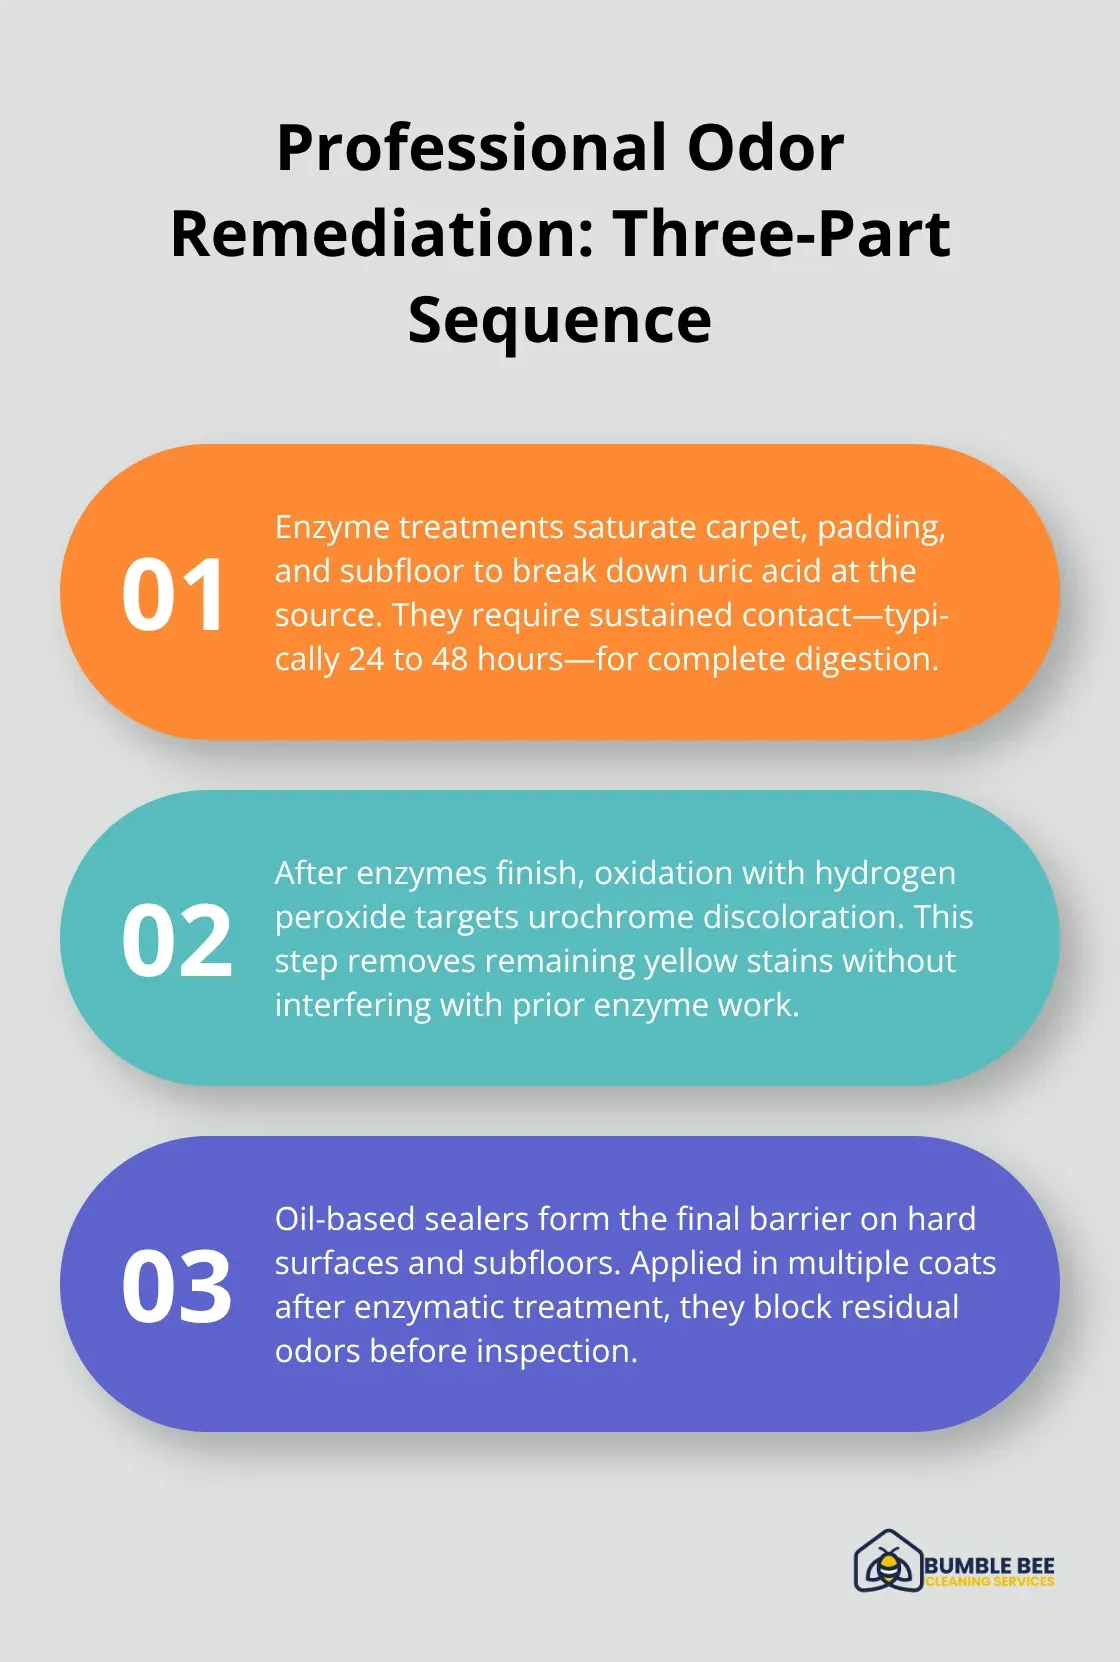
Enzyme-based treatments break down uric acid at the molecular level, which is why the Carpet and Rug Institute and IICRC recommend them as the primary solution for pet urine contamination. Consumer-grade enzyme cleaners from hardware stores lack the concentration, saturation depth, temperature control, and pH management that professional protocols deliver. A 15-minute spray application fails because uric acid crystals require 24 to 48 hours of sustained contact with active enzymes to fully digest the odor source. Professional enzyme treatments saturate carpet, padding, and subfloor materials completely, allowing non-pathogenic bacteria to consume the uric acid that causes persistent smells.
Oxidation Removes Stains After Enzymatic Digestion
After enzymatic digestion finishes, hydrogen peroxide oxidation removes urochrome stains-the yellow discoloration that remains after the odor itself is neutralized. This two-step sequence matters: enzymes handle the smell source, oxidation handles the visible staining. Skipping either step leaves incomplete results, which is why DIY attempts often fail despite significant effort and expense.
Oil-Based Sealers Create the Final Barrier
Hard surface sealing with oil-based primers represents the final barrier against odors that have penetrated subfloors and structural materials. Zinsser BIN and oil-based Kilz formulations block uric acid odors far more effectively than water-based alternatives, which fail entirely against embedded contamination. Multiple coats-typically three to five-applied after thorough enzymatic treatment create the seal necessary for move-out inspections in Seattle’s humid climate.
Carpet Replacement Becomes Necessary When Padding Degrades
Carpet replacement becomes necessary when padding degradation has advanced too far for enzyme treatments alone to restore; saturated padding simply cannot be salvaged. Professional assessment using UV fluorescence mapping identifies exactly which materials require replacement versus which can be treated, preventing unnecessary expense while guaranteeing odor elimination. The cost difference is substantial: treating salvageable carpet costs significantly less than replacing it, but replacing damaged padding prevents odor return during the first humid month after your move. Once you understand what professional remediation involves, DIY methods become clearer in their limitations-and knowing which approaches actually work helps you decide whether to tackle smaller problem areas yourself or call in specialists for comprehensive treatment.
DIY Methods That Actually Work Against Pet Odors
Baking Soda and Vinegar: Surface Solutions Only
Baking soda and vinegar tackle surface odors but won’t reach the uric acid crystals embedded in carpet padding or subfloor-they’re stopgap measures, not solutions. Sprinkle baking soda directly on affected carpet, wait 15 minutes, then vacuum thoroughly; the baking soda absorbs some airborne odor molecules temporarily. A vinegar-and-water solution (one part vinegar to two parts water) works on hard surfaces and can be applied to carpet edges, but vinegar alone fails against deep contamination because it doesn’t break down uric acid chemically the way professional enzymes do. The IICRC doesn’t recommend vinegar as a primary treatment for pet urine precisely because it masks odor rather than eliminating the source.
Activated Charcoal and Air Purification
Activated charcoal placed in open bowls absorbs some odor from the air over several days, but it addresses symptoms, not the root problem sitting in your padding and subfloor. These methods buy you time and reduce noticeable smell in a single room, but they won’t pass a move-out inspection if contamination runs deep.
Humidity Control and Ventilation in Seattle’s Climate
Humidity control matters far more than most renters realize-Seattle’s climate regularly exceeds 60 percent humidity, which reactivates uric acid crystals and releases trapped odor even after surface cleaning. A dehumidifier in affected rooms for 48 to 72 hours before your inspection suppresses odor temporarily by keeping moisture levels below the reactivation threshold. Open windows when weather permits and run ceiling fans continuously to move stale air out; poor ventilation traps odor molecules in carpets and upholstery.
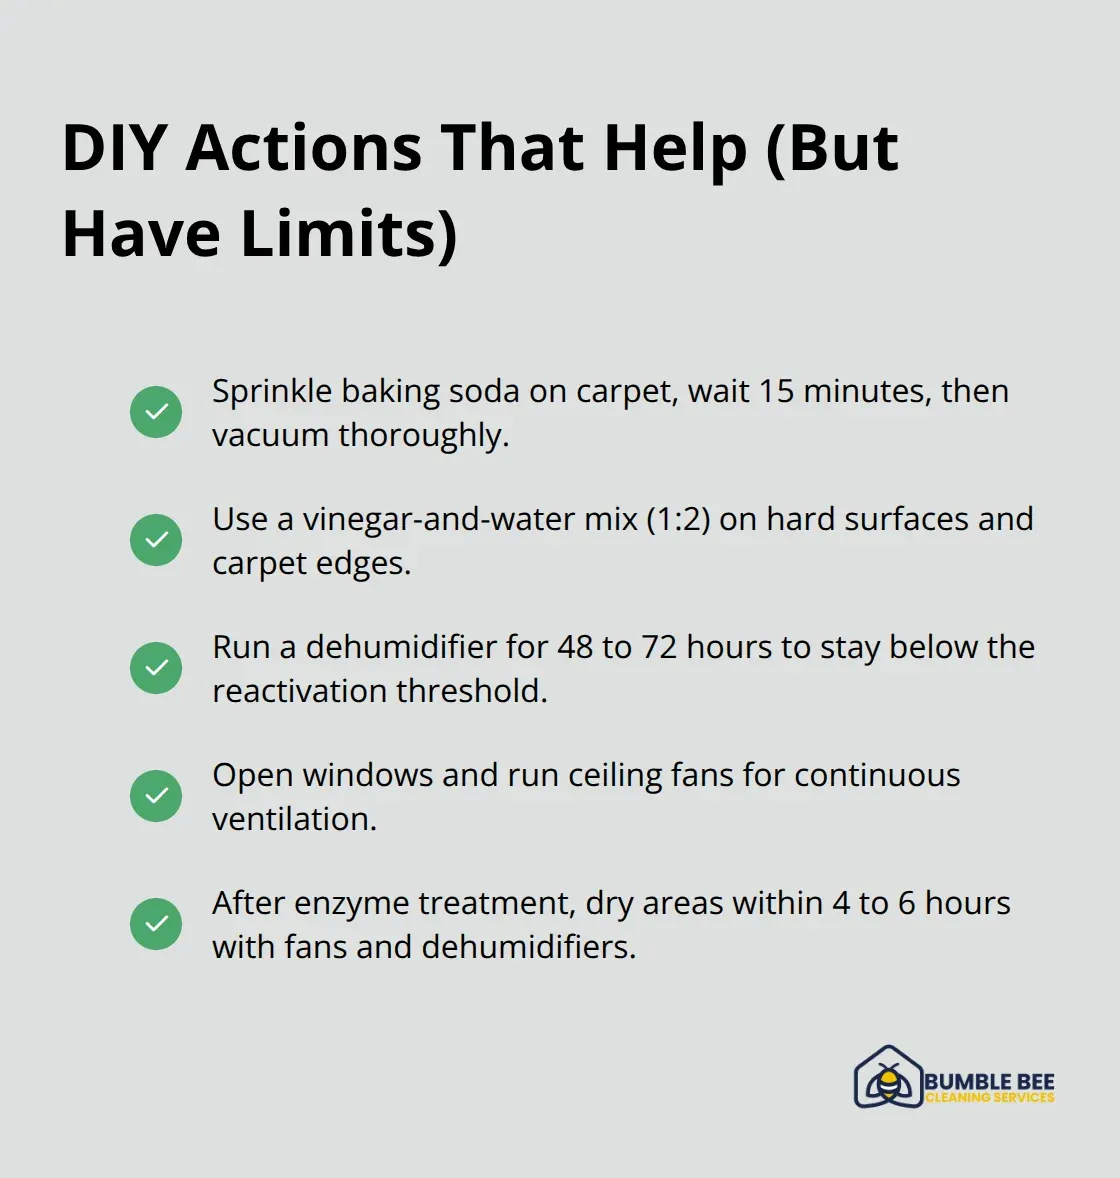
If you’ve treated carpet with enzyme cleaner, ensure the area dries completely within 4 to 6 hours using fans and dehumidifiers-residual moisture sustains the smell and allows bacterial growth. However, if urine has saturated padding or soaked into subfloor, ventilation and humidity control alone won’t eliminate odor permanently. These methods work best as maintenance steps after professional treatment, not as standalone solutions for serious contamination. The hard truth is that DIY approaches handle light surface odors effectively but fail entirely against the deep, structural contamination that costs you your deposit.
Final Thoughts
Pet odor removal before a Seattle move-out isn’t optional-it’s the difference between recovering your full deposit and losing hundreds of dollars. DIY methods handle surface-level smells, but they fail against the uric acid crystals embedded in padding and subfloor that reactivate in Seattle’s humid climate. Professional odor neutralization targets the source, not just the smell, using enzyme treatments that break down contamination at the molecular level, followed by oxidation and sealing to prevent return.
Your final walkthrough happens when inspectors check for exactly what you’ve been fighting: lingering odors, stains, and signs of pet damage. A blacklight inspection will reveal any spots you missed, and humidity above 60 percent will reactivate odors you thought were gone. Specialists can identify whether carpet padding needs replacement or if enzymatic treatment will suffice, preventing costly surprises after you’ve already moved.
We at Bumble Bee Cleaning Services specialize in move-out cleaning with the expertise to handle pet odor remediation properly. Our team uses professional-grade enzyme treatments, oxidation protocols, and sealing techniques that DIY approaches simply can’t match. Scheduling a professional assessment before your move-out date gives you a clear roadmap: which areas need enzyme treatment, which require padding replacement, and exactly what your final inspection will reveal.
For more information about our cleaning services in Seattle and Atlanta, or to request a cleaning quote, call or text us at 425-786-1360 or email us at info@qbclean.com