Construction dust and debris don’t just look bad on soundproofing materials-they can damage them permanently if left untreated. We at Bumble Bee Cleaning Services know that soundproofing cleaning after construction requires specific techniques to protect your investment.
The materials that absorb sound are delicate, and standard cleaning methods can reduce their effectiveness. This guide walks you through the right approach for your Seattle project.
What Materials Need Soundproofing Cleanup After Construction
Soundproofing Materials Vulnerable to Construction Dust
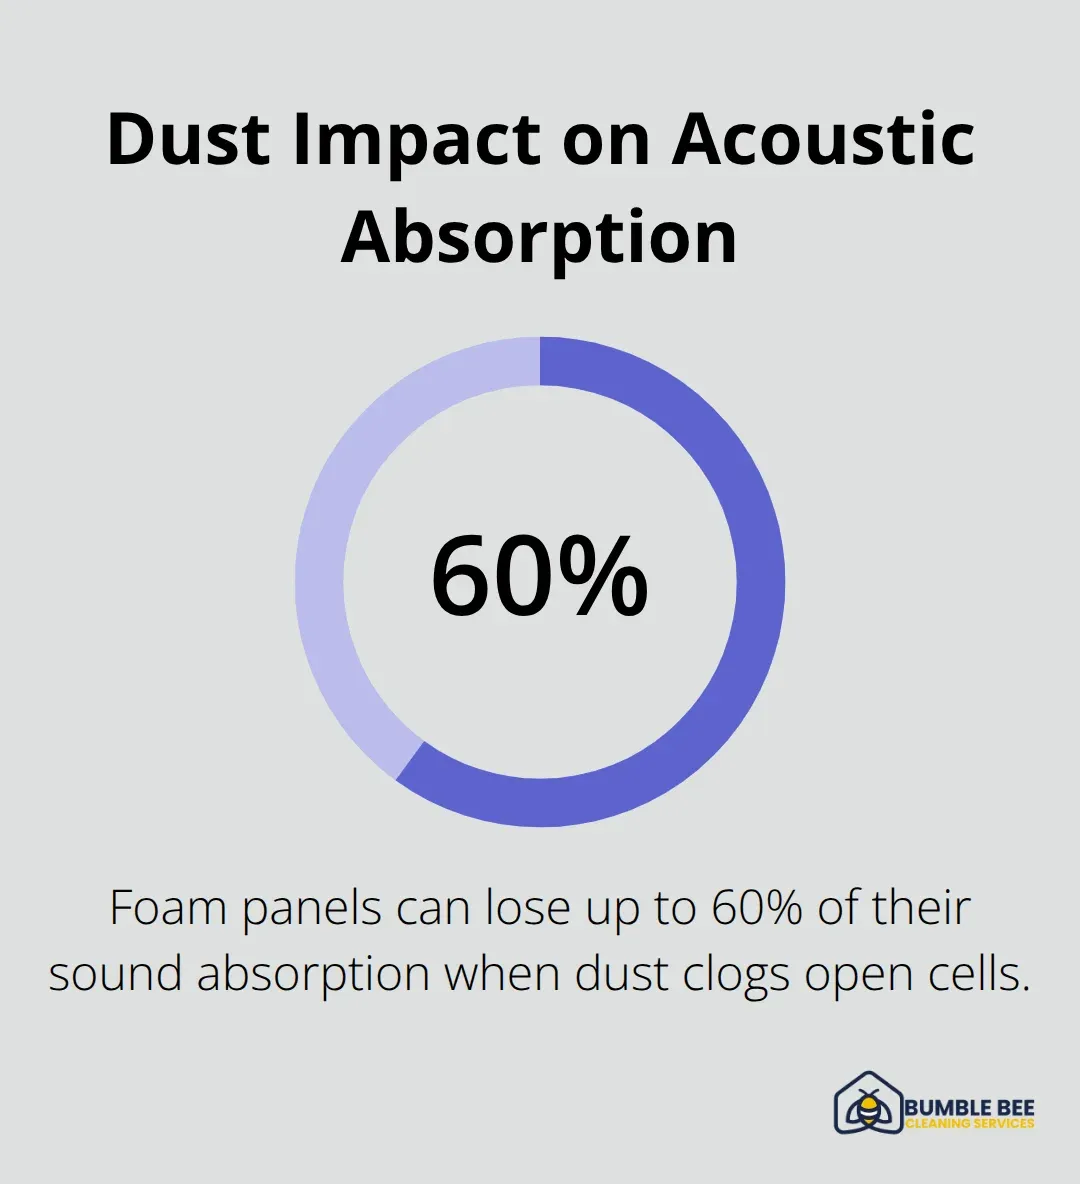
Seattle construction projects introduce multiple soundproofing materials that each respond differently to dust and debris. Acoustic foam panels, mineral wool batts, fiberglass insulation, and cellulose products all absorb sound through porous structures, so construction dust settles deep into their fibers and cells. Foam panels are open-cell polyurethane designed to trap sound waves, making them particularly vulnerable to dust buildup that clogs those cells and reduces absorption by up to 60% according to acoustic performance studies. Mineral wool and fiberglass batts work similarly, with their fibrous matrices collecting fine particles during construction.
Surface Materials That Stain Permanently
Wood acoustic slat panels and fabric-wrapped boards add another layer of complexity since their surfaces can stain permanently if construction residue sits too long. The problem isn’t just visual-when dust accumulates in soundproofing materials, it degrades both acoustic performance and indoor air quality by trapping dust, dander, mold spores, and pollen that would otherwise circulate out of your space.
Seattle’s Humidity Creates Urgent Threats
Construction sites in Seattle’s humid climate create a specific threat that most builders underestimate. Moisture from construction processes, combined with Seattle’s naturally damp air, can trigger musty odors in acoustic materials within days if you don’t properly dry and clean them. Dust mixed with moisture becomes concrete-like when it dries, making removal exponentially harder weeks later.
Contaminants That Bond Chemically
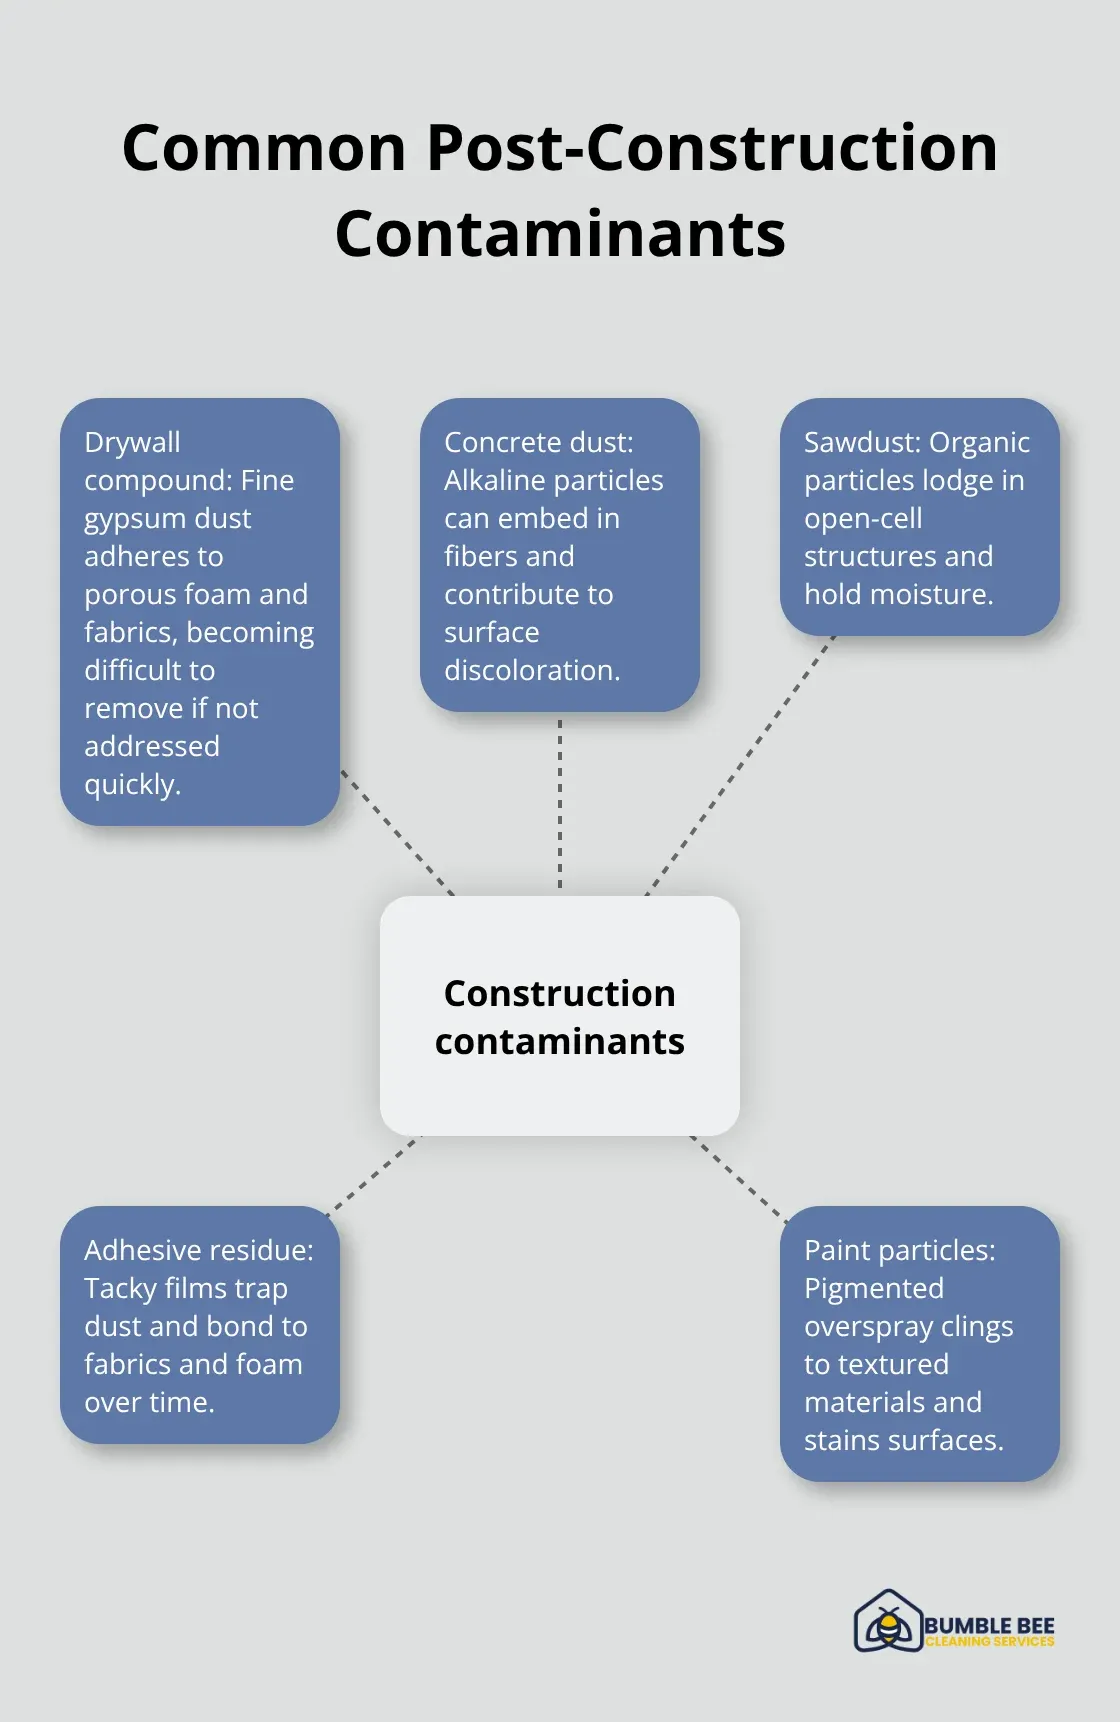
The contaminants you face aren’t just dirt-they include drywall compound, concrete dust, sawdust, adhesive residue, and paint particles that chemically bond to fabric and foam if you give them time. Acting immediately after construction finishes means the difference between a 30-minute cleaning and a job that requires professional intervention. Your soundproofing investment only delivers the performance you paid for if the materials stay clean and dry from day one. Understanding what you’re up against helps you choose the right cleaning approach for your specific materials.
Cleaning Foam and Fiberglass Without Destroying Absorption
Vacuum First, Always with a Soft Touch
Foam and fiberglass insulation demand completely different approaches than your standard post-construction cleanup. These materials contain open cells and air pockets designed to trap sound, and aggressive cleaning methods collapse those structures permanently. Start with a vacuum equipped with a soft brush attachment-this is non-negotiable. Use downward motions with light pressure to lift dust away from the surface rather than pushing it deeper into the foam. A standard shop vacuum works, but the soft brush matters more than the machine itself. For fiberglass batts, the same principle applies: gentle suction removes surface dust without damaging the glass fibers. Never use a hard-bristled brush or scrub the material, as this compresses the fibers and reduces sound absorption capacity.
Spot-Cleaning Stains on Foam Panels
If you encounter stains on foam panels, use mild soap and water solutions and apply it to a microfiber cloth, then blot the affected area rather than spraying liquid directly onto the foam. This distinction prevents water from penetrating deep into the material where it can trigger mold growth in Seattle’s humid environment. Avoid harsh chemicals, solvents, or abrasive materials entirely-they weaken the binders holding foam together and can leave residues that off-gas into your space. For fiberglass, test any cleaning solution on a hidden section first, since some products interact poorly with the resin coating. Deep cleaning foam panels requires you to remove them completely, submerge them in lukewarm water with mild detergent, lightly agitate them by hand, then rinse thoroughly and air-dry completely before reinstallation. This process takes time, but rushing the drying phase in Seattle’s damp climate invites mold that will destroy the material. Set up fans to circulate air and allow at least 48 hours of drying time before reinstalling anything.
Mineral Wool and Cellulose Need Lighter Moisture
Mineral wool and cellulose products respond better to light moisture than foam does, yet they still demand careful treatment. Mineral wool batts have a tighter fiber structure than fiberglass, which makes them slightly more forgiving but still vulnerable to water damage if over-saturated. Vacuum mineral wool first using the same soft-brush technique, then spot-clean stains with a barely damp microfiber cloth. Cellulose insulation presents the biggest challenge because it’s recycled paper that absorbs moisture readily-this material demands the lightest touch possible. Never soak cellulose, never use steam cleaning, and never apply liquid directly to it. Instead, vacuum thoroughly and address any stains with a dry cloth only. If a stain persists after dry cleaning, accept that you cannot safely remove it without professional equipment designed for cellulose materials.
Wood and Fabric-Wrapped Acoustic Panels
Acoustic panels with wood slat finishes or fabric wrapping require their own strategy entirely. Dust them with a soft brush or microfiber cloth using downward motions to prevent dust from settling back onto the material. For wood panels, a barely damp cloth with mild wood cleaner works, but test it on an inconspicuous corner first to confirm it won’t darken or discolor the finish. Fabric-wrapped panels should never contact liquid-brush or vacuum only. The key across all these materials is accepting that post-construction cleaning takes longer than you expect. Rushing creates moisture problems that cost far more to fix than the extra hours spent drying properly. Once your soundproofing materials are clean and completely dry, you’ll want to protect them during the final phases of your construction project.
Tools and Products You’ll Need
Essential Equipment for Post-Construction Cleanup
A soft-bristled vacuum attachment matters more than the vacuum itself-this single tool prevents the aggressive suction that crushes foam cells and fiberglass fibers. Microfiber cloths outperform paper towels because they trap fine dust particles rather than spreading them across surfaces, and a pack of ten costs around $10. Lukewarm water and mild dish soap handle 90% of stains you’ll encounter on wood panels and fabric-wrapped boards, making expensive specialty cleaners unnecessary.
For deeper cleaning when you remove panels entirely, a large plastic tub or kiddie pool works perfectly for submerging foam sections without requiring commercial equipment. Fans are non-negotiable in Seattle’s climate-position at least two oscillating fans to circulate air continuously during the drying phase, which typically extends 48 to 72 hours depending on humidity levels that day. Avoid steam cleaners entirely, despite their popularity for post-construction work, because moisture penetration into soundproofing materials creates mold conditions that become irreversible.
Addressing Odors and Moisture Issues
Baking soda addresses musty odors that develop in foam or mineral wool after moisture exposure; sprinkle it directly on affected areas, let it sit for a while, then vacuum thoroughly. This simple approach works because baking soda absorbs odor molecules rather than masking them with fragrance. In Seattle’s damp climate, odor prevention matters as much as odor removal-proper ventilation and drying prevent musty smells from developing in the first place.
Eco-Friendly Cleaning Solutions That Work
Plant-based mild detergents certified by Green Seal perform identically to standard soaps for spot-cleaning without leaving chemical residues that off-gas into your space. Eco-friendly cleaning solutions align with Seattle’s environmental standards, and they work just as effectively as harsh chemicals for soundproofing materials. Never use bleach, ammonia, or solvent-based products-these damage foam binders and fiberglass resin coatings permanently.
Safety Gear to Protect Yourself and Materials
Disposable gloves prevent skin contact with construction dust containing silica particles, and an N95 mask filters fine particles when vacuuming. Protective eyewear prevents dust from entering your eyes during overhead work on ceiling-mounted panels. Wear long sleeves when handling fiberglass or mineral wool batts to avoid skin irritation from glass fibers.
A drop cloth or plastic sheeting under your work area catches dust and prevents it from settling on finished surfaces nearby, saving additional cleanup time. Test any cleaning solution on a hidden section of your material first-this 30-second step prevents permanent discoloration or damage before you treat visible areas. Most construction sites in Seattle finish in winter or early spring when humidity runs highest, making proper ventilation and drying equipment more important than during summer projects.
Final Thoughts
Soundproofing cleaning after construction isn’t optional if you want your materials to perform as designed. Construction dust reduces acoustic absorption by up to 60% when left untreated, turning your soundproofing investment into an underperforming expense. The techniques we’ve covered work because they respect what these materials actually are: delicate, porous structures that trap sound through their internal architecture, not their surface appearance.
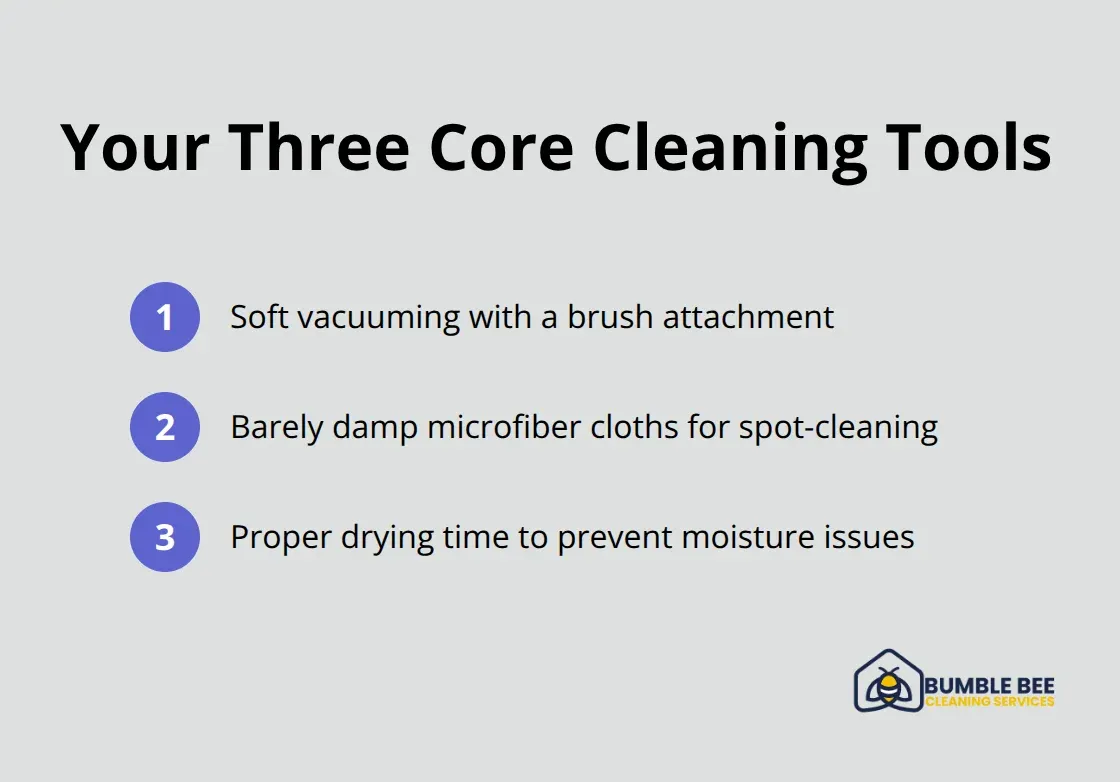
Construction dust bonds chemically to foam, fiberglass, mineral wool, and cellulose within days, especially in Seattle’s humid climate where moisture accelerates the process. Starting your soundproofing cleaning within 48 hours of construction completion makes the difference between a straightforward job and one requiring professional intervention. Soft vacuuming, barely damp microfiber cloths, and proper drying time are your three core tools, and they cost almost nothing compared to replacing damaged materials.
If your acoustic panels have absorbed moisture and developed musty odors, if stains won’t respond to gentle cleaning, or if you’re uncertain about your specific material type, professional help prevents costly mistakes. We at Bumble Bee Cleaning Services handle post-construction cleaning across Seattle with expertise in protecting soundproofing materials while removing construction residue thoroughly. Contact Bumble Bee Cleaning Services to discuss your specific materials and receive a quote for post-construction cleanup that protects your acoustic investment.