
Clean windows transform how your home looks and feels. Seattle’s rainy climate makes window maintenance especially important, and knowing the right approach saves time and money.
We at Bumble Bee Cleaning Services have helped hundreds of homeowners in the Seattle area master this skill. This Seattle window cleaning guide covers the tools, techniques, and mistakes that matter most.
What Tools Do You Actually Need for Window Cleaning
A 10 to 12 inch squeegee with a rubber blade is non-negotiable for streak-free results, and you’ll want to keep two or three spare blades on hand since a dull blade creates streaks faster than poor technique ever could. The rubber blade needs to stay sharp and stored so nothing touches it between uses. When your blade starts leaving streaks, flip it to expose a fresh edge before replacing it entirely. Pair your squeegee with a quality window scrubber and a 5 gallon bucket for your cleaning solution. For the solution itself, mix two gallons of water with about one teaspoon of dish soap, or use equal parts water and white vinegar if you prefer a natural approach.
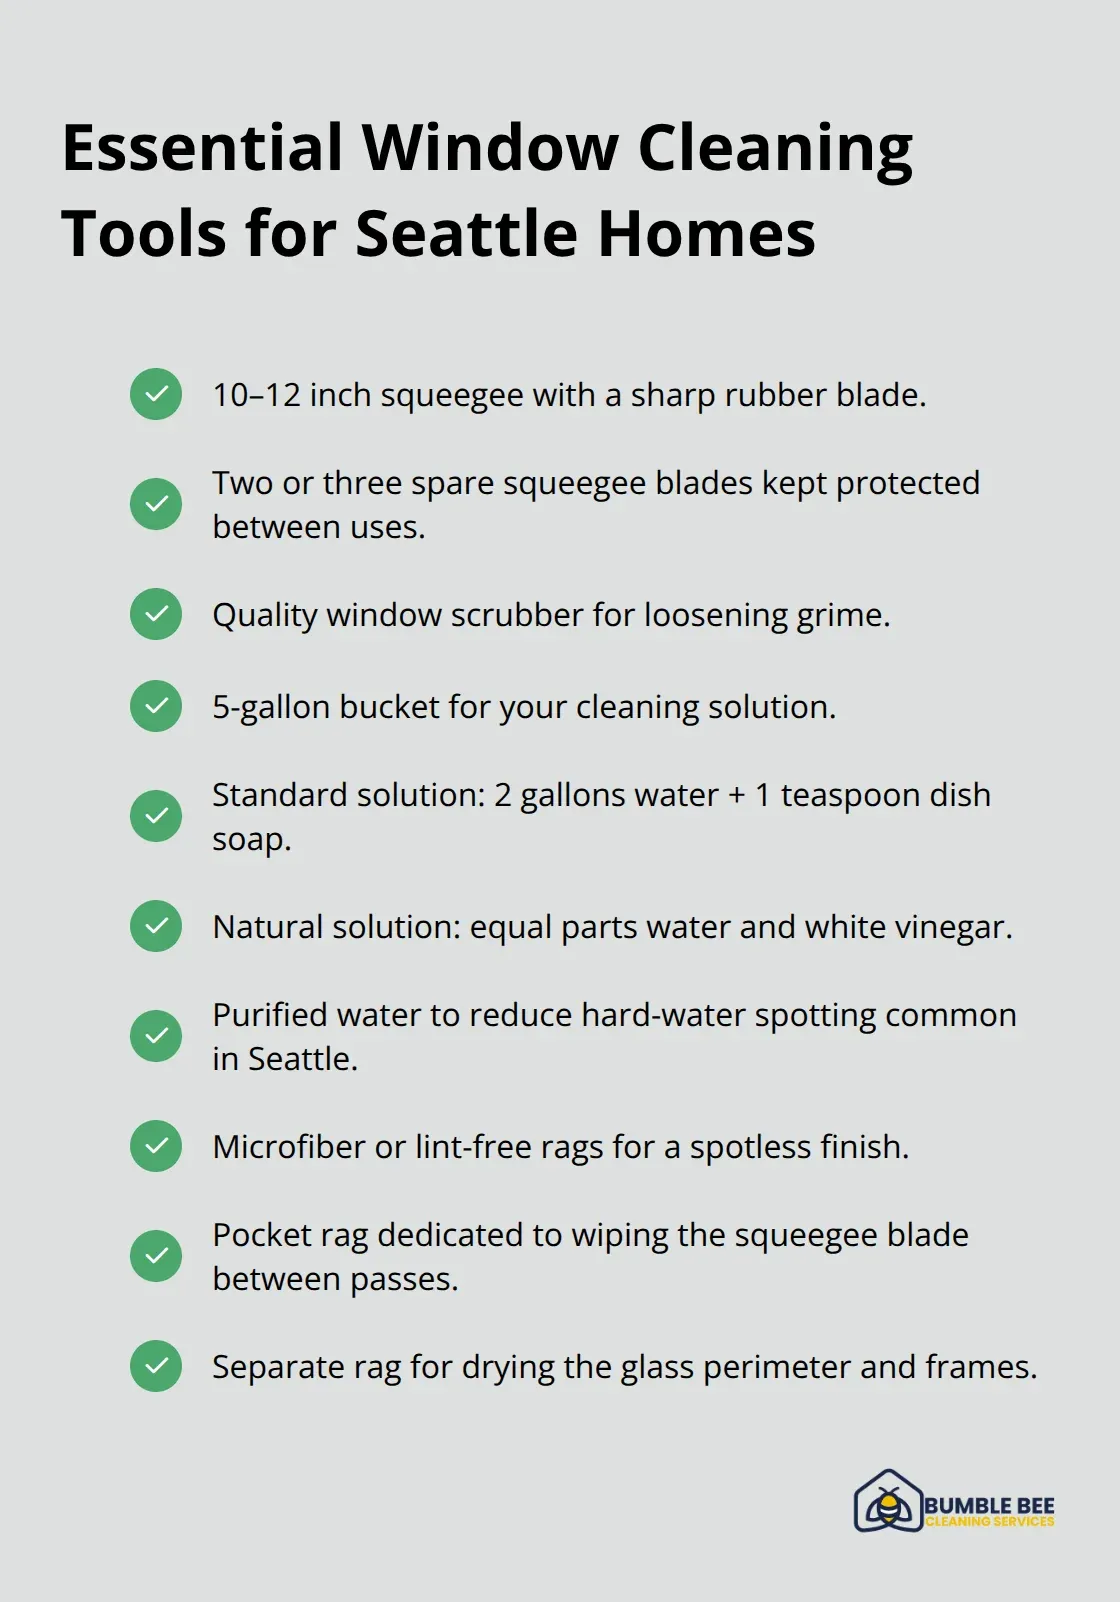
In Seattle’s climate, where mineral deposits from hard water are common, purified water reduces spotting significantly. A microfiber cloth or lint-free rag matters more than most people realize because regular towels leave fibers behind. Keep a pocket rag dedicated to wiping your squeegee blade between passes and a separate rag for the glass perimeter to avoid dragging dirty water across clean panes.
The Ladder and Safety Setup
Your ladder choice directly impacts both safety and efficiency. A sturdy, properly positioned ladder prevents accidents and lets you work at the right angle instead of overreaching. Use a ladder stabilizer to secure your position on uneven ground, and always have a plan to catch drips with a cloth or drop cloth to protect your woodwork and siding. For higher windows or indoor work, an extendable water-fed pole system with purified water lets you reach difficult spots safely without constant ladder repositioning. These pole systems reduce safety risks and improve results on hard-to-access windows.
Handling Stubborn Grime and Hard Water Spots
When regular soap and water won’t cut through Seattle’s accumulated grime, a fine white nylon scrub pad removes tree pitch and bug droppings without scratching glass. For hard-water residues that cling to the surface, a mineral deposit remover or baking soda paste works better than aggressive scrubbing. A razor blade in a holder tackles paint specks and label residue, but wet the glass first and avoid tempered glass to prevent cracking. These specialized tools cost just a few dollars but save hours of frustration when standard cleaning fails. Once you master these tools and understand how to apply them correctly, the techniques that follow will transform your results.
How to Hold the Squeegee and Work in the Right Conditions
Master the Squeegee Angle and Starting Strip
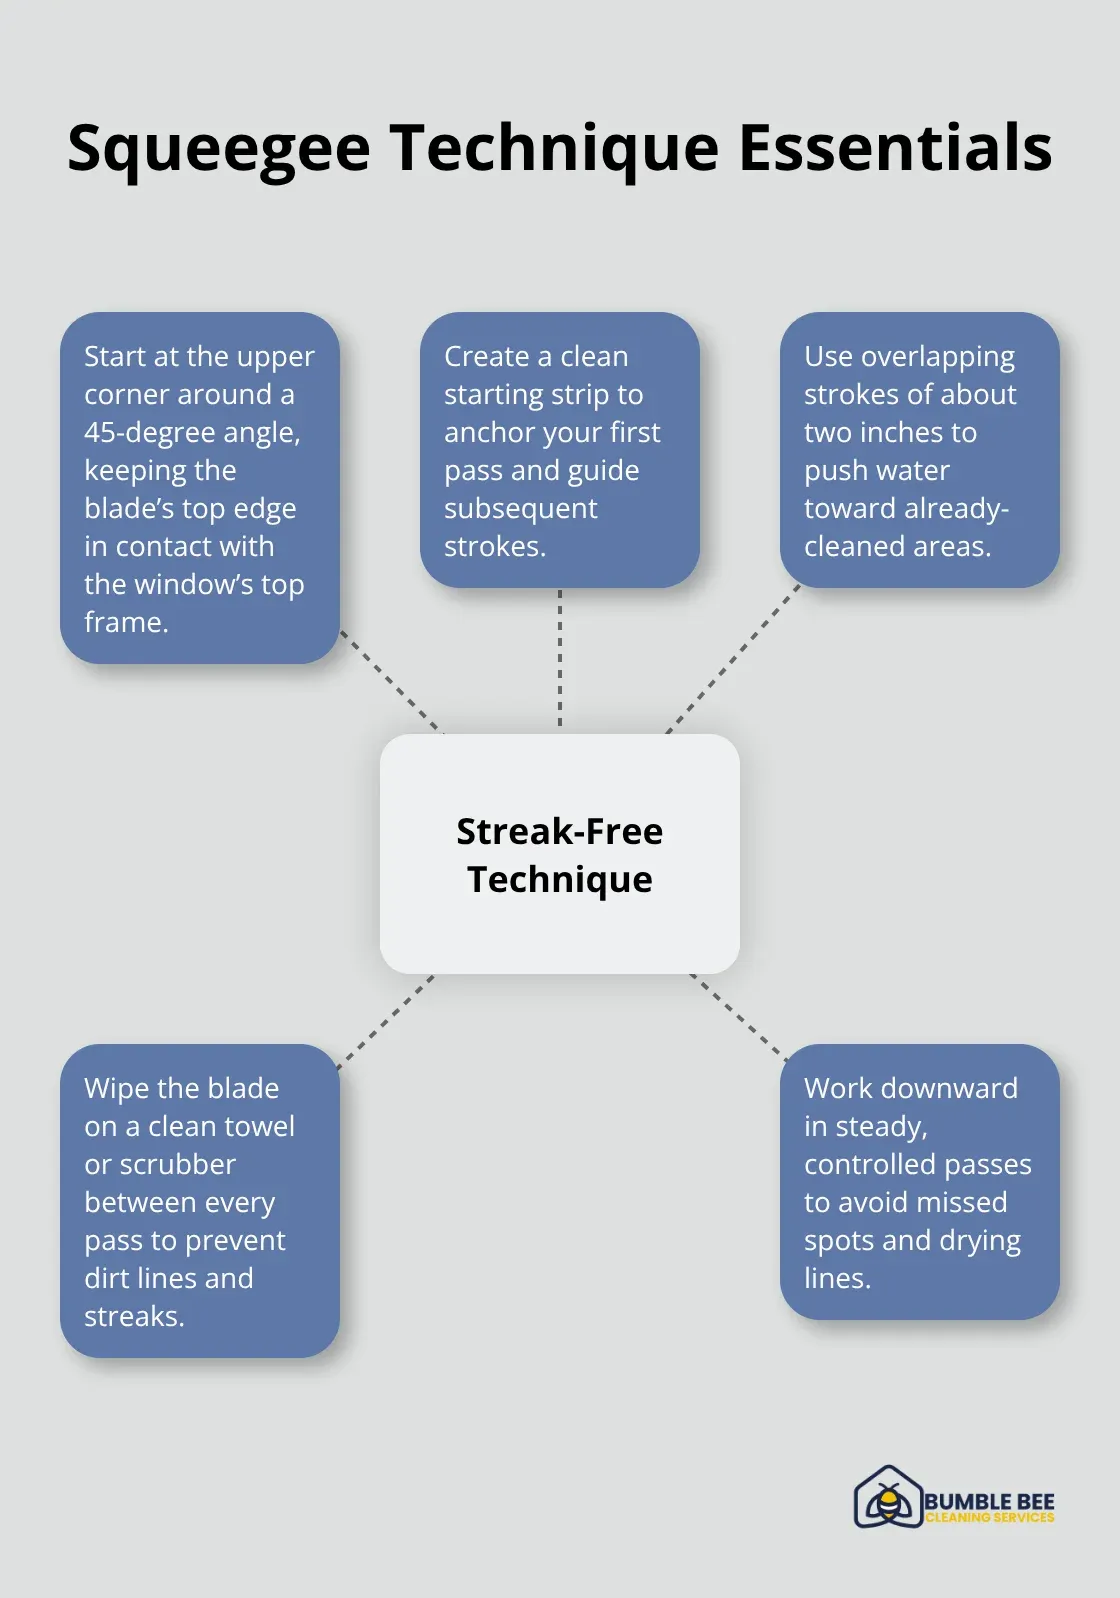
The angle of your squeegee blade determines whether you get crystal-clear windows or frustrating streaks. Press the blade into the upper corner of the window at about a 45-degree angle, then pull steadily across while keeping the top of the blade in firm contact with the window’s top edge. This starting strip anchors your first pass and simplifies everything that follows. Work downward with overlapping strokes of about two inches, angling the squeegee to push remaining water toward areas you’ve already cleaned. Wipe the blade on a clean towel or scrubber between every pass to remove dirt and excess water that cause streaks. This single habit makes more difference than most people expect.
Finish with Precision Drying
After completing all downward passes, wipe the bottom edge and window perimeter with a dry rag, changing rags as they get dirty to avoid dragging wet spots back across clean glass. Inside windows follow the same principle, though you’ll squeeze out most soapy water first to minimize dripping on your floors and furniture. The final drying step separates amateur results from professional-looking windows, so don’t rush this part of the process.
Temperature and Timing Shape Your Success
Clean on cloudy days or during cooler parts of the day to avoid direct sun, which dries your solution too quickly and leaves streaks before you finish. Cold water in hot weather extends your working time and prevents premature drying. In Seattle’s below-freezing winters, add windshield-washer solution to your water to keep your liquid workable on the glass. Your cleaning solution itself should stay simple: two gallons of water with one teaspoon of dish soap works reliably, or equal parts water and white vinegar for a natural option.
Rain and Weather Don’t Stop Quality Results
Light to moderate rain actually reveals dirt you might miss on dry days and acts as a natural rinse when paired with professional-grade solutions, so don’t skip cleaning just because conditions are wet. Heavy downpours increase safety risks and reduce efficiency, so use common sense about extreme weather. The key is using high-quality equipment and cleaning solutions designed for all-weather work, not waiting for perfect conditions that may never arrive. Once you nail these techniques and understand how weather affects your results, you’ll face the most common mistakes that sabotage even experienced DIYers.
What Mistakes Ruin Your Window Cleaning Results
Wrong Cleaning Products Leave Streaks and Film
Most homeowners sabotage their own results by mixing the wrong cleaning products into their solution. Ammonia-based window cleaners sound logical, but they leave streaks on glass when applied incorrectly and interact poorly with soap residue left from previous cleanings. The simple two-gallon water with one teaspoon dish soap formula works reliably because it cuts through Seattle’s grime without leaving a film. If you want a natural option, equal parts water and white vinegar accomplishes the same goal. Test your chosen approach on a single window before committing to your entire home.
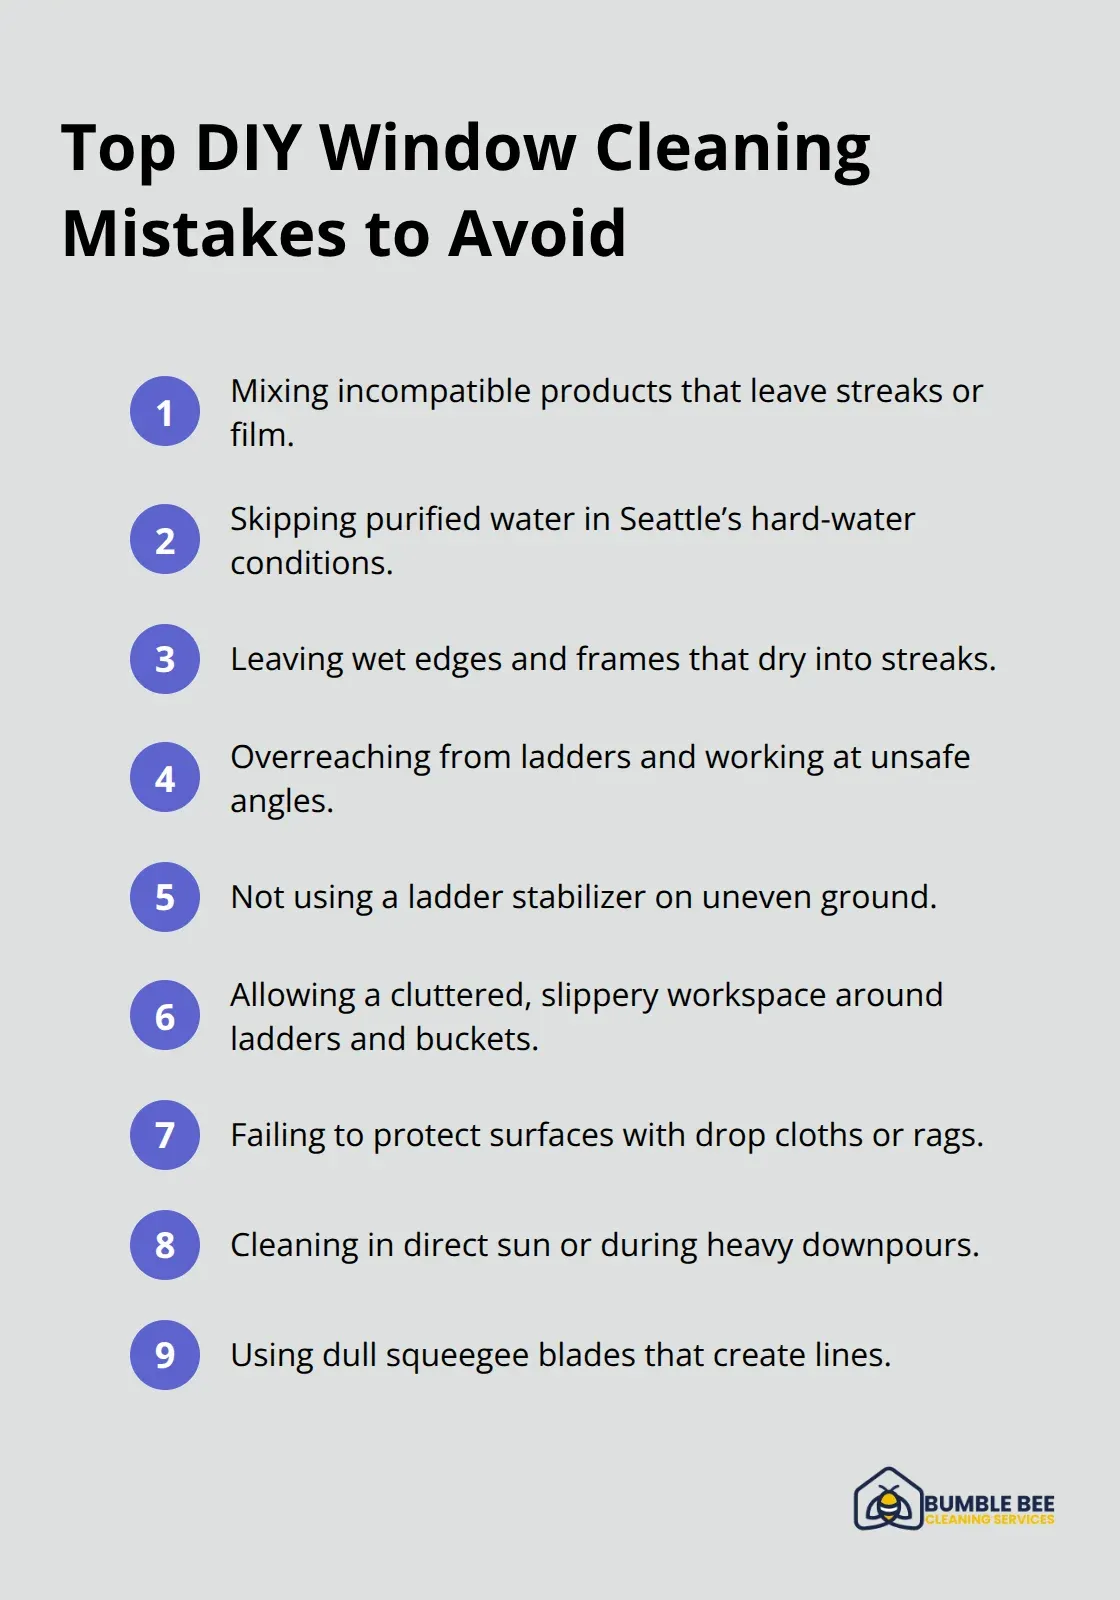
Many people also fail to account for Seattle’s hard water minerals, which cling to glass even after cleaning. Purified water costs a few dollars more but eliminates the mineral deposit problem that makes tap water cleaning frustrating.
Incomplete Drying Transforms Good Work Into Streaky Glass
You can execute perfect squeegee technique and proper water temperature, but if you leave wet edges or perimeter areas damp, those spots dry into visible streaks within minutes. After your last squeegee pass, wipe the bottom edge and entire window frame with a dry microfiber cloth, changing cloths as they absorb moisture. This final step takes five minutes per window but transforms mediocre results into professional-quality clarity.
The drying process separates amateur results from professional-looking windows, so don’t rush this part of the process. Inside windows follow the same principle-squeeze out most soapy water first to minimize dripping on your floors and furniture, then complete the drying step with dedicated attention.
Safety Oversights Create Dangerous Mistakes
Overreaching from a ladder forces awkward angles that make streak-free cleaning impossible and significantly increase fall risk. A properly positioned ladder stabilizer on uneven Seattle ground costs under thirty dollars and eliminates both problems. Never skip this step when working on anything higher than ground-floor windows.
Wet surfaces on ladders and around your work area become slippery fast, so wear shoes with good traction and keep your workspace clear of buckets and tools that create trip hazards. For windows above single-story height, proper training is recommended when using water-fed pole systems to deliver better results than ladder work.
Protect Your Property During the Cleaning Process
Dripping soapy water damages paint, siding, and landscaping, so position drop cloths or rags beneath your work area before you start. This simple precaution prevents costly repairs and keeps your home’s exterior in top condition. These three categories of mistakes-wrong products, incomplete drying, and safety oversights-account for nearly all the frustration DIYers experience with window cleaning.
Final Thoughts
Mastering window cleaning takes practice, but the fundamentals remain straightforward: use quality tools, maintain proper squeegee technique, and never skip the drying step. Seattle’s rainy climate and hard water make consistency matter more than most places, so you should clean every two to three months to prevent stubborn grime buildup that transforms a simple task into a frustrating battle. The techniques in this Seattle window cleaning guide work reliably when you apply them correctly, and most homeowners see dramatic results within their first few attempts.
That said, window cleaning demands time and physical effort that many busy families simply don’t have. Climbing ladders, managing water and soap, and protecting your property from drips adds up quickly, especially across a full house. We at Bumble Bee Cleaning Services help Seattle homeowners reclaim their time by handling this work professionally, and our team delivers streak-free results with eco-friendly products and flat-rate pricing.
Clean windows improve natural light, boost your mood, and protect your home’s value. Schedule your next cleaning before Seattle’s rainy season intensifies, and you’ll notice the difference immediately.
For more information about our cleaning services in Seattle and Atlanta, or to request a cleaning quote, call or text us at 425-786-1360 or email us at info@qbclean.com
